Steeking Methods Series: Part 1A : Crochet Steek for Making Openings for Merele (Necks, Sleeves, and Pockets)
A lot of people finding steeking scary. It certainly is the first time you do it because of the thoughts of “why would you want to cut your knitting” and “won’t it start completely unravelling”! It actually is a really useful and liberating technique once you get over the fear of cutting (just do it once on a swatch and you’ll see there is nothing to be afraid of). Steeking allows you to make openings for neck, sleeves, and pockets to name a few when working in a stitch pattern that is easier to work in the round.

The Merele sweater uses steeking in a very interesting way to make openings for the neck and body as you knit this sweater side ways from sleeve to sleeve. This construction and need for steeking came about because of the use of a “vikkel” or traveling twisted stitch pattern that I created, which is knit in the round and travels up the sleeve , across the body and down the other sleeve. The steeks used here create small openings in the middle of the knitted fabric the same way you might make for a sleeve or a pocket. There are two methods for this type of steeking : a crochet steek and a hand sewn steek. The crochet steek is suitable for most yarns. If you are using something a bit more slippery like a silky super wash yarn I would suggest the hand sewn steek for a bit more reinforcement. If you are nervous about the strength of your steek, you can always run it over with a sewing machine after you made your cut.
CROCHET STEEK
This method makes a crochet barrier or reinforcement around the area you plan to cut.

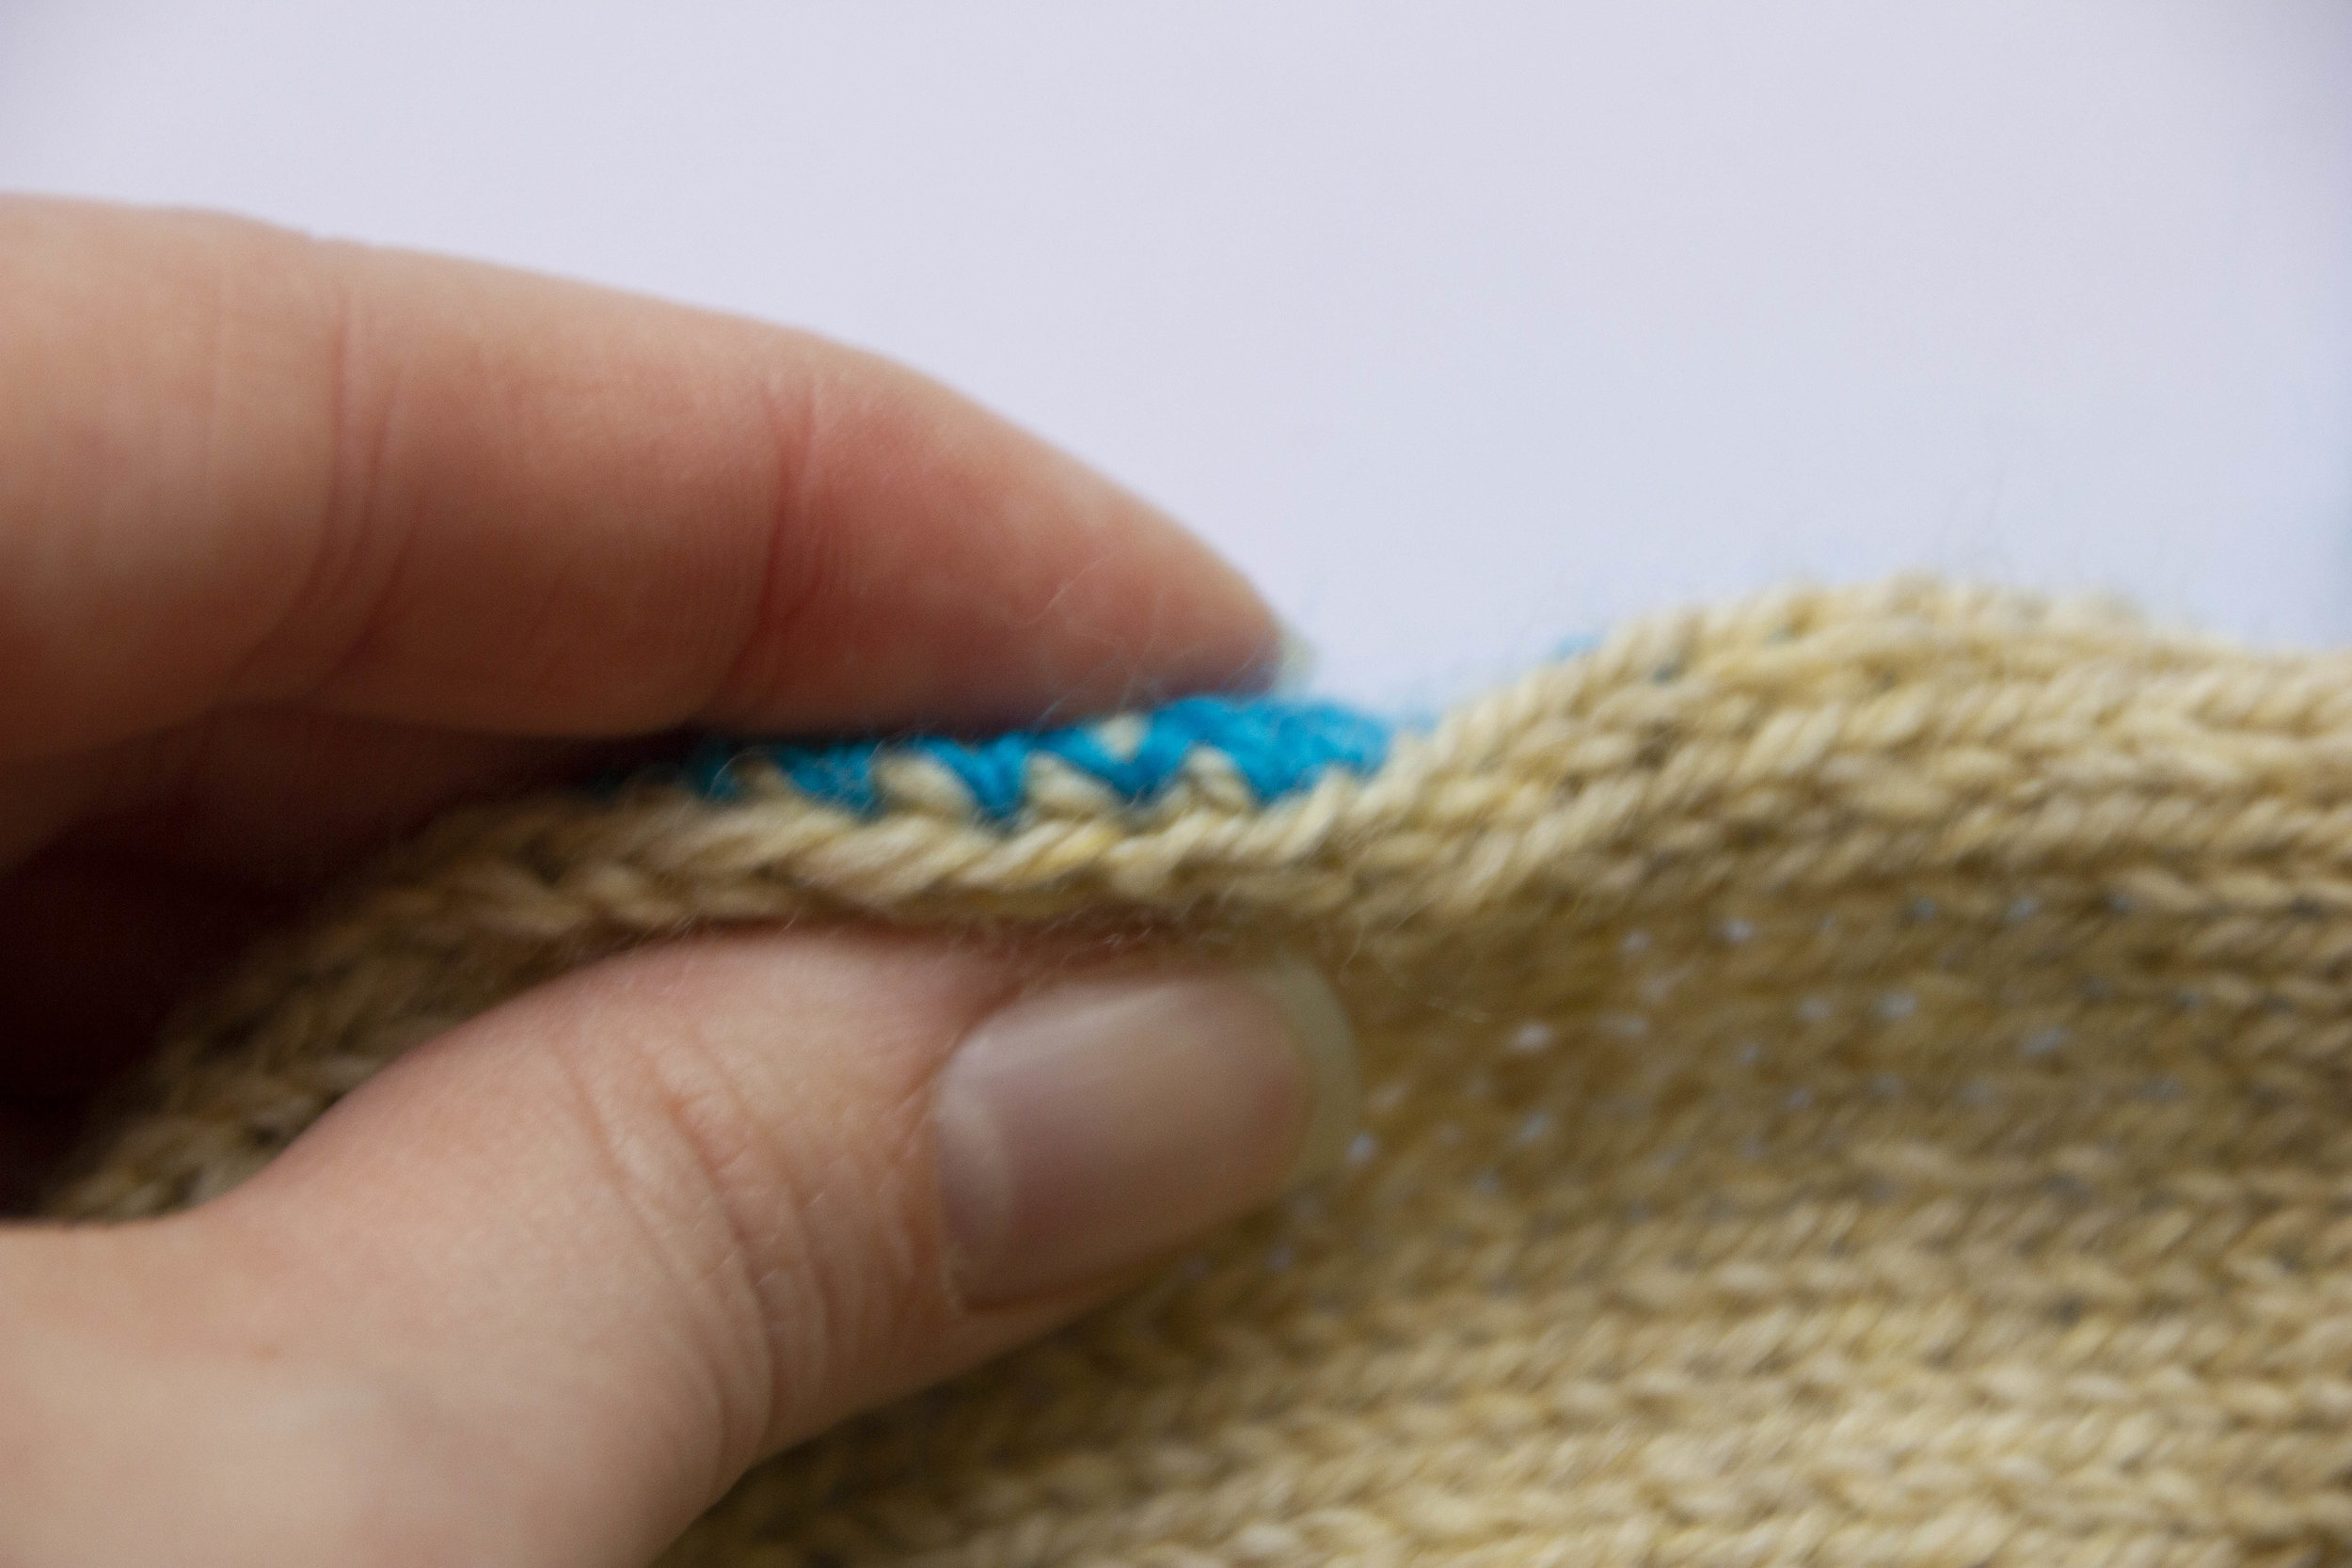
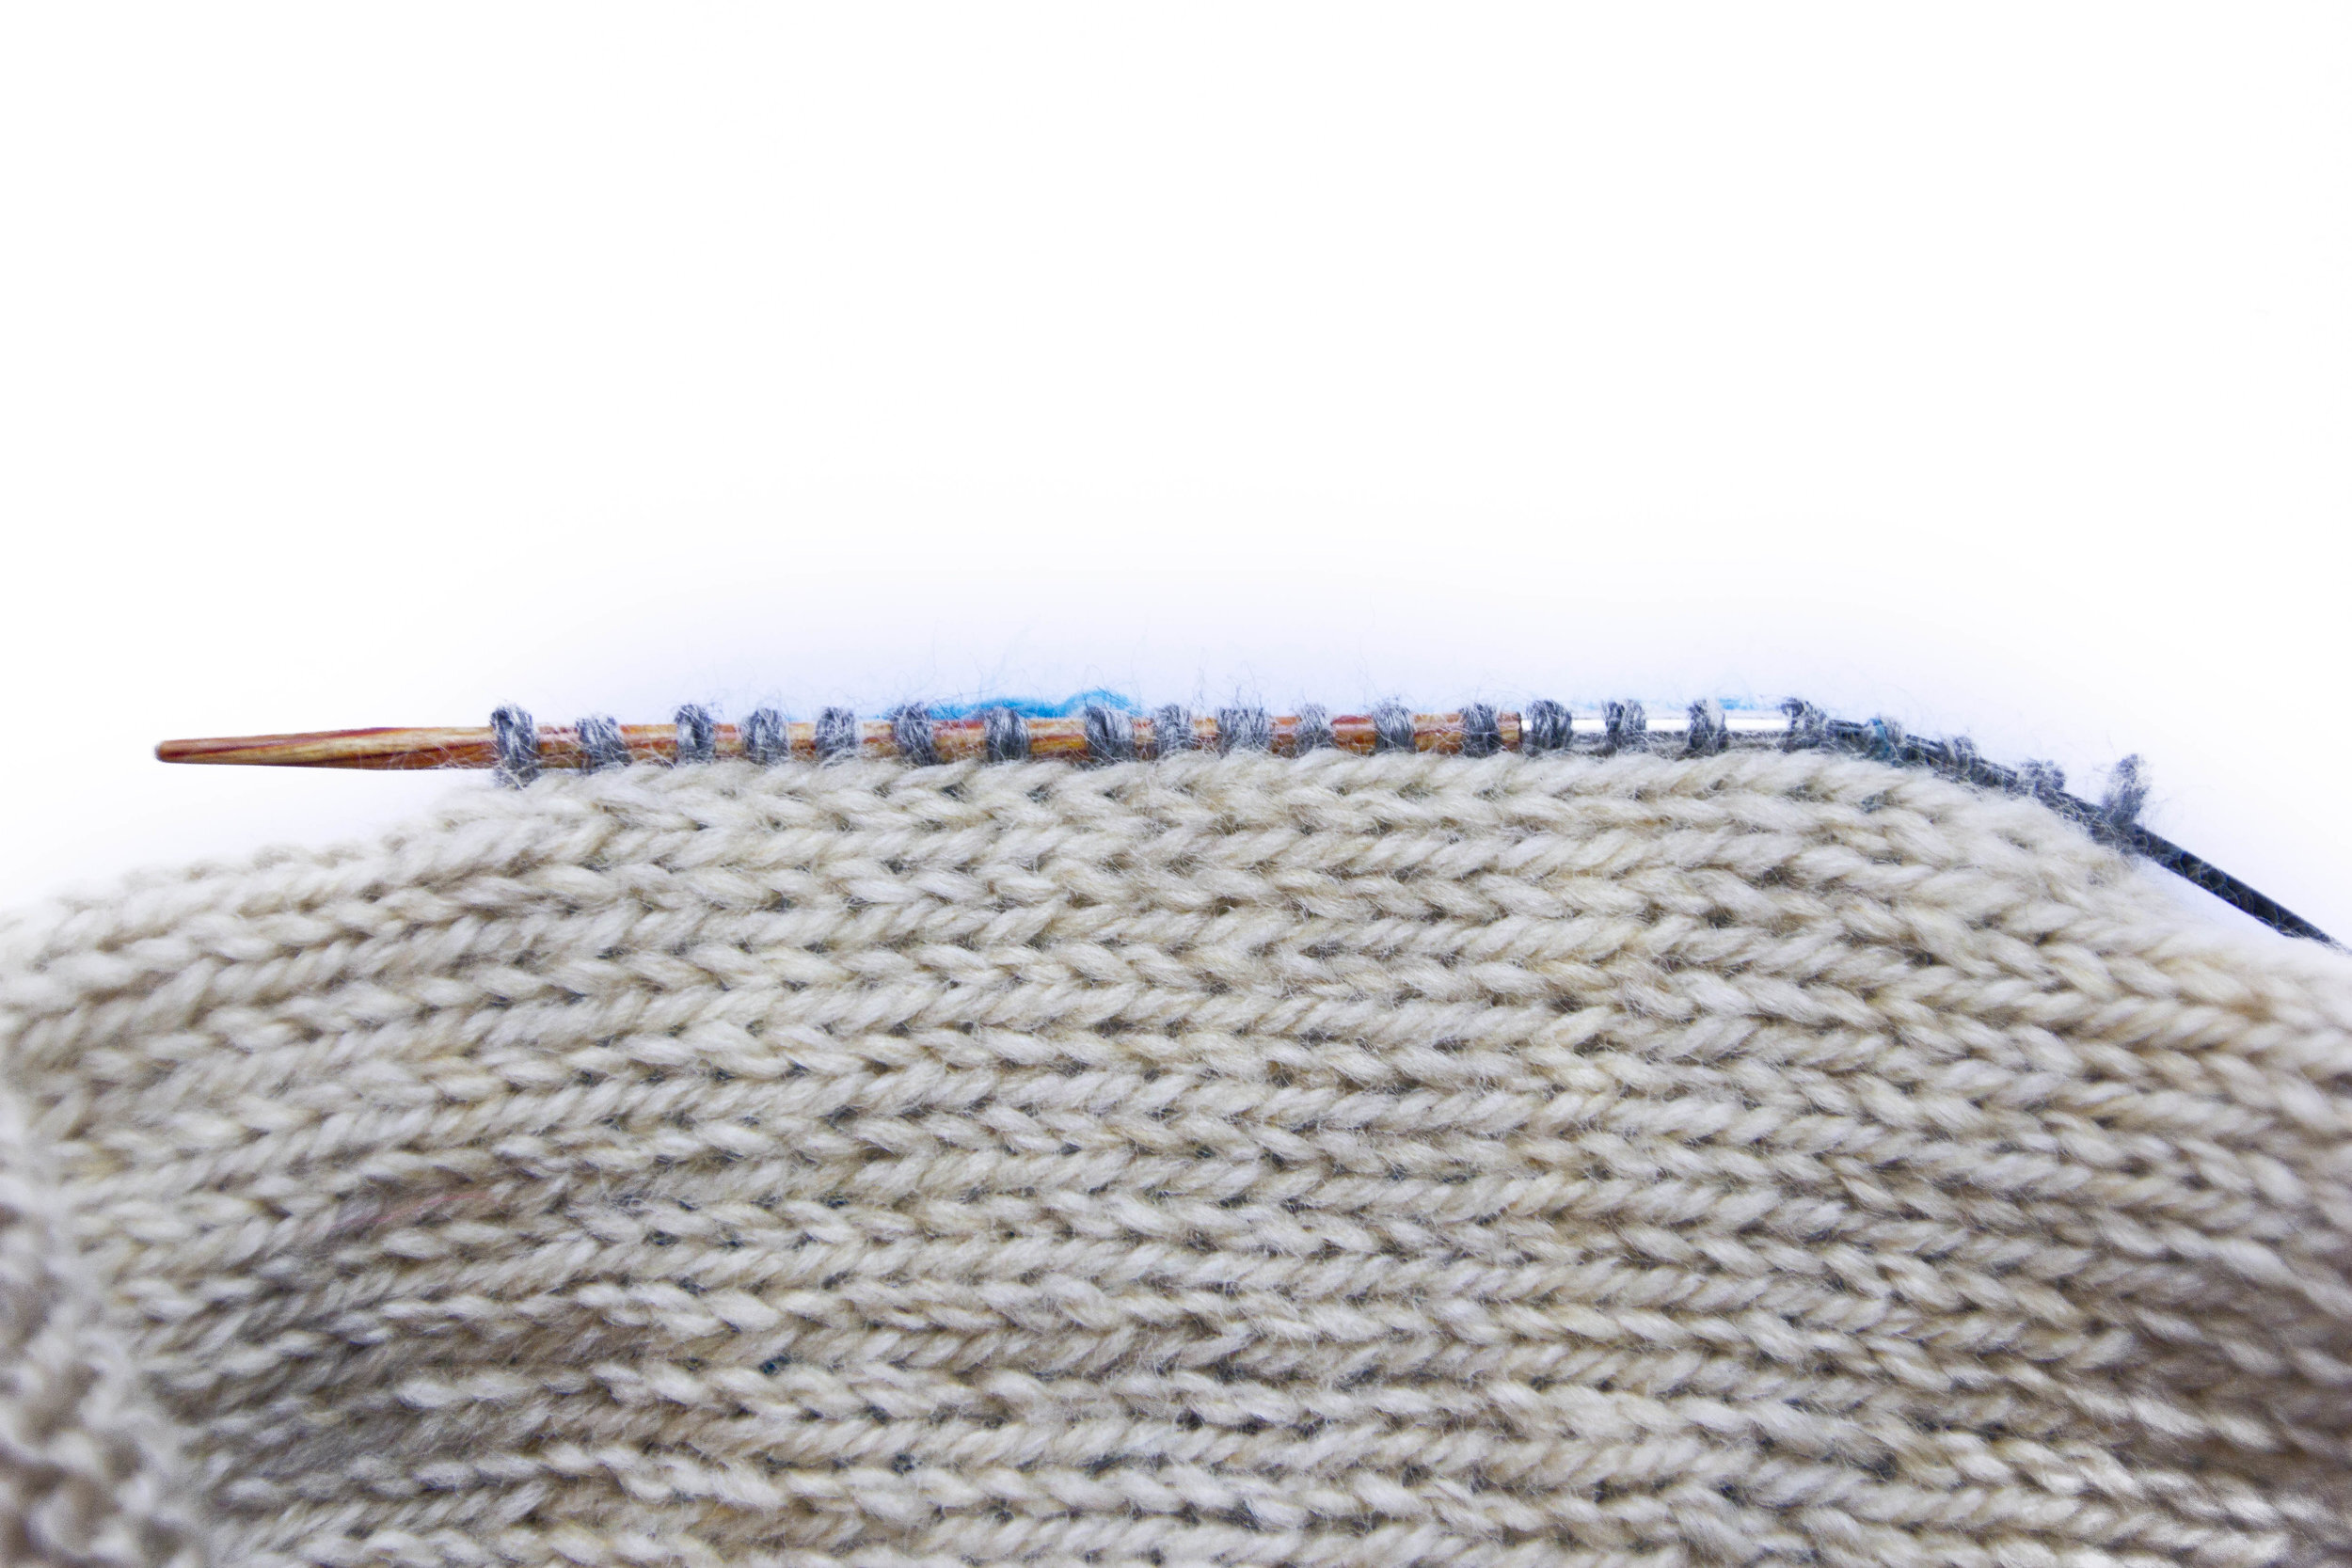
Place stitch markers to mark the start and end of the length you want your steek. Then run some thread or scrap yarn in a contrasting color through the middle of every other stitch in the column you plan to cut. This will guide you when crocheting and cutting.

The blue stripes are the columns of stitches ( half a leg from two columns of stitches) that will be crocheted.
With your crochet hook and yarn, make a slip knot and chain a few stitches.

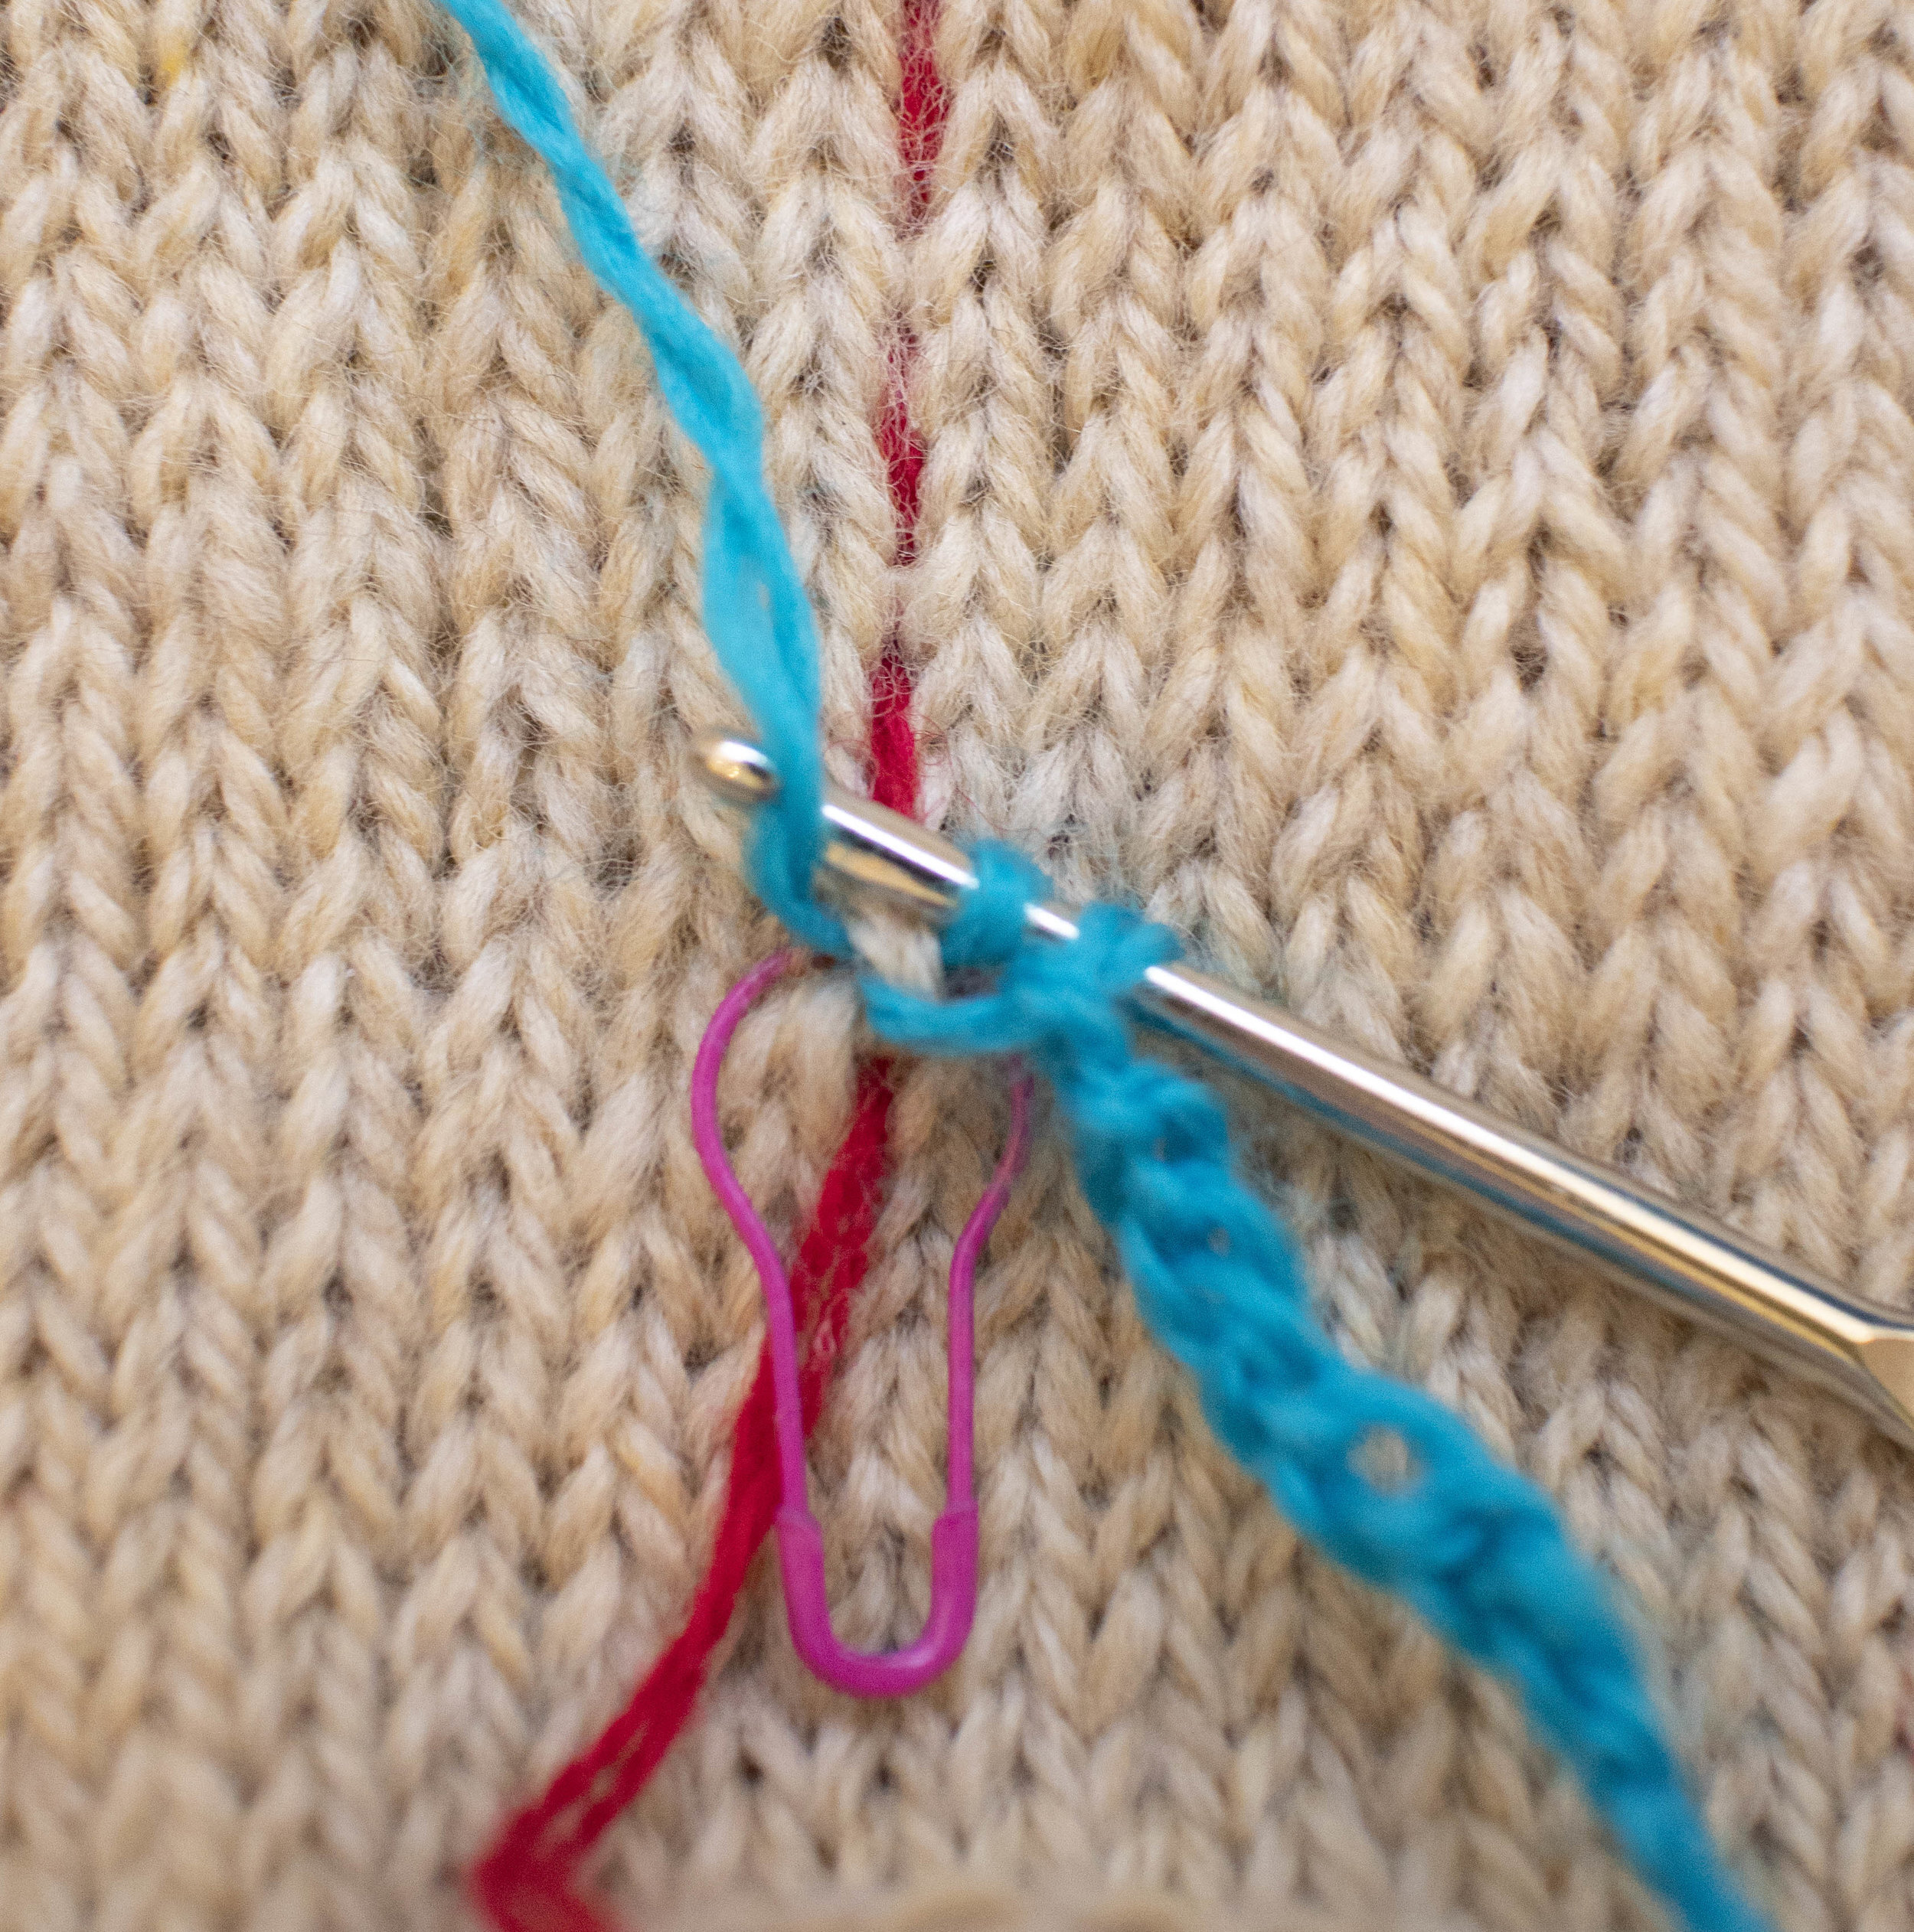
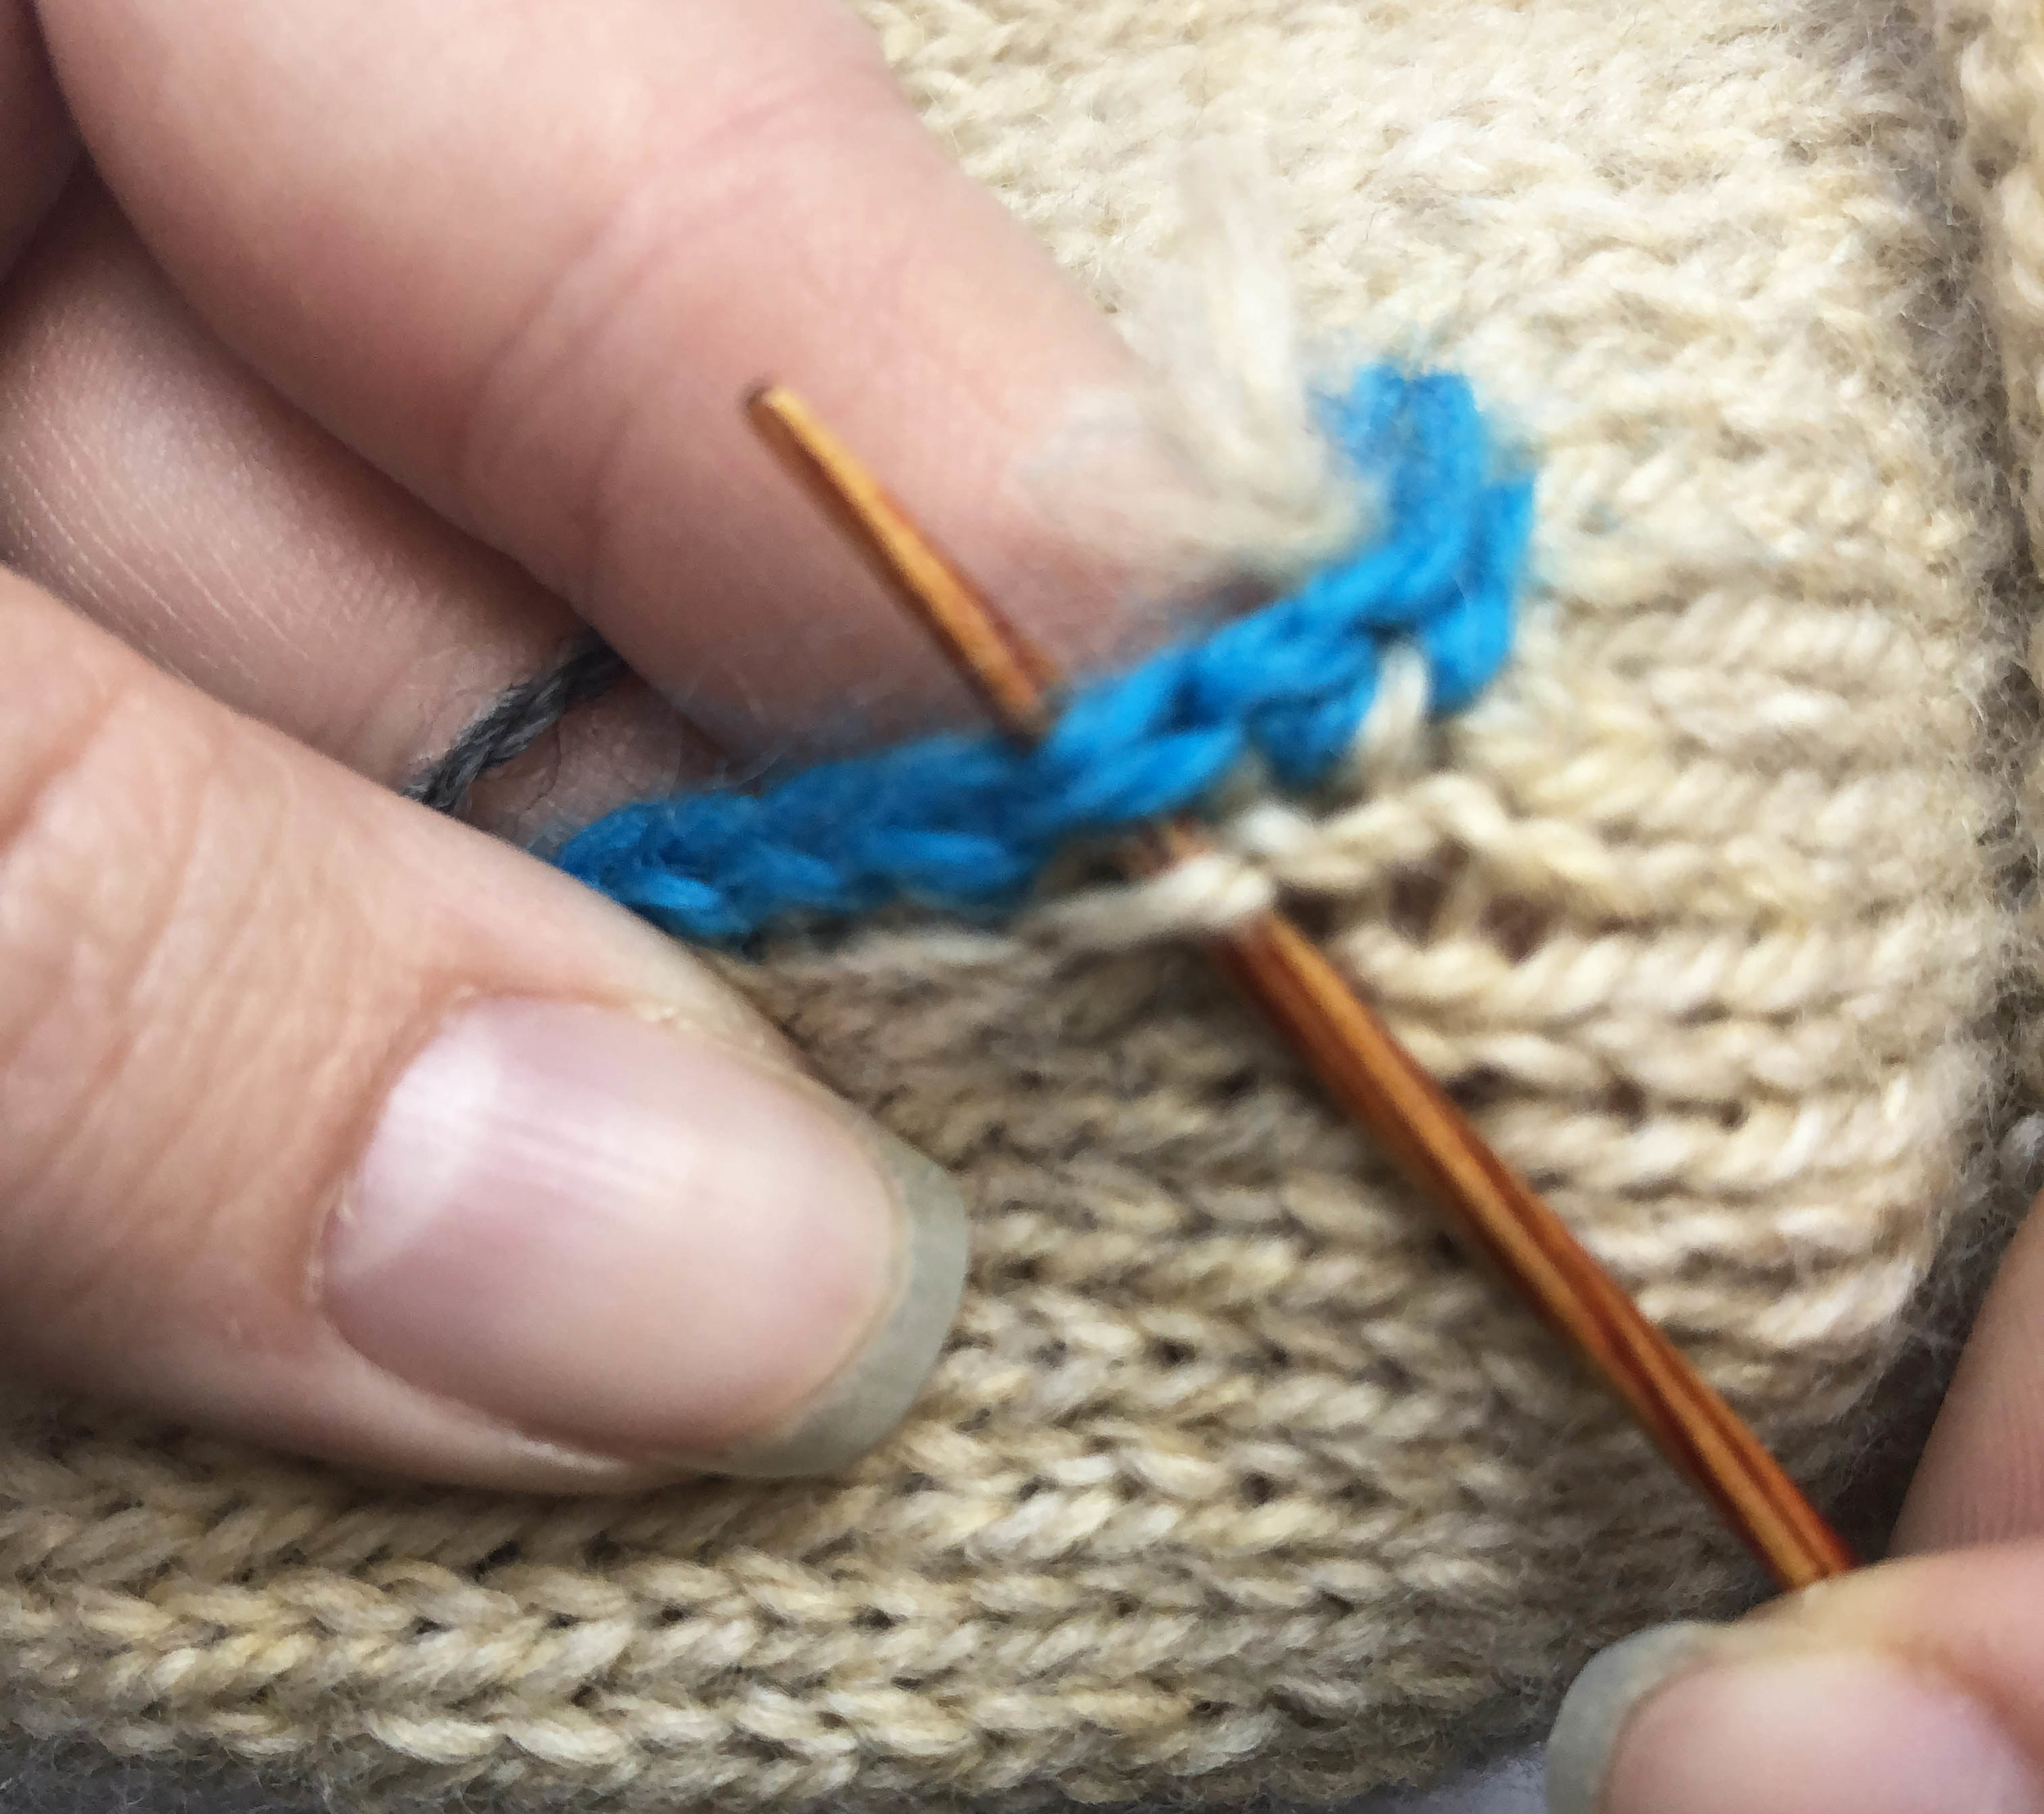
Insert the hook into the stitch with the stitch marker attached.
Be sure to have the crochet hook go under both legs of the stitch.

With the hook, pull yarn through, going under the legs of the stitch. Do not pulling it through the stitch still on the hook from the single crochet chain.
Now, pull yarn through the two stitches on the crochet hook.
Insert the hook into the stitch to the up one row and to the right of the stitch with the stitch marker ( the stitch you just worked). Your hook will go into the right half or leg of the column next to column you will cut and the other half is the left half of the neighboring column of stitches. Be sure to have the crochet hook go under both legs of the stitch.
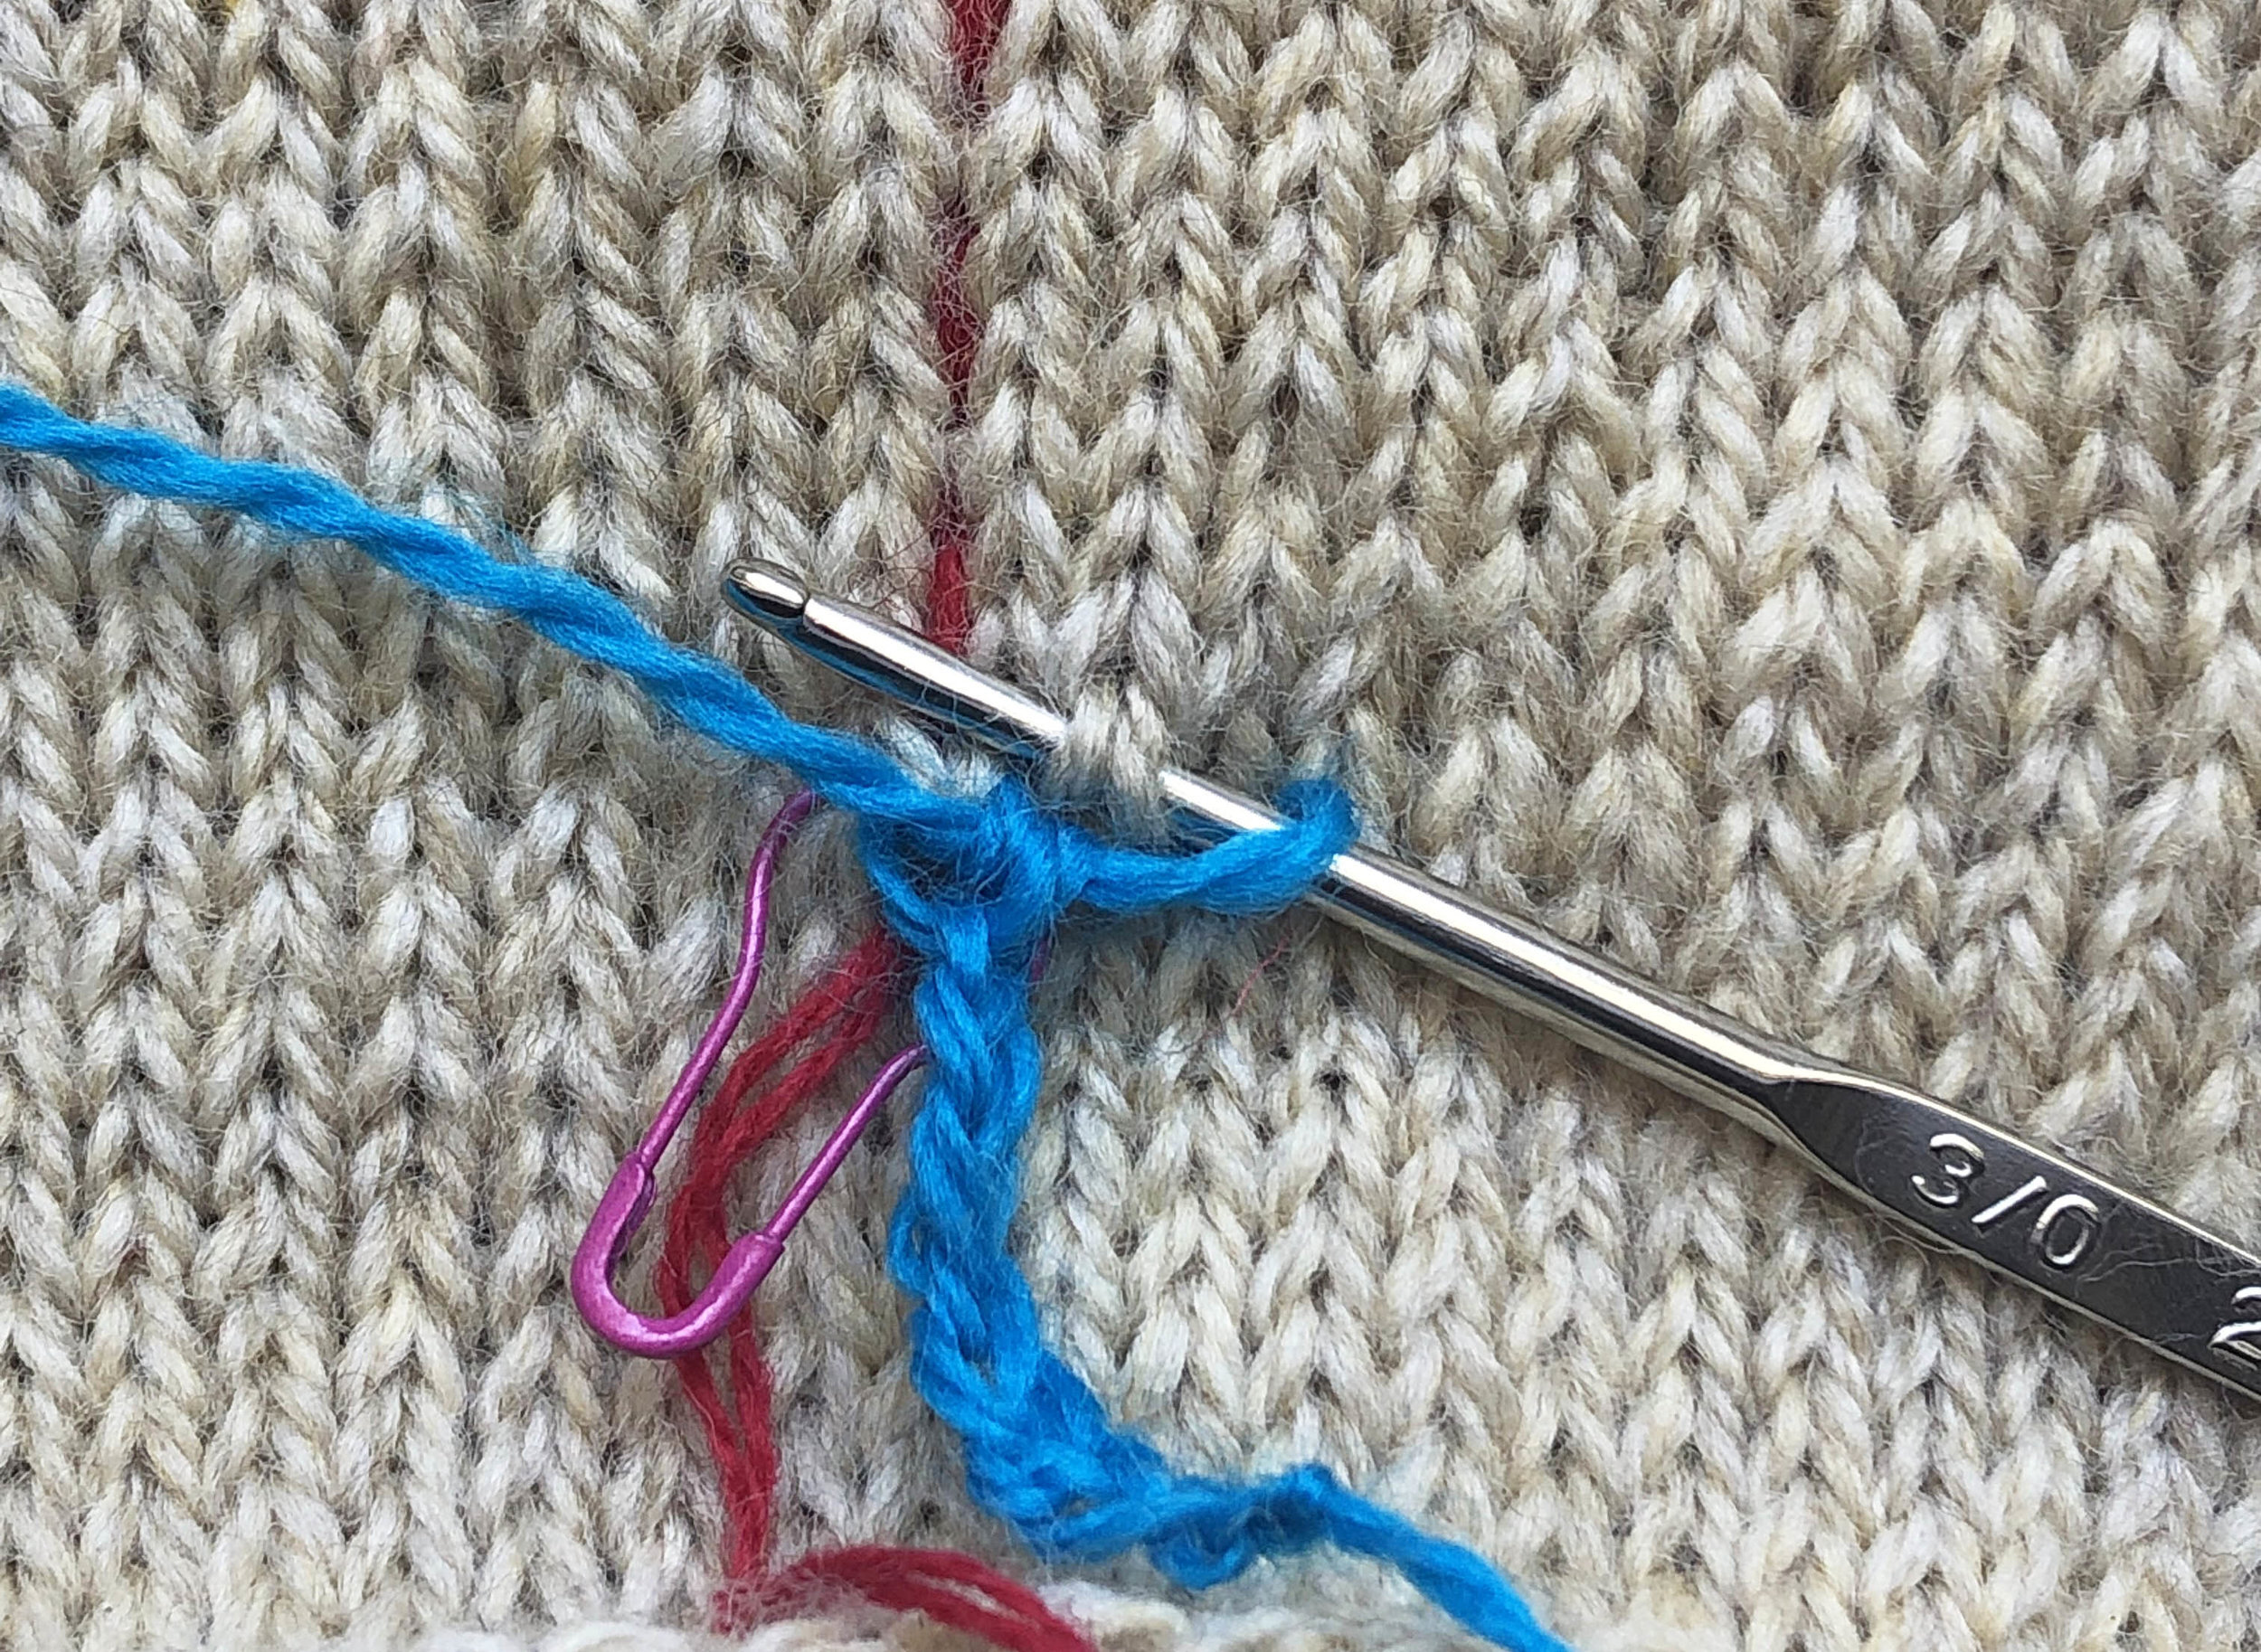
With the hook, pull yarn through, going under the legs of the stitch. Do not pulling it through the stitch still on the hook.

Now, pull yarn through the two stitches on the crochet hook.
Insert the hook into the stitch above the stitch you just worked. Be sure to have the crochet hook go under both legs of the stitch.
With the hook, pull yarn through, going under the legs of the stitch. Do not pulling it through the stitch still on the hook.
Now, pull yarn through the two stitches on the crochet hook.
Repeat the last few steps until you have worked the stitch one row below and to the right of the other stitch marked with a stitch marker.

Insert the hook into the stitch with the stitch marker attached.

With the hook, pull yarn through, going under the legs of the stitch. Repeat pulling yarn through, going under the legs of the stitch and then pull yarn through the two stitches on the crochet hook.
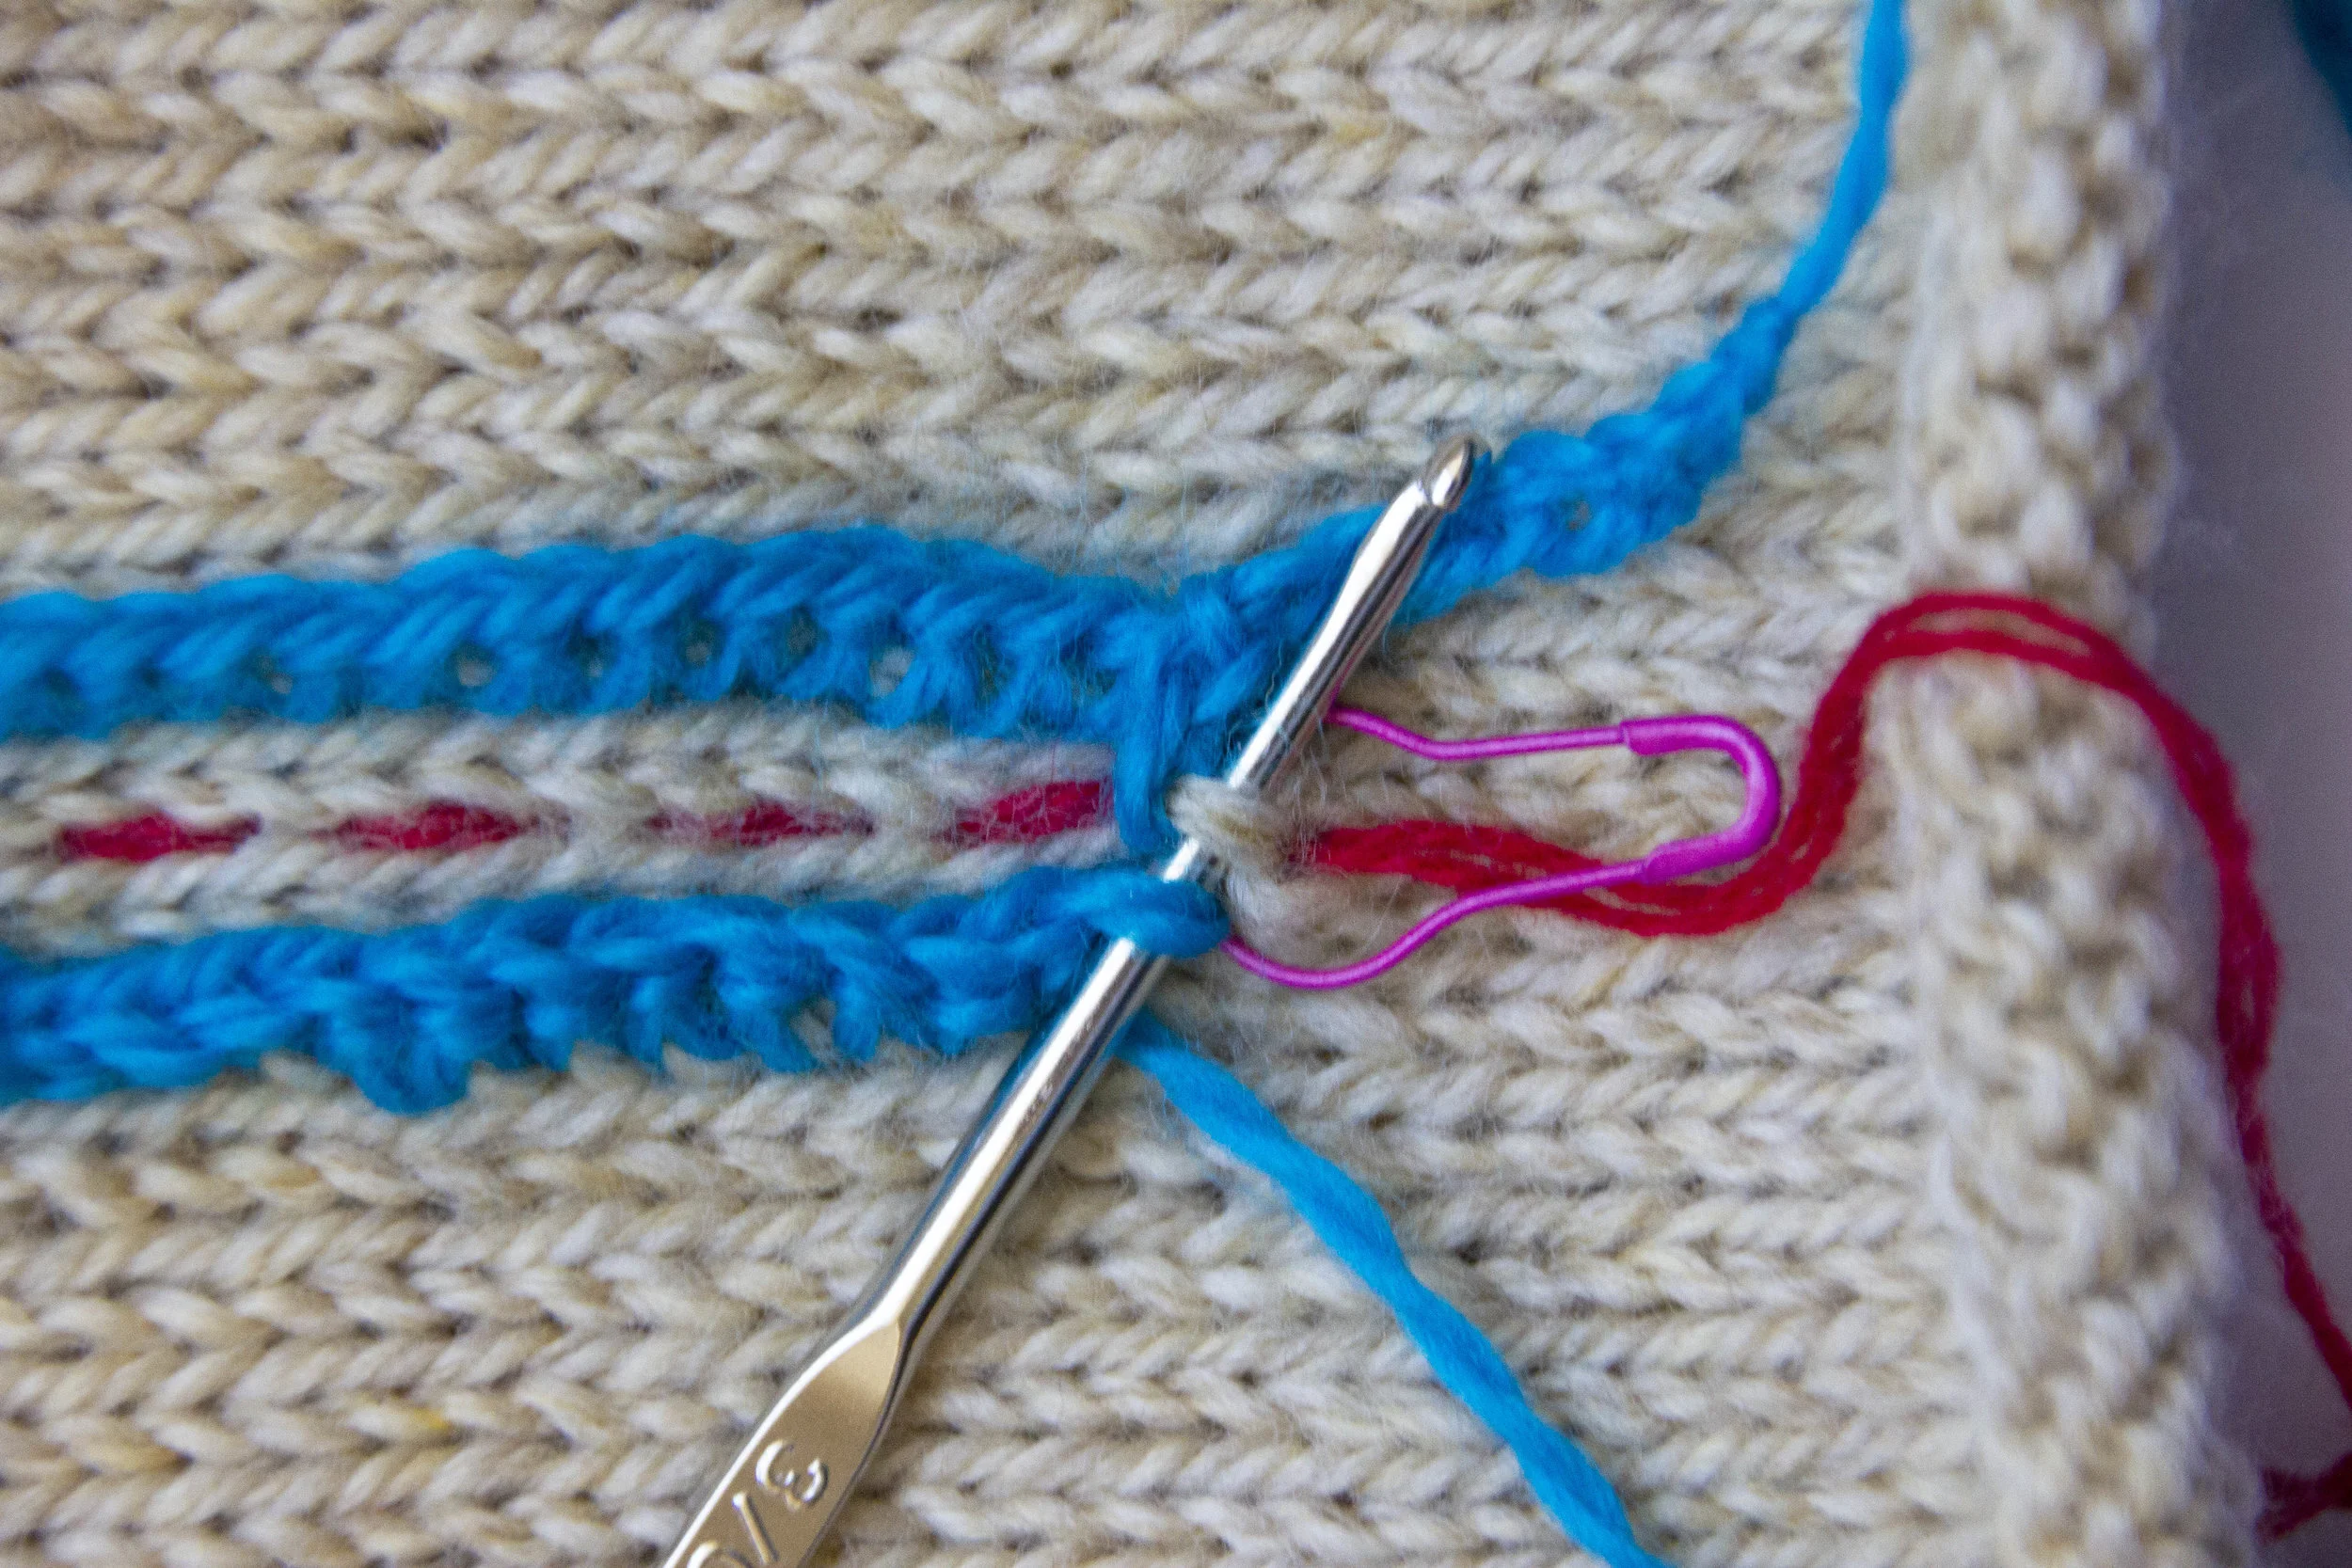
Now insert the hook into the stitch to the down one row and to the left of the stitch with the stitch marker ( the stitch you just worked and the opposite side of the crochet line you made).

Repeat pulling yarn through, going under the legs of the stitch and then pull yarn through the two stitches on the crochet hook.

Continue down the side by Inserting the hook into each stitch below the stitch you just worked.
Repeat pulling yarn through, going under the legs of the stitch and then pull yarn through the two stitches on the crochet hook.
Continue in this manner until you have worked the stitch one row above and to the left of the stitch with the stitch marker.

Insert the hook into the stitch with the stitch marker attached.
With the hook, pull yarn through, going under the legs of the stitch. Repeat pulling yarn through, going under the legs of the stitch and then pull yarn through the two stitches on the crochet hook.
Insert the hook into the very first stitch you crochetedgoing under the legs of the stitch. Repeat pulling yarn through, going under the legs of the stitch and then pull yarn through the two stitches on the crochet hook..

Now single chain a few stitches, Cut yarn and pull end through last stitch.
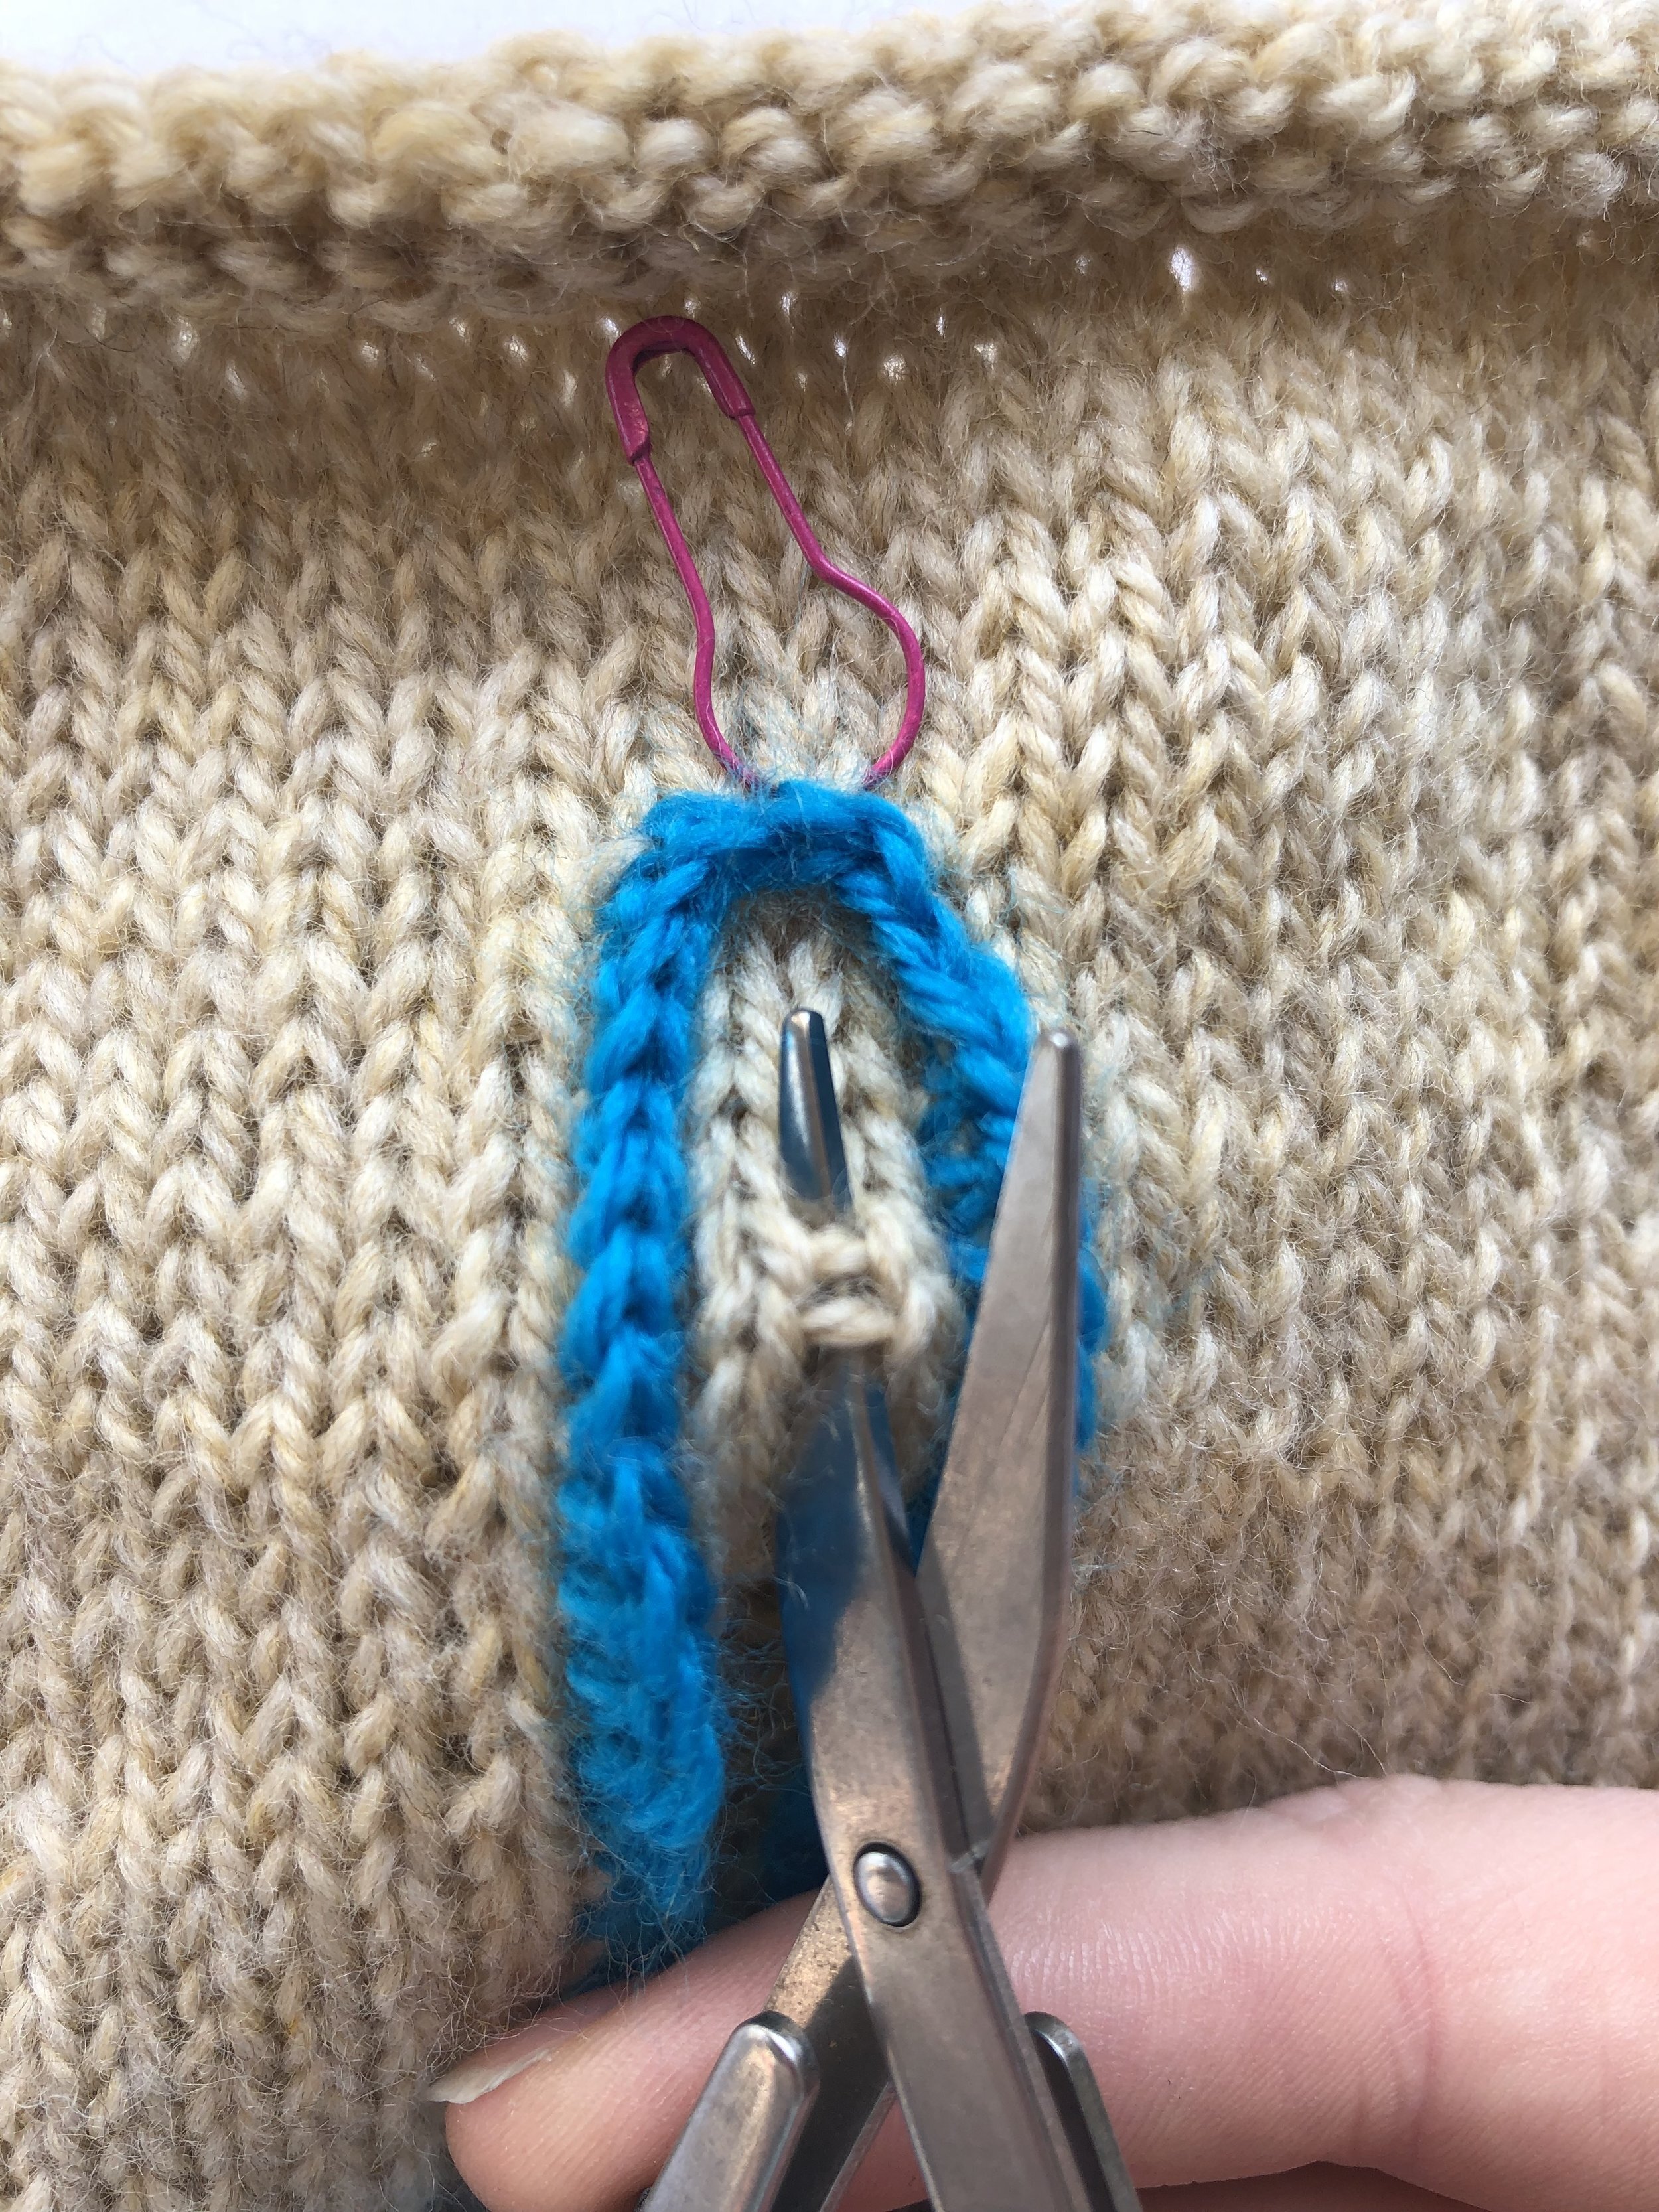
Now you are ready to cut.
With scissors, cut the bars in the middle of the stitches in the column marked with the contrast color thread or yarn. You can pull this thread/ yarn out as you cut.
Now for finishing. Carefully unravel the single chains you created at the start and end of the steek to one chain before the crochet steek. Weave these ends into your work to secure the ends. To give a nice neat edge and further reinforce the steek, I suggest folding the crochet edges over to the inside/ wrong side and tack it down when are picking up stitches to continue knitting or if another round of crochet. You can also tack down the crochet edge with a sewing machine or hand sewing.
Pick up stitches for knitting or finish with a crochet edge.
Crochet edge
Make a slip knot and place on your hook. Then insert the hook hrough half the leg of the stitch to the right or left of the crochet edge and under the entire adjacent crochet stitch.

Pull your yarn through.
If crocheting, do not pulling it this stitch through the stitch still on the hook. Pull yarn through the two stitches on the crochet hook.
Right Side after crochet finishing

Wrong Side view
Fraying cut strands can be trimmed after the crochet steek had been tacked down.

Picking up to knit
Insert the needle through half the leg of the stitch to the right or left of the crochet edge and under the entire adjacent crochet stitch, then pull yarn through to make a stitch. Repeat around crochet steek.
Right Side
Wrong Side

For more Merele steeking methods, check out the hand sewn back stitch method.