Natural Dyeing with G-ULD
Who knew that amazing range of colours you can achieve with natural dyeing using plants, seeds and insects!
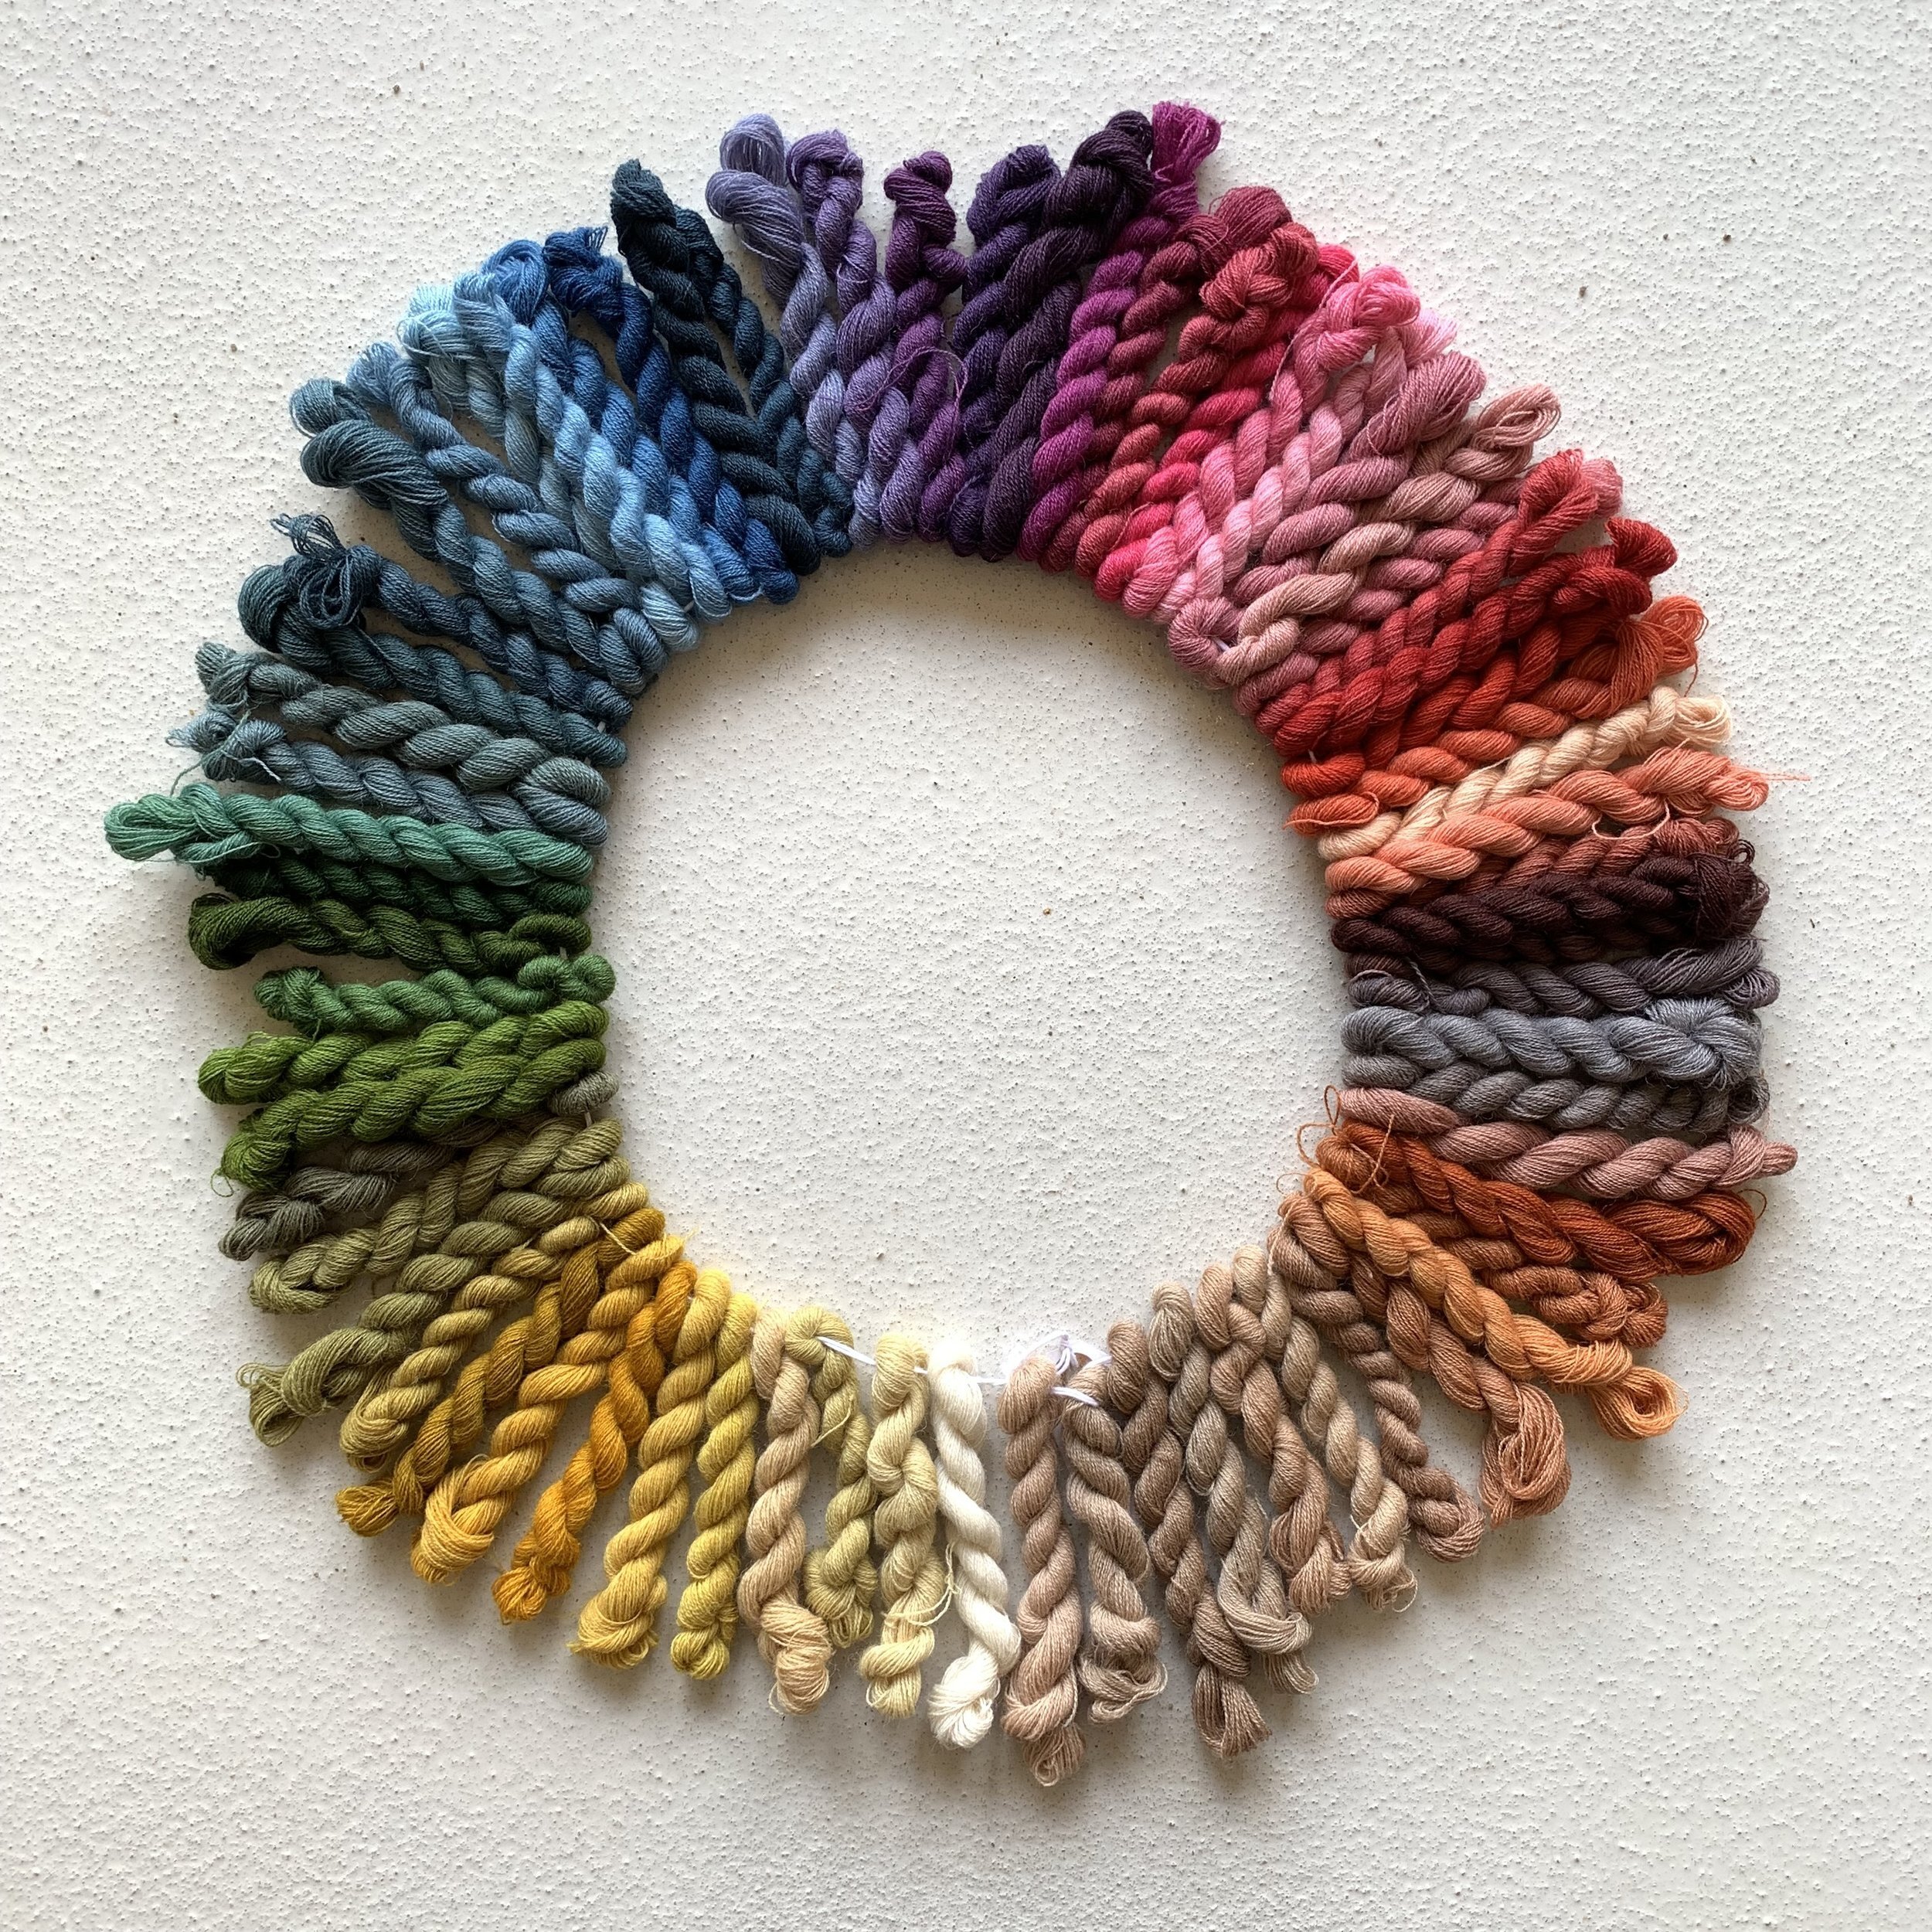
Circle of color! This circle is made of 69 unique mini skein colors created from 9 different dye pots. A nice souvenir and reference for all the colors dyed during the weekend workshop.
Tucked into the beautiful countryside of central Denmark, the talented team behind the natural dyeing yarn brand G-uld host myself and an international group of keen dyers from Norway, the Netherlands, Sweden, USA and UK for a magical weekend.
G-uld gets it’s name from two Danish words: uld meaning wool and guld meaning gold. G-uld’s yarn is most certainly a woolly treasure!
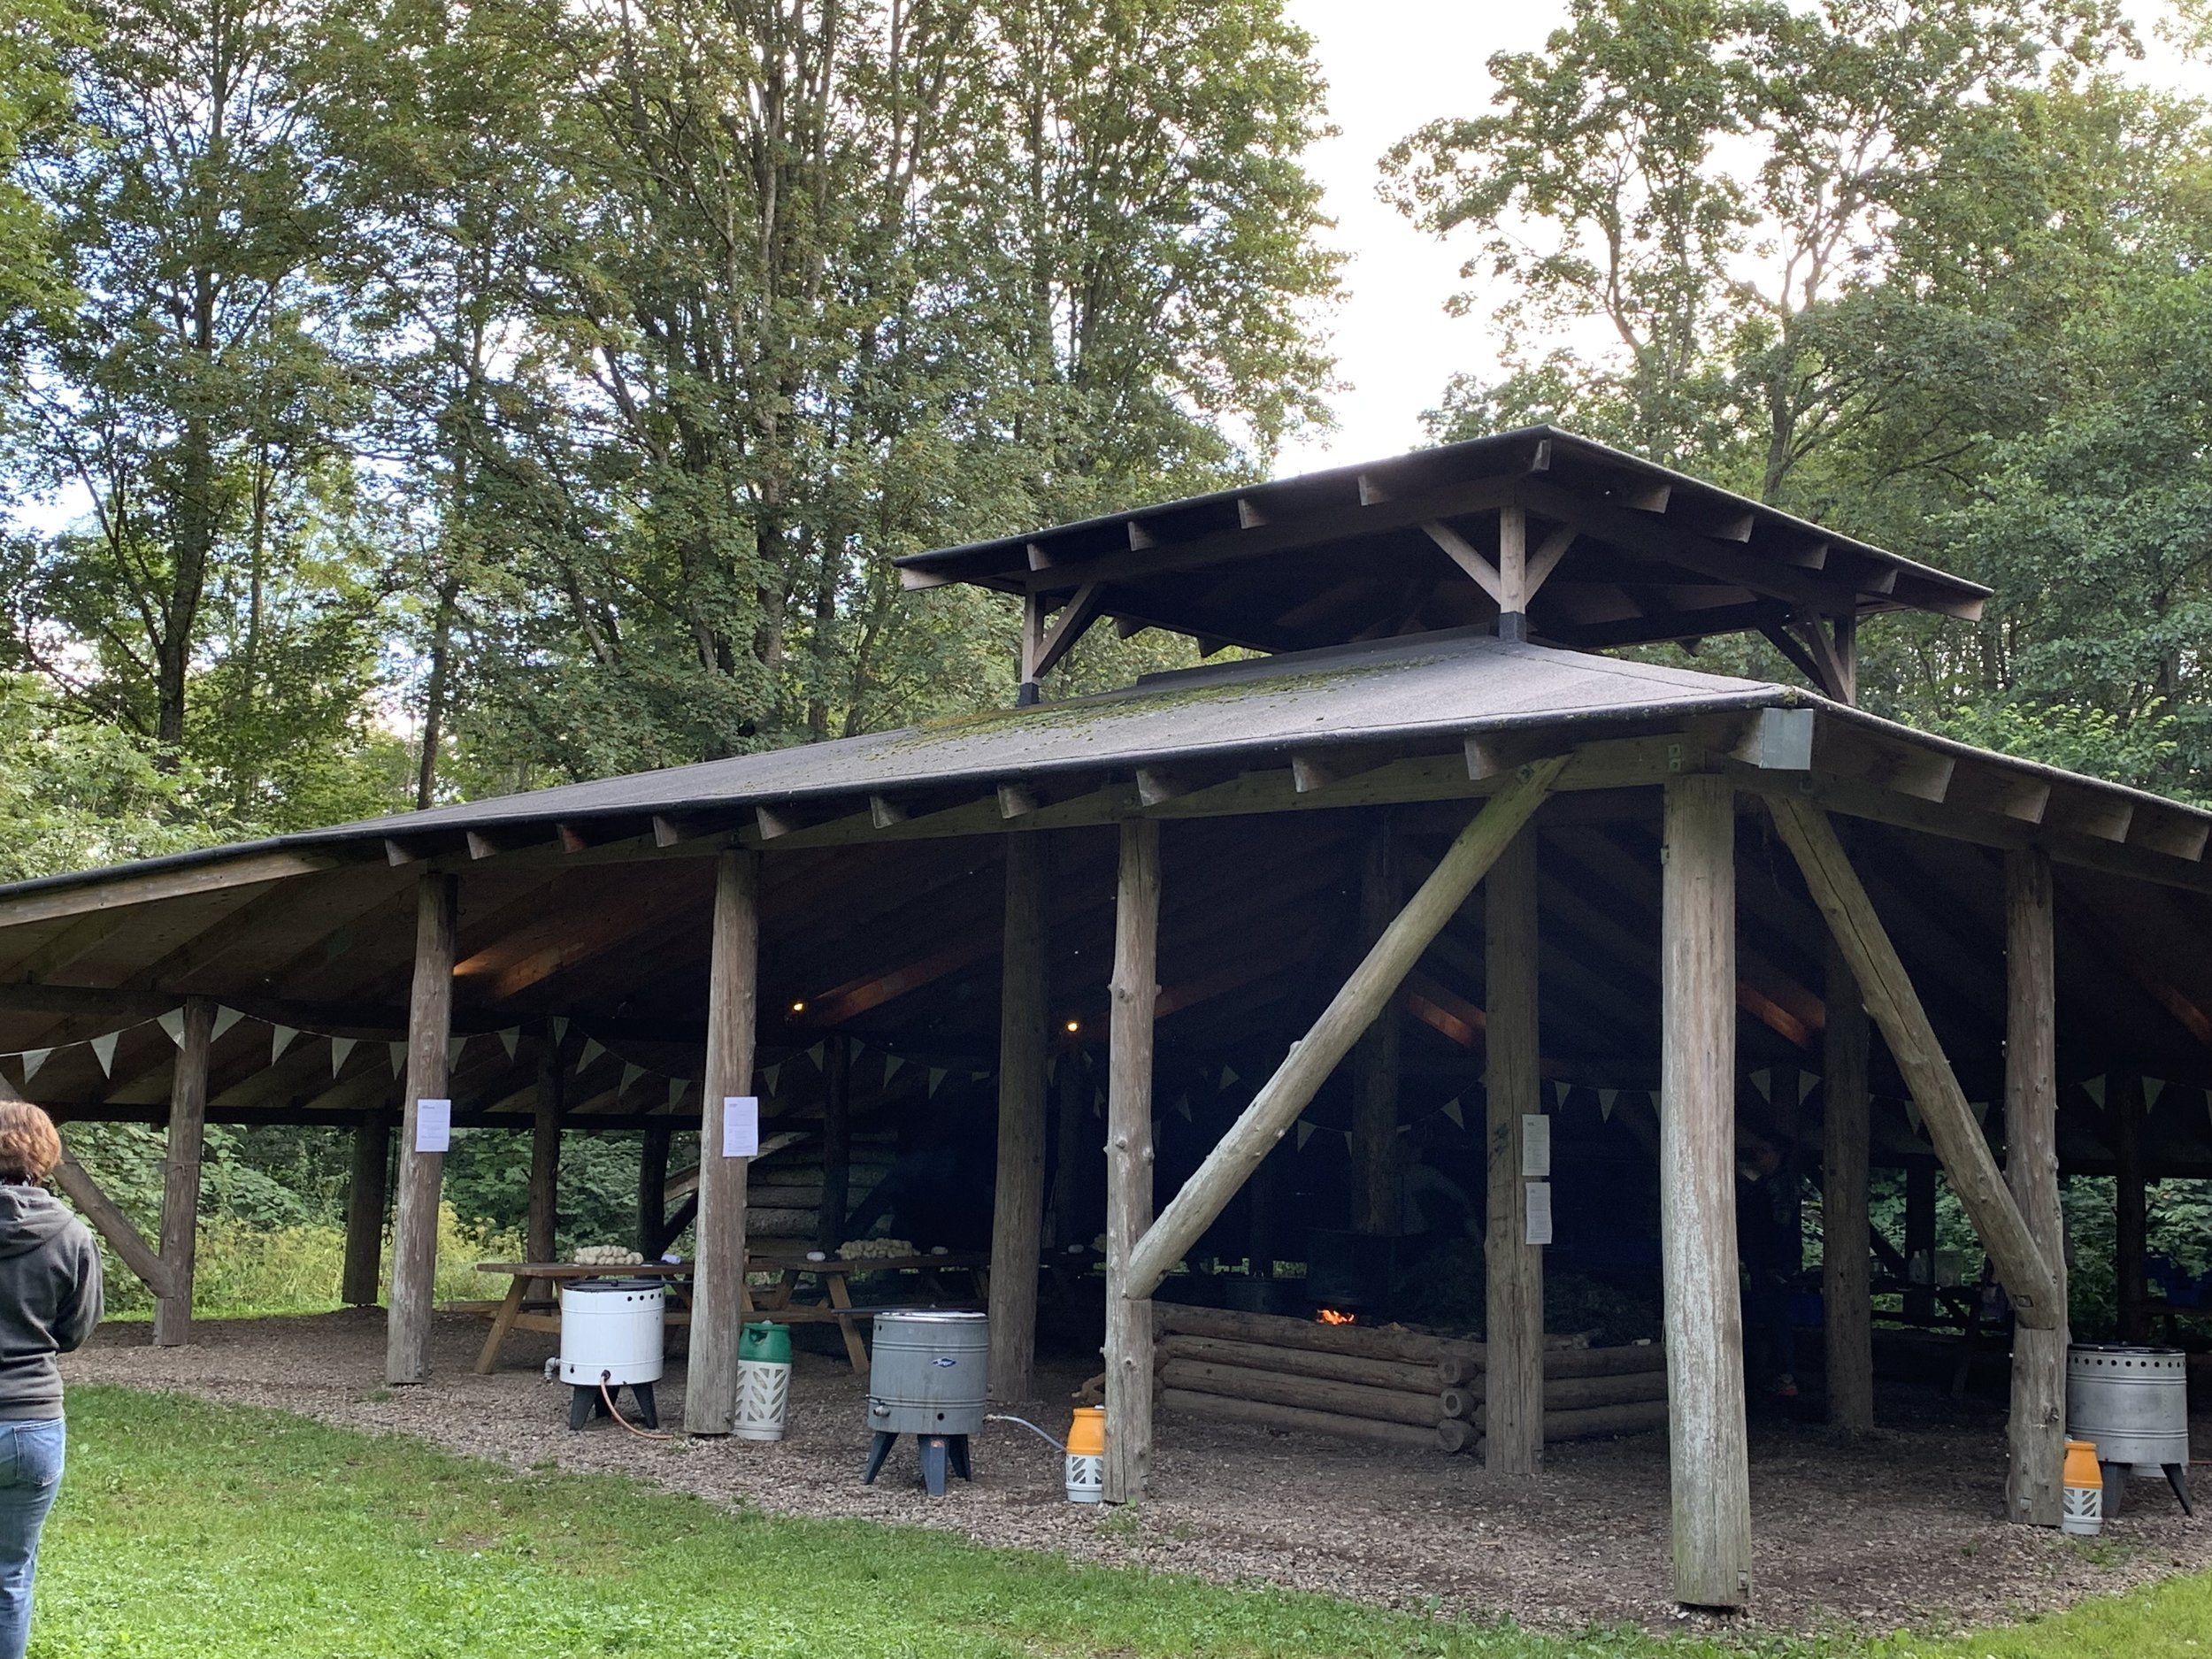
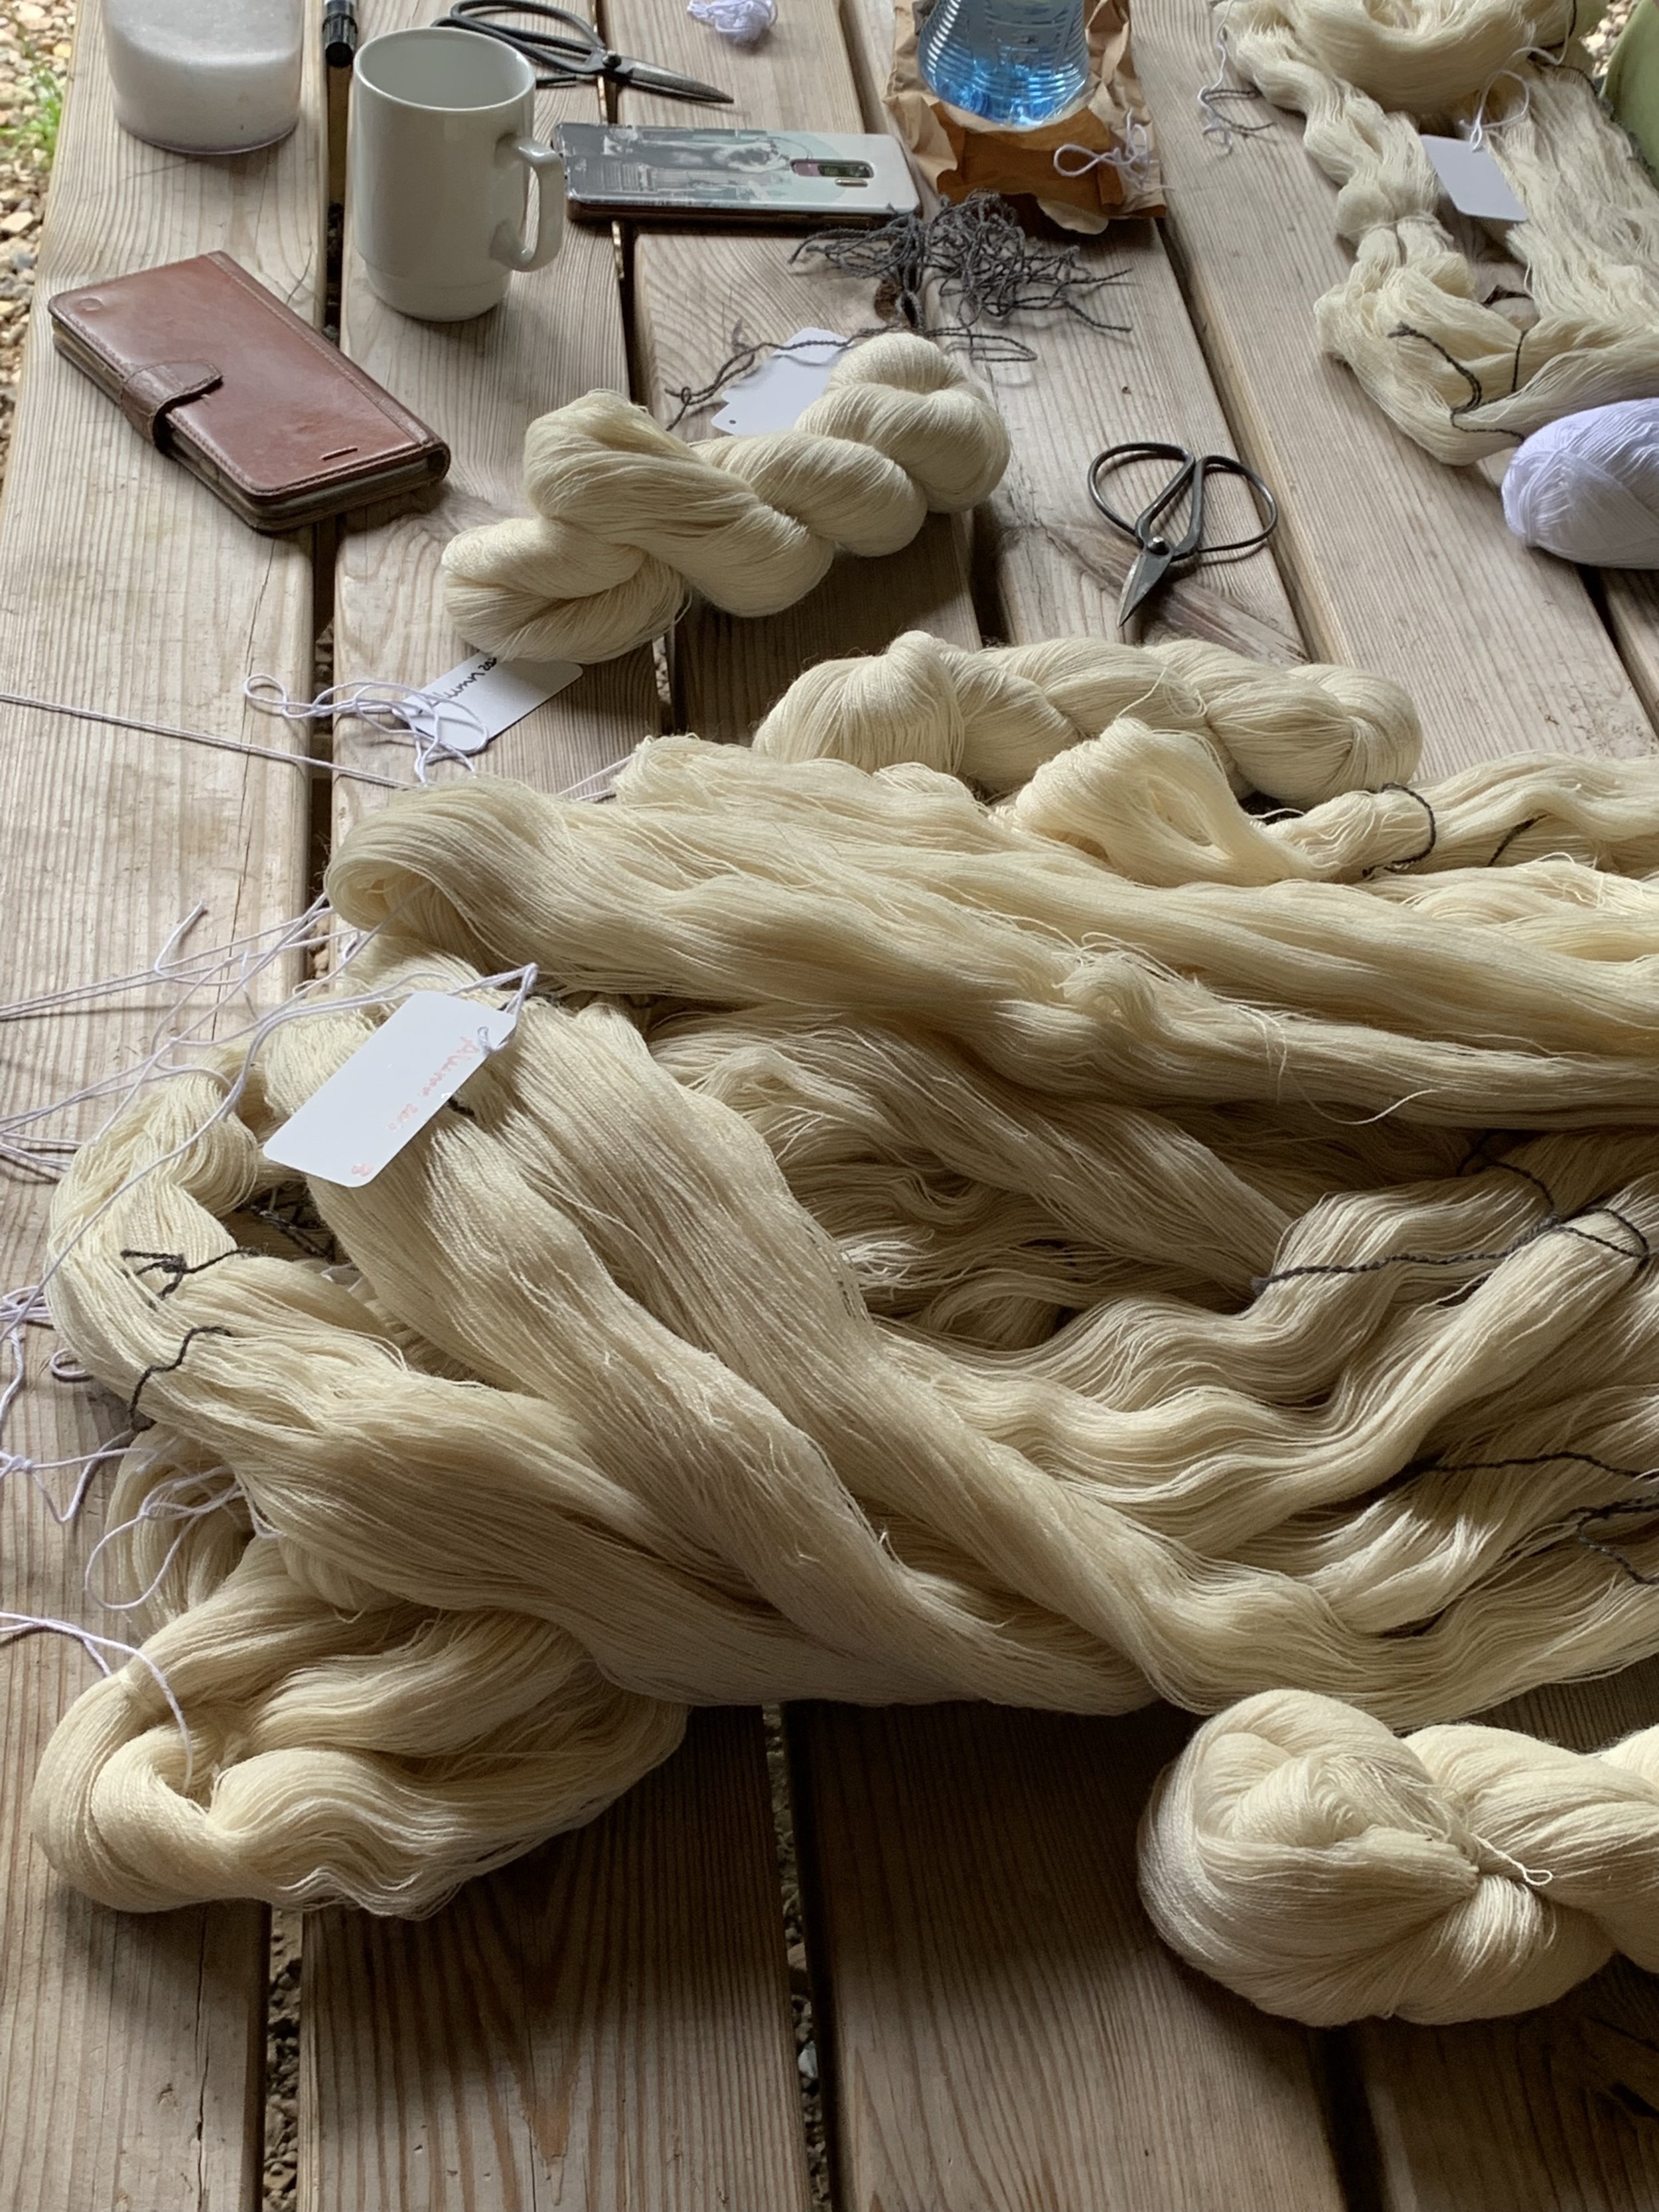
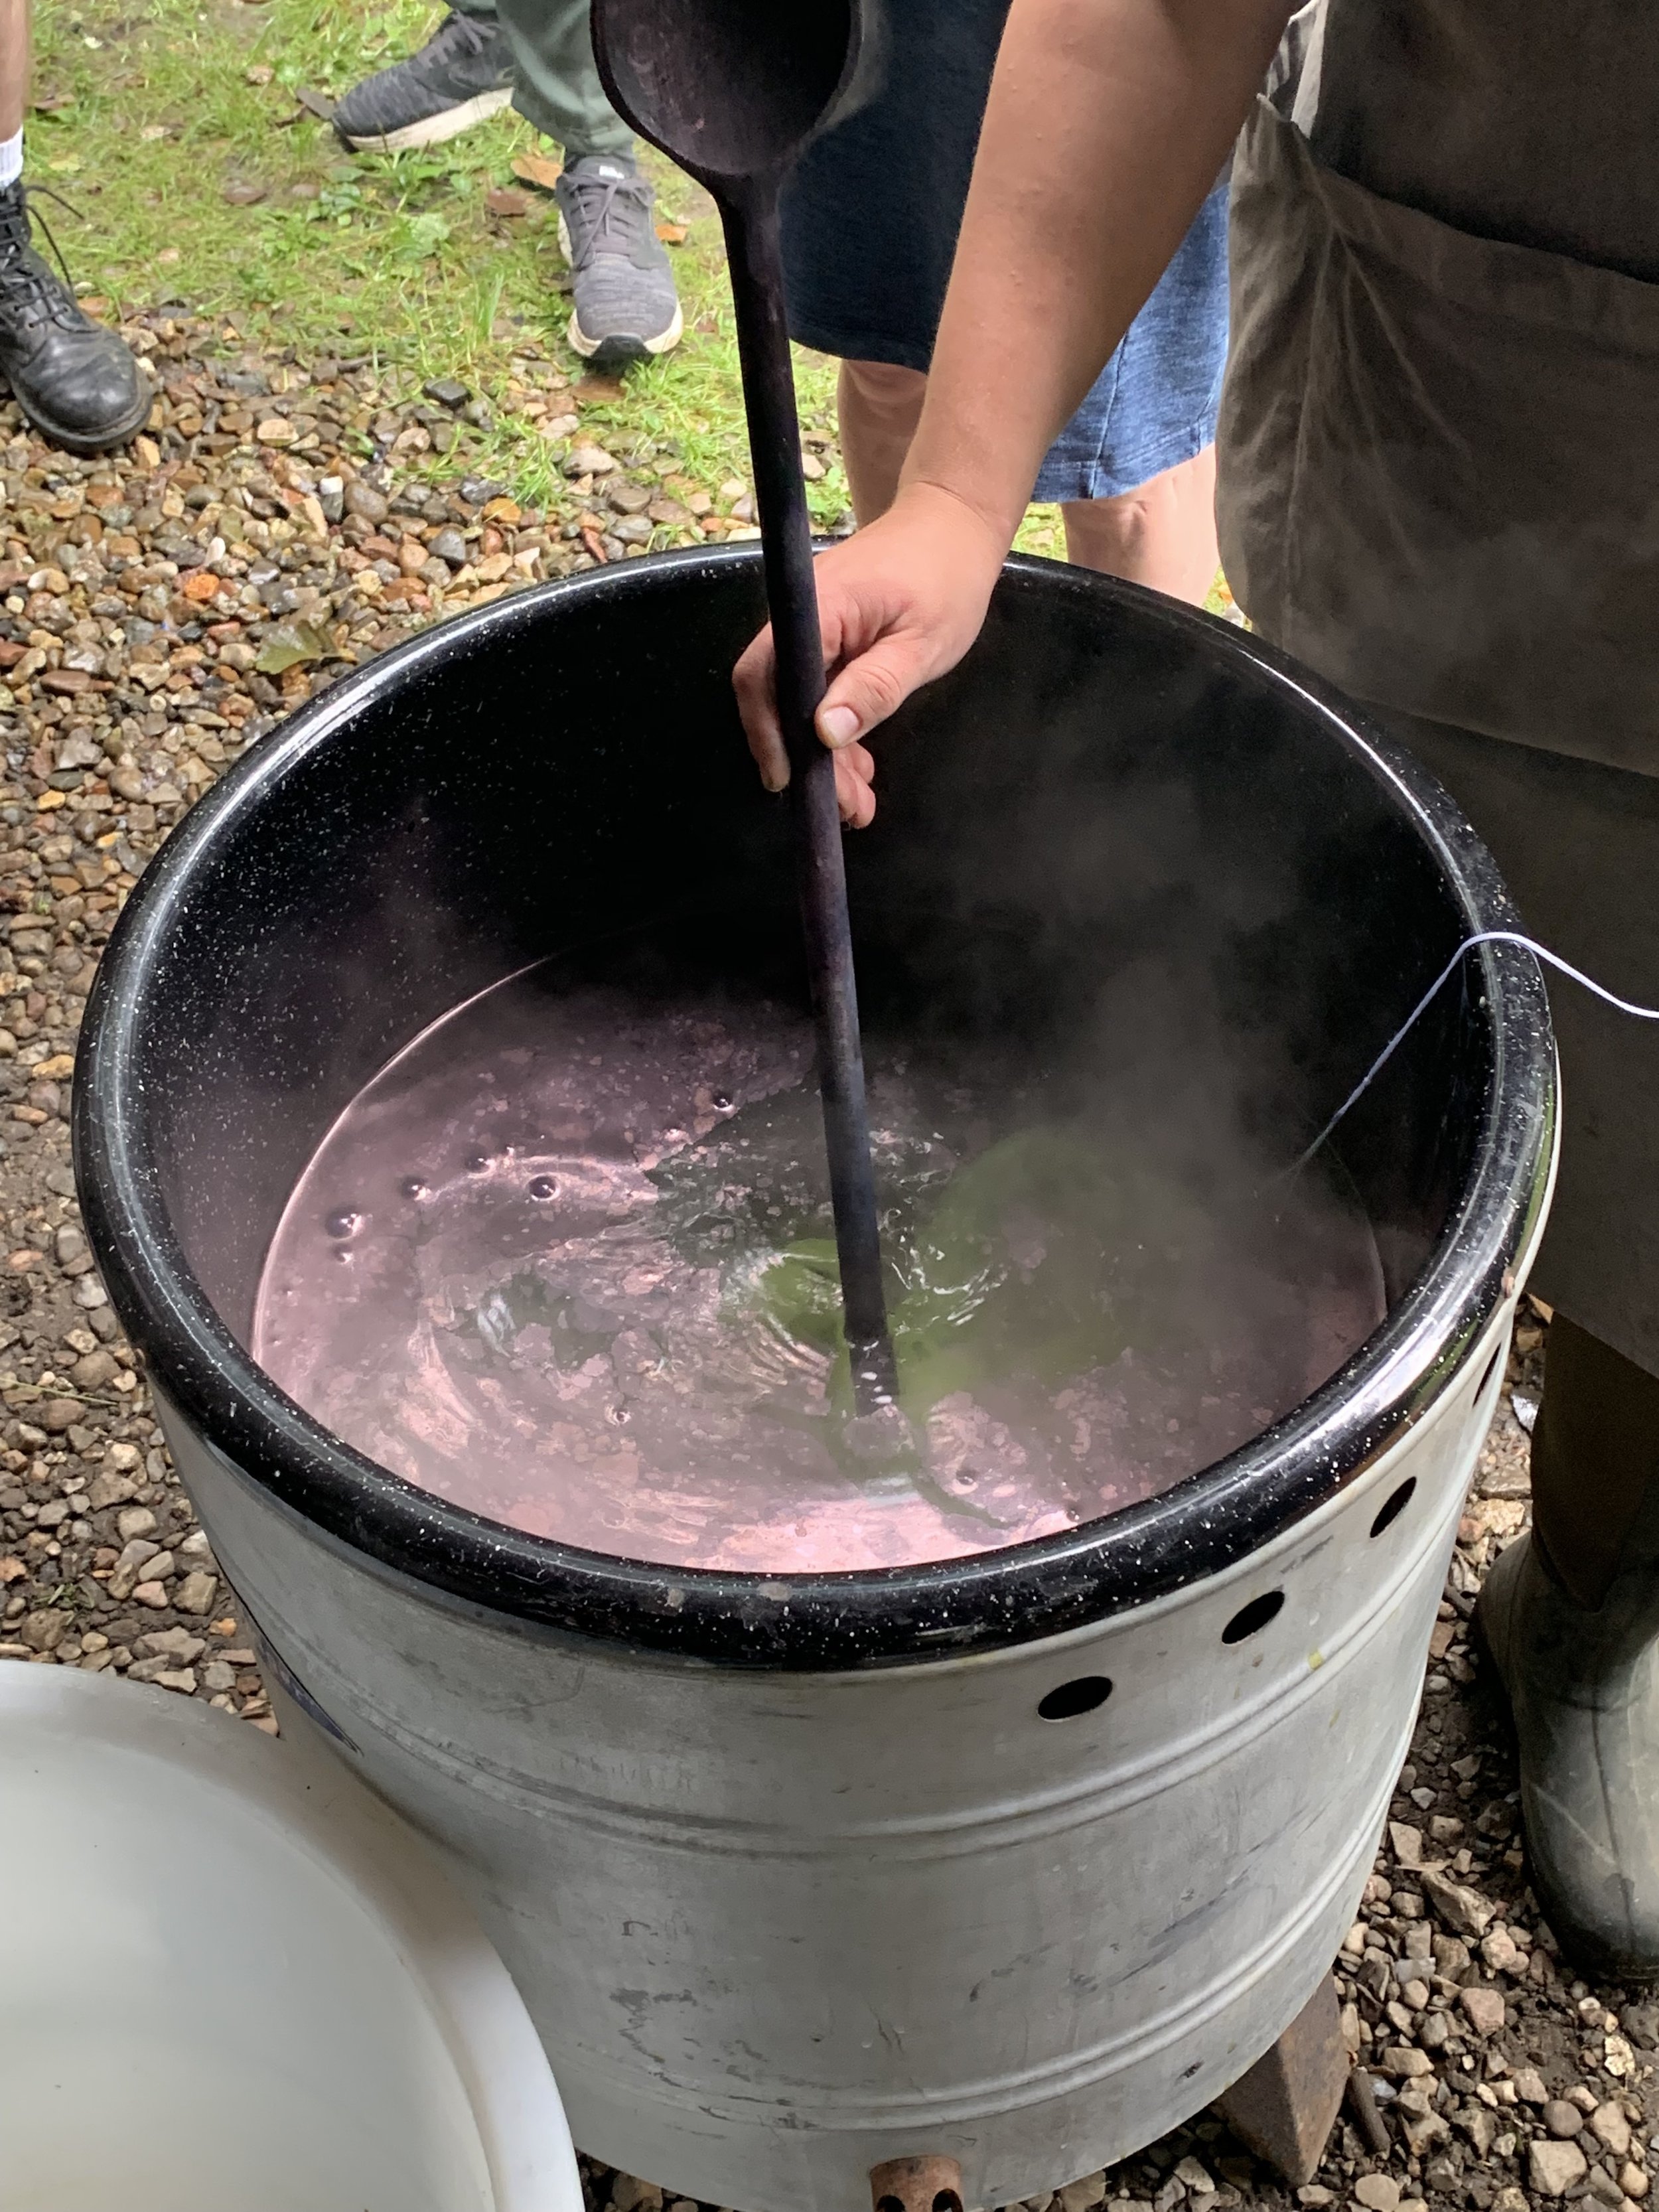
We dyed in 100g skeins in a lovely countryside setting at a local scout’s centre. There was a wooden hut where we did our dyeing with a wood fire to heat water. First we had to prep our skeins for dyeing by adding ties and labels to keep track of how each skein is dyed. Then select skeins were put in mordant baths of alum for an hour or for the cochineal bath specially the mordant, creme of tartar, was added directly to the dye bath. Creme of tartar is a mordant that is added directly to the dye bath for particularly the cooler warm colours such as cochineal, think more purple reds. Then it was on to the first day of dyeing: reds & browns.
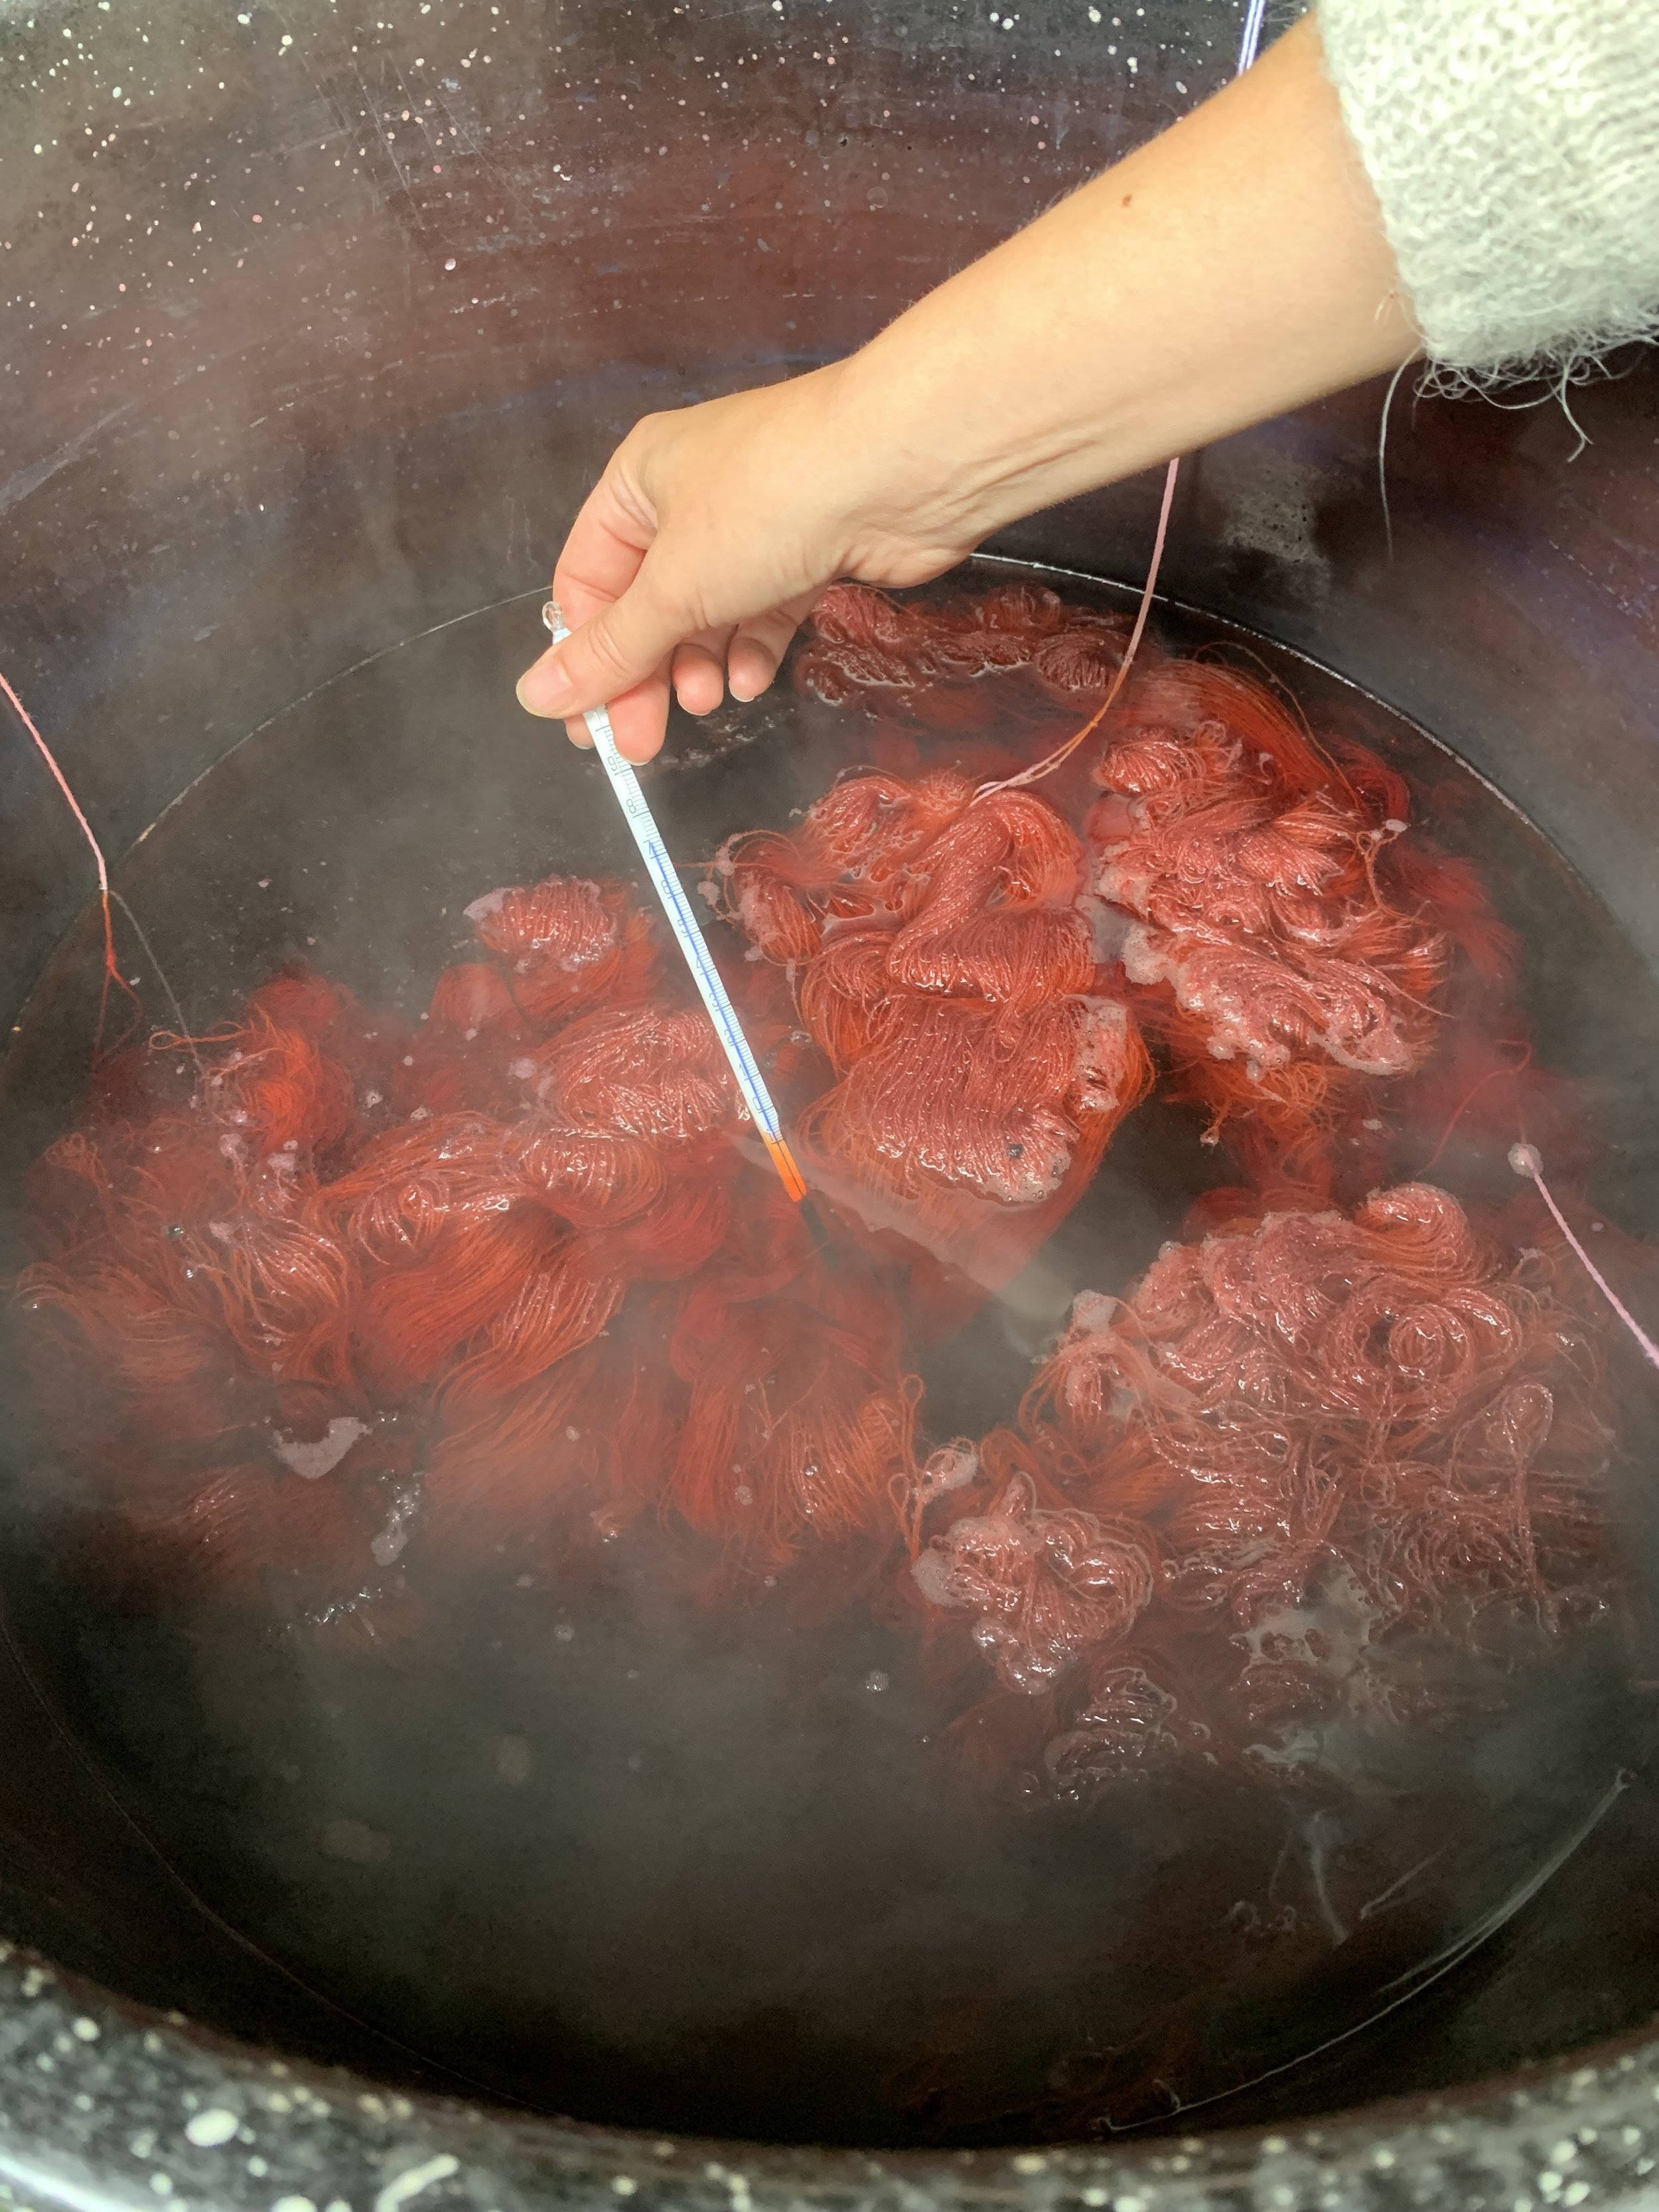
Each dye bath had 4 skeins of yarn to produce 4 skeins, 3 were assigned for various over dyeing and the 4th skein is marked as “original” to be kept as the colour of that dye bath. The yarn was left in all the dye pots, apart from indigo and iron baths, for an hour at about 75-90C. Each dye pot was used 3 times to create varying shades which got progressively lighter.
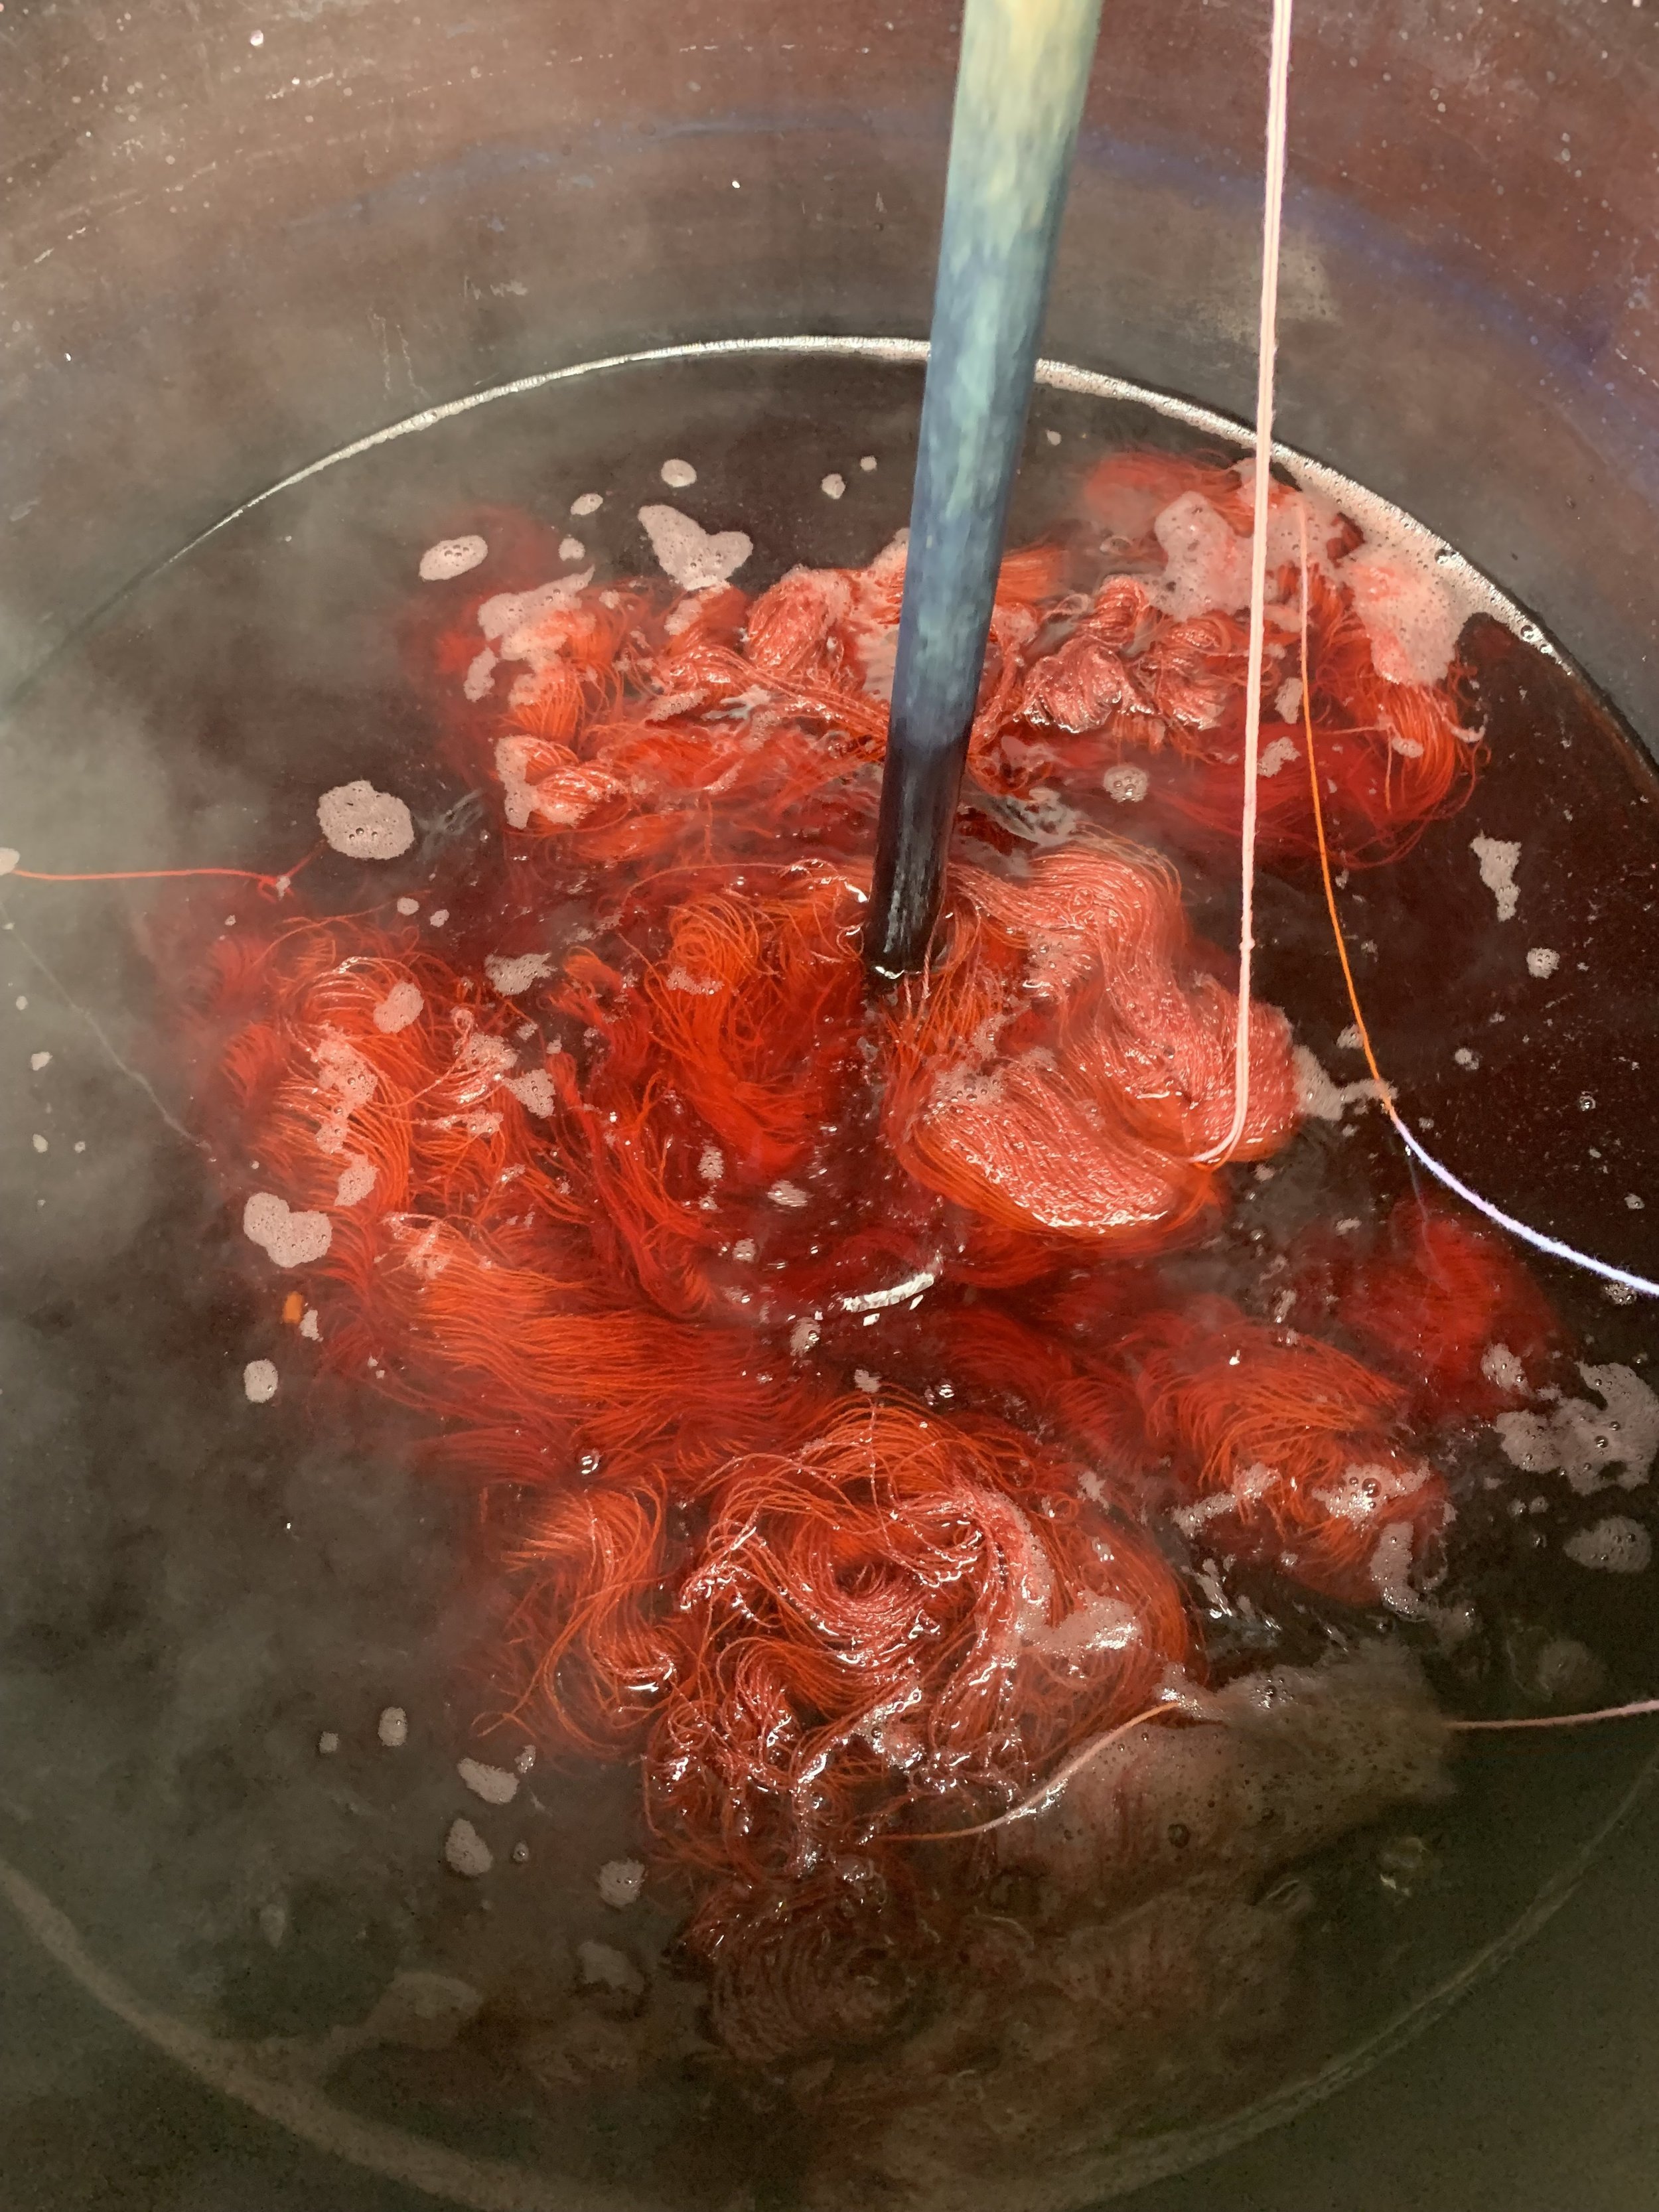
We started off with 3 dye pots filled with Walnut, Madder and Cochineal. I was working on the cochineal bath along side keen dyer Helena. The cochineal produced a beautiful rich cool burgundy red.

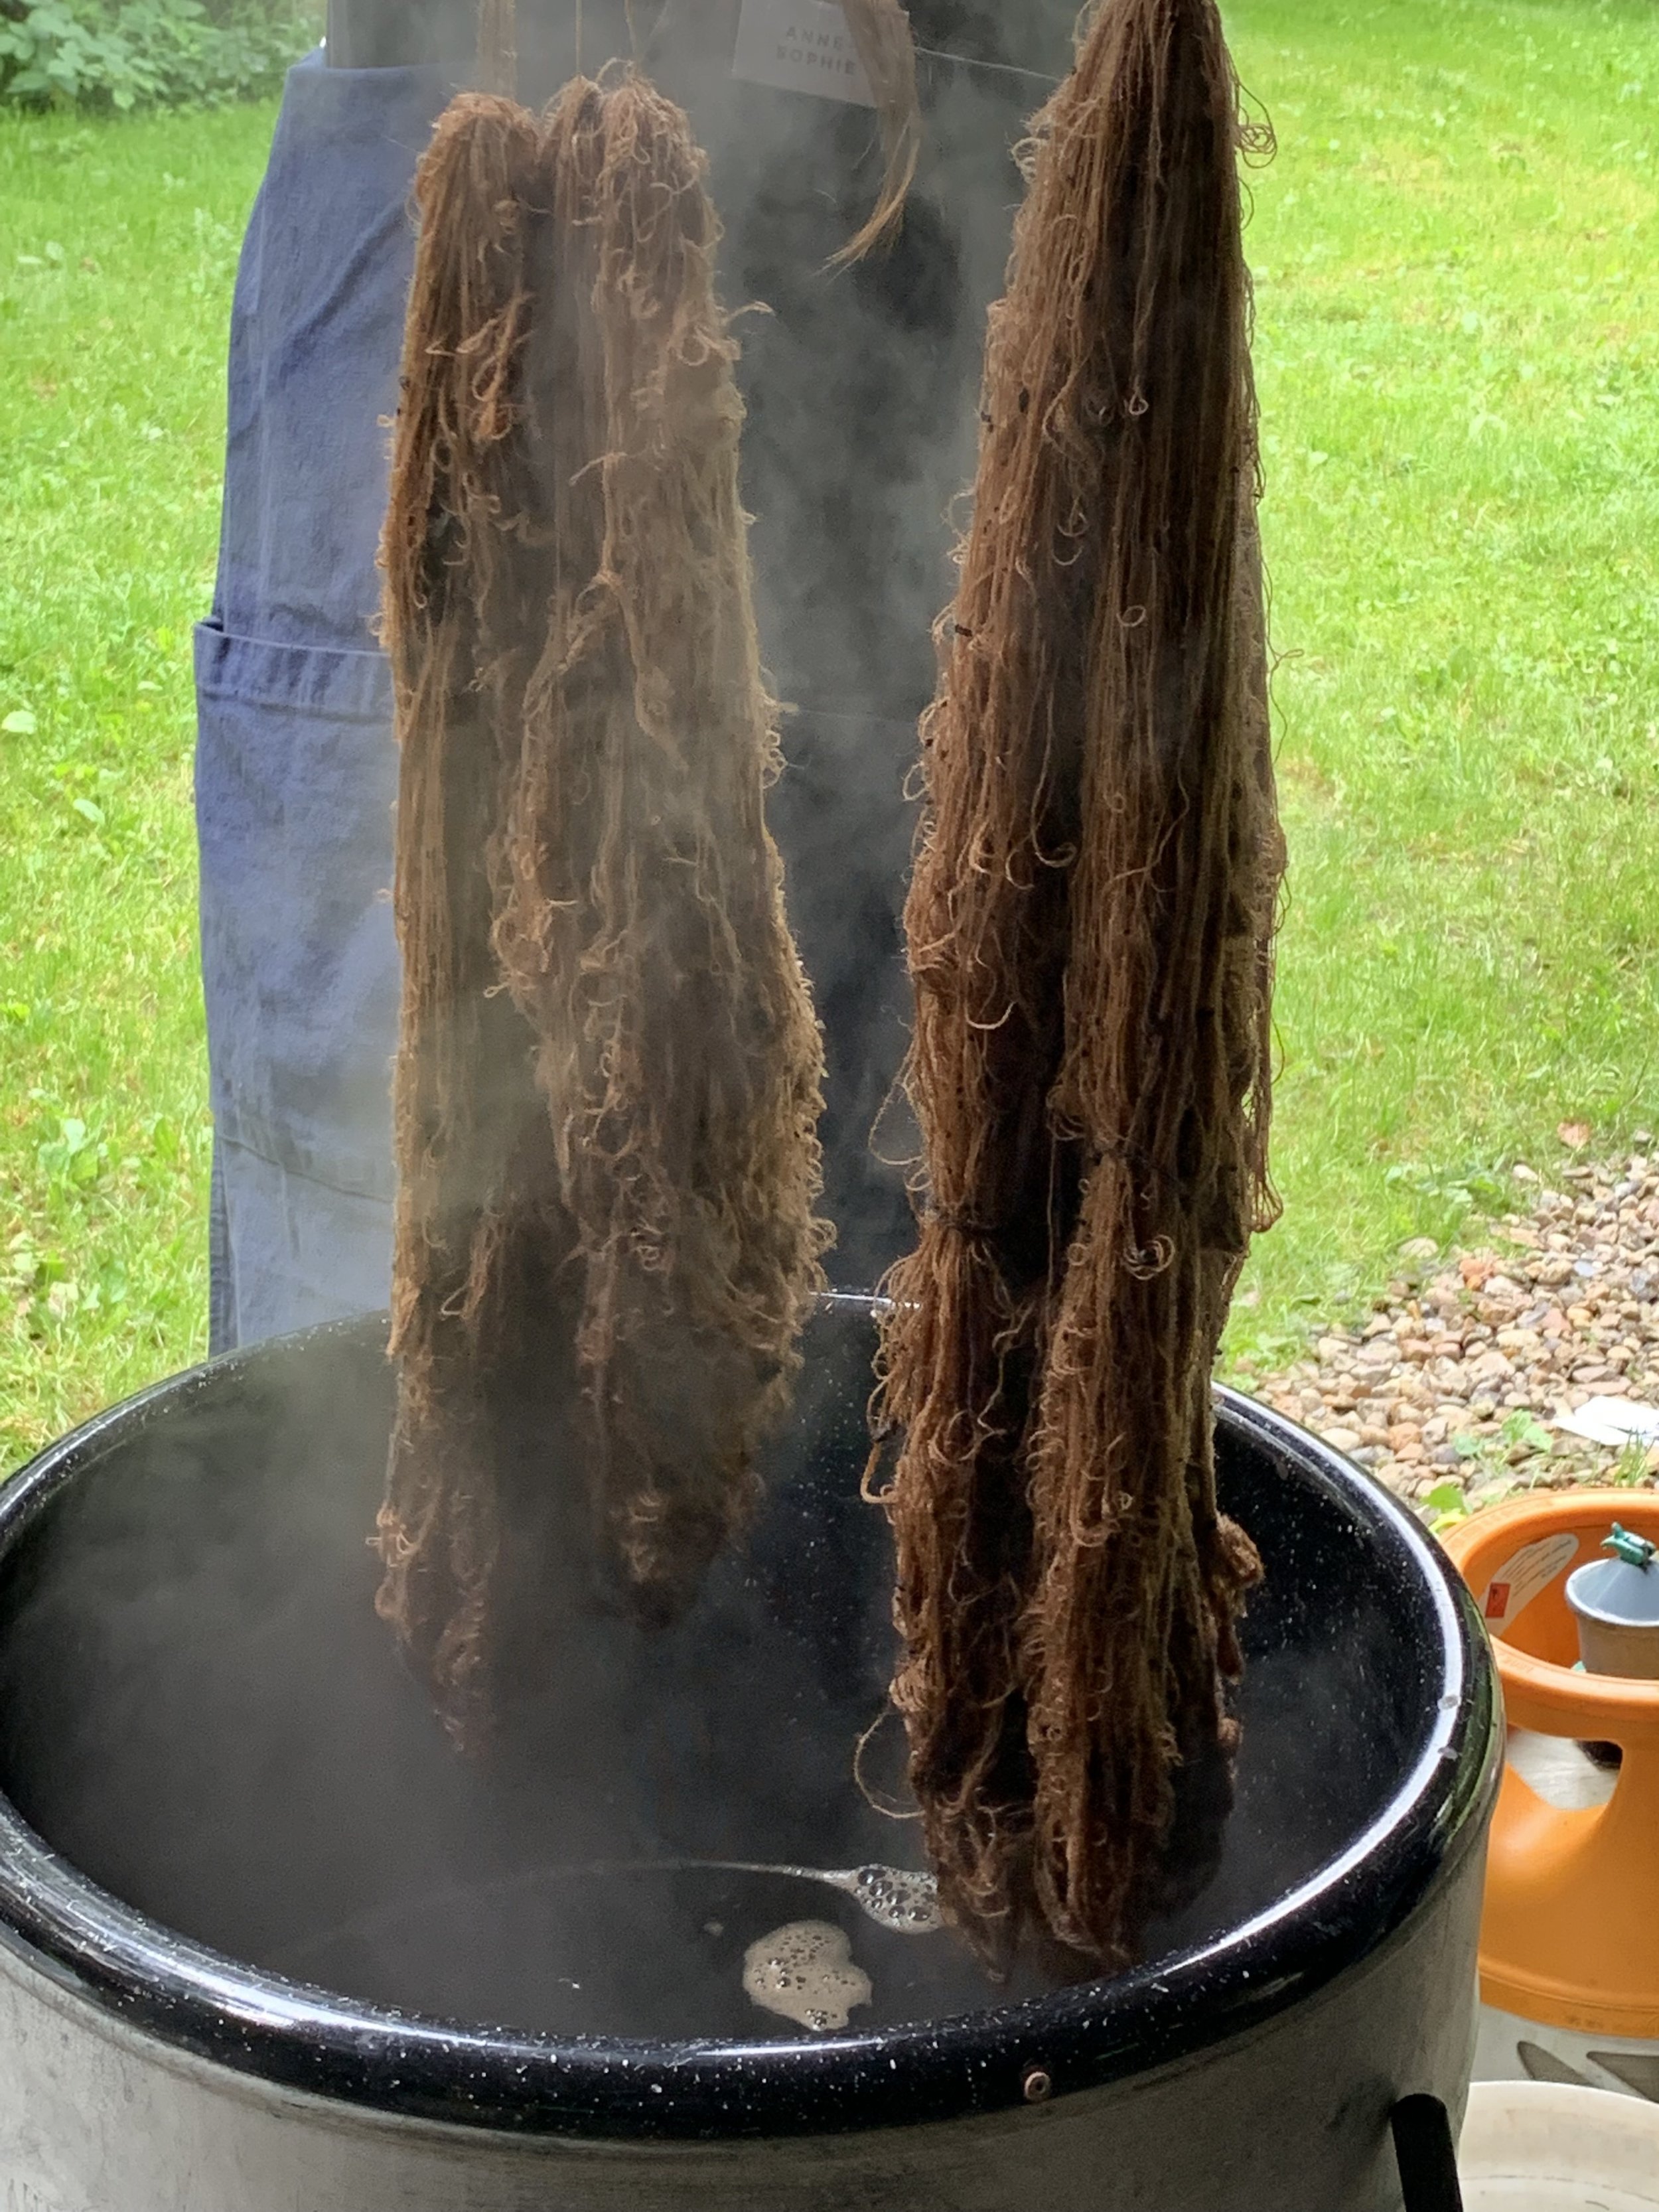
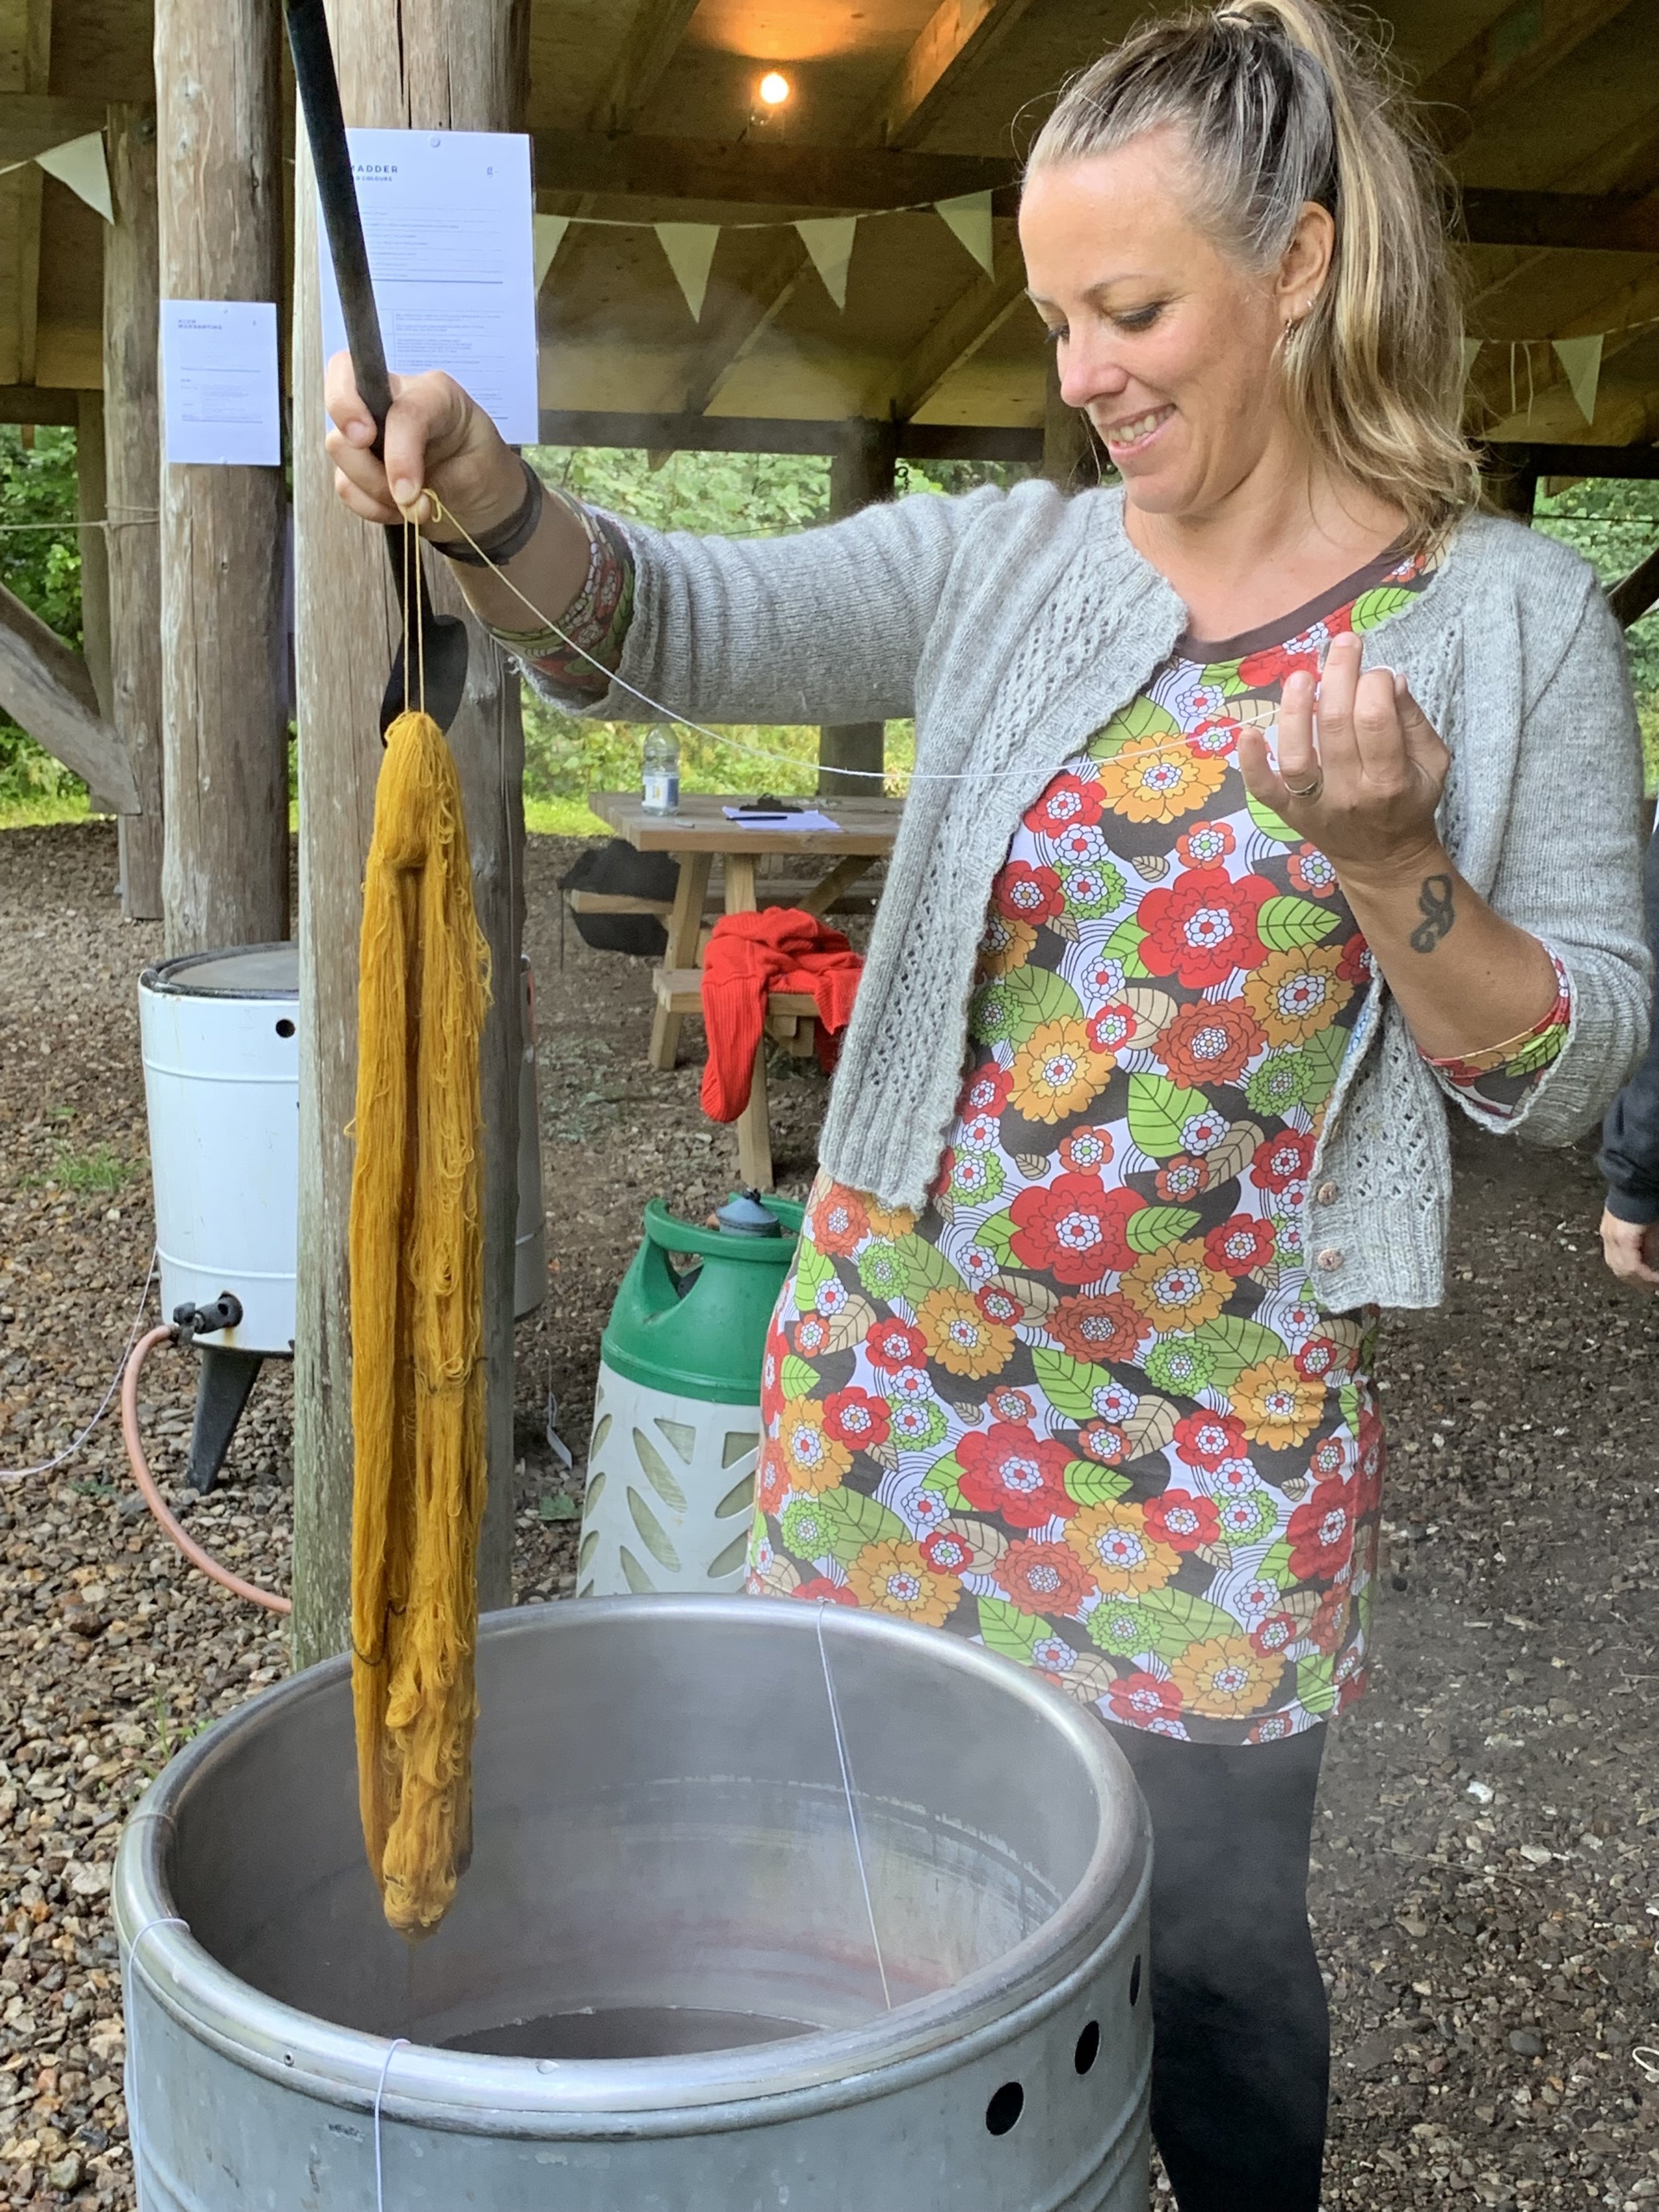
After an hour in the dye pot at 80C the skeins are ready to be hung to dry. Just look at that beautiful colour!
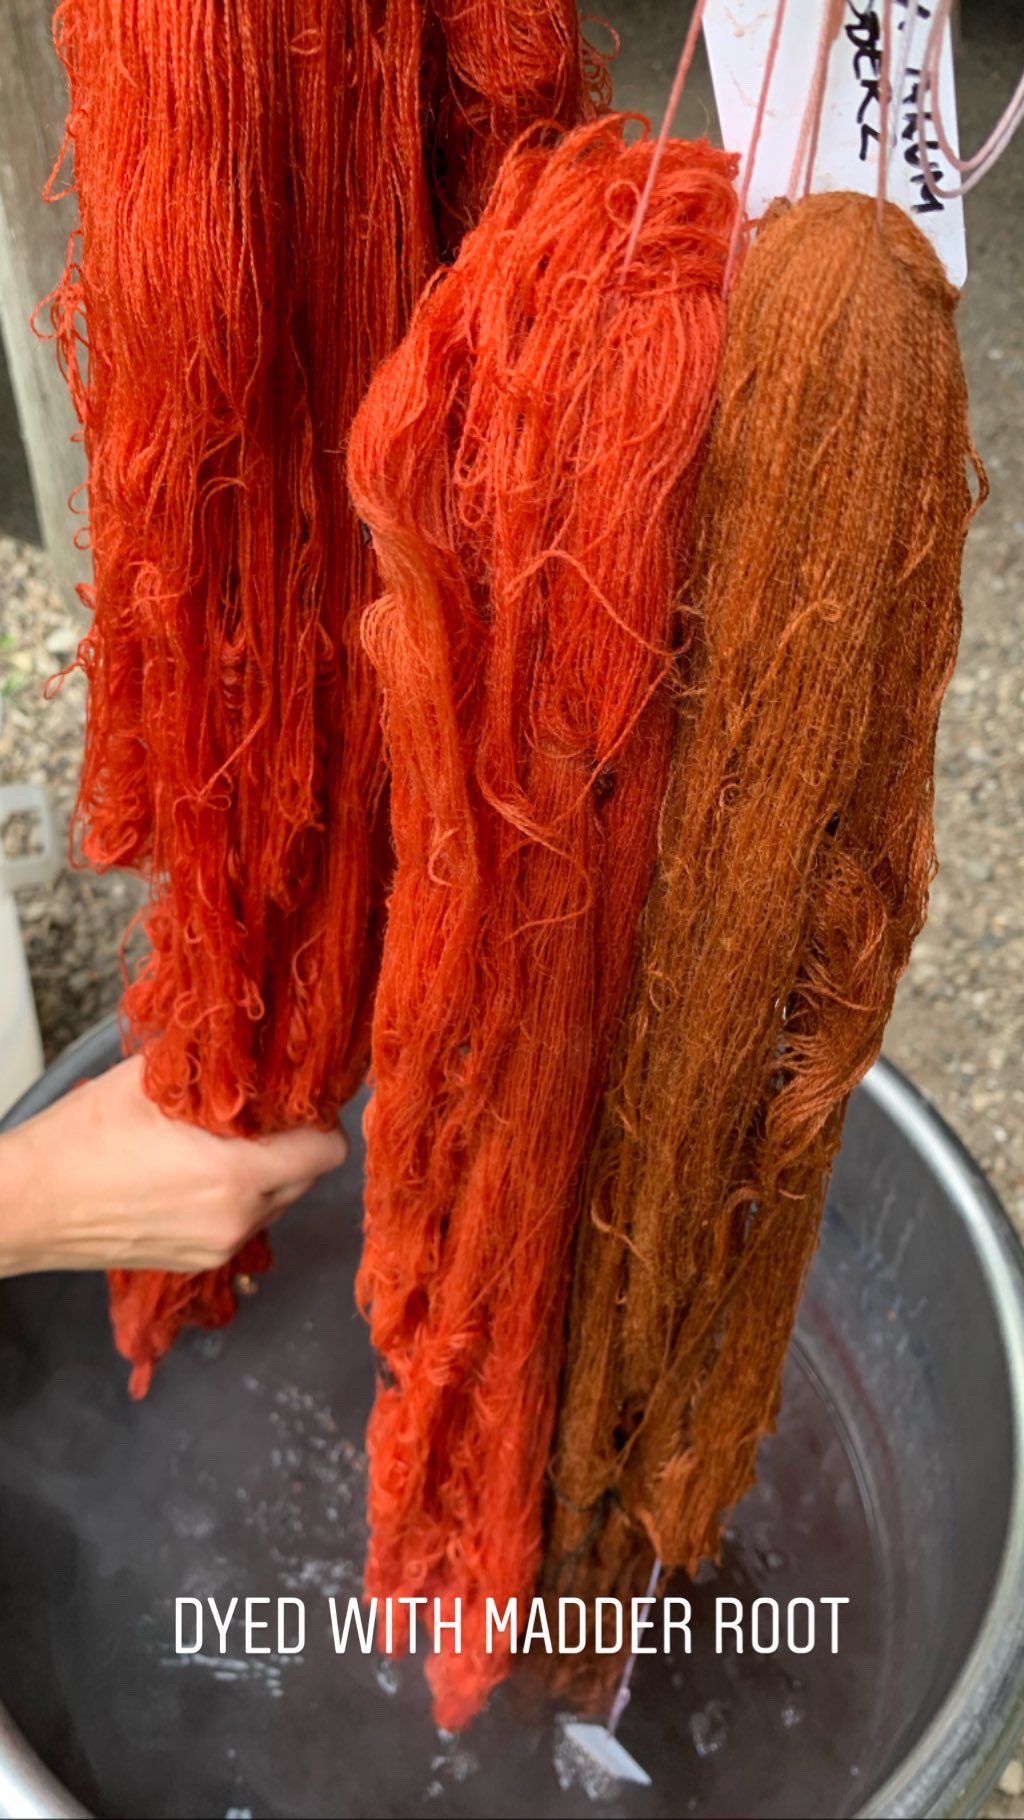
While Helena and I were immersed in our duties over the cochineal dye pot, there was some gorgeous skeins coming out of the walnut and madder dye pots. Walnut is one of the few dyes that didn’t require skeins to be mordanted because of the natural tannins in the dye.
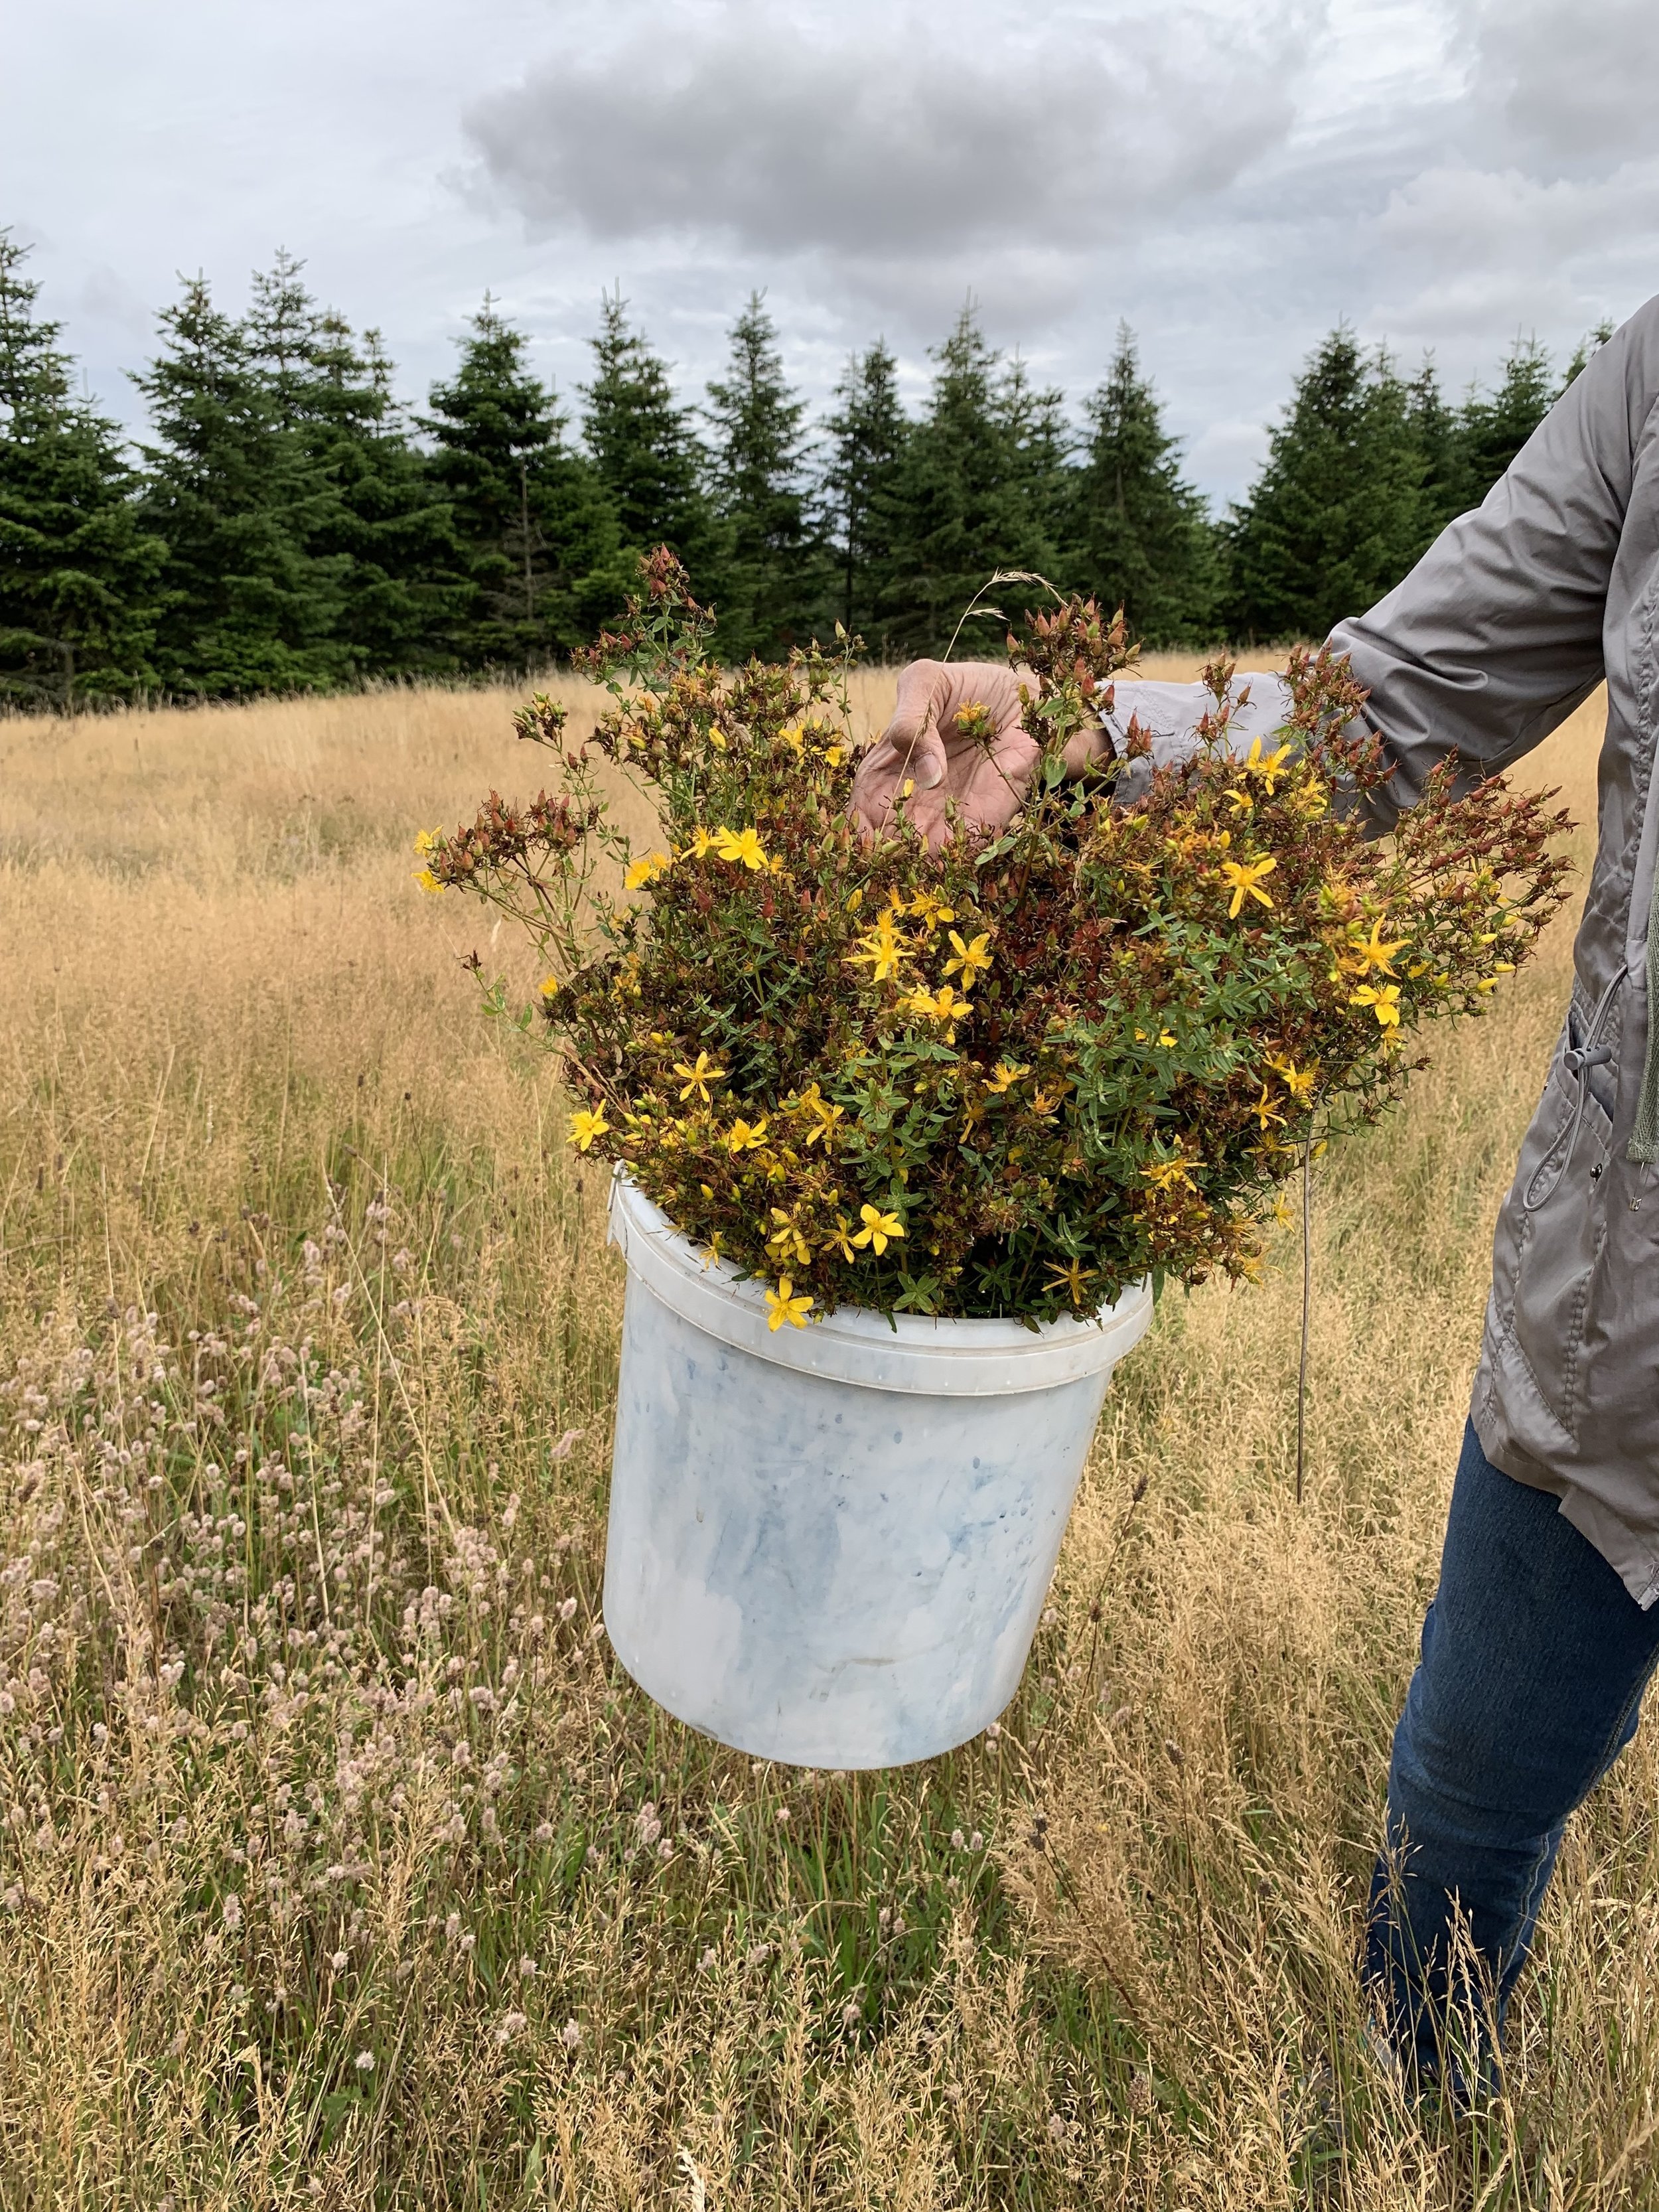
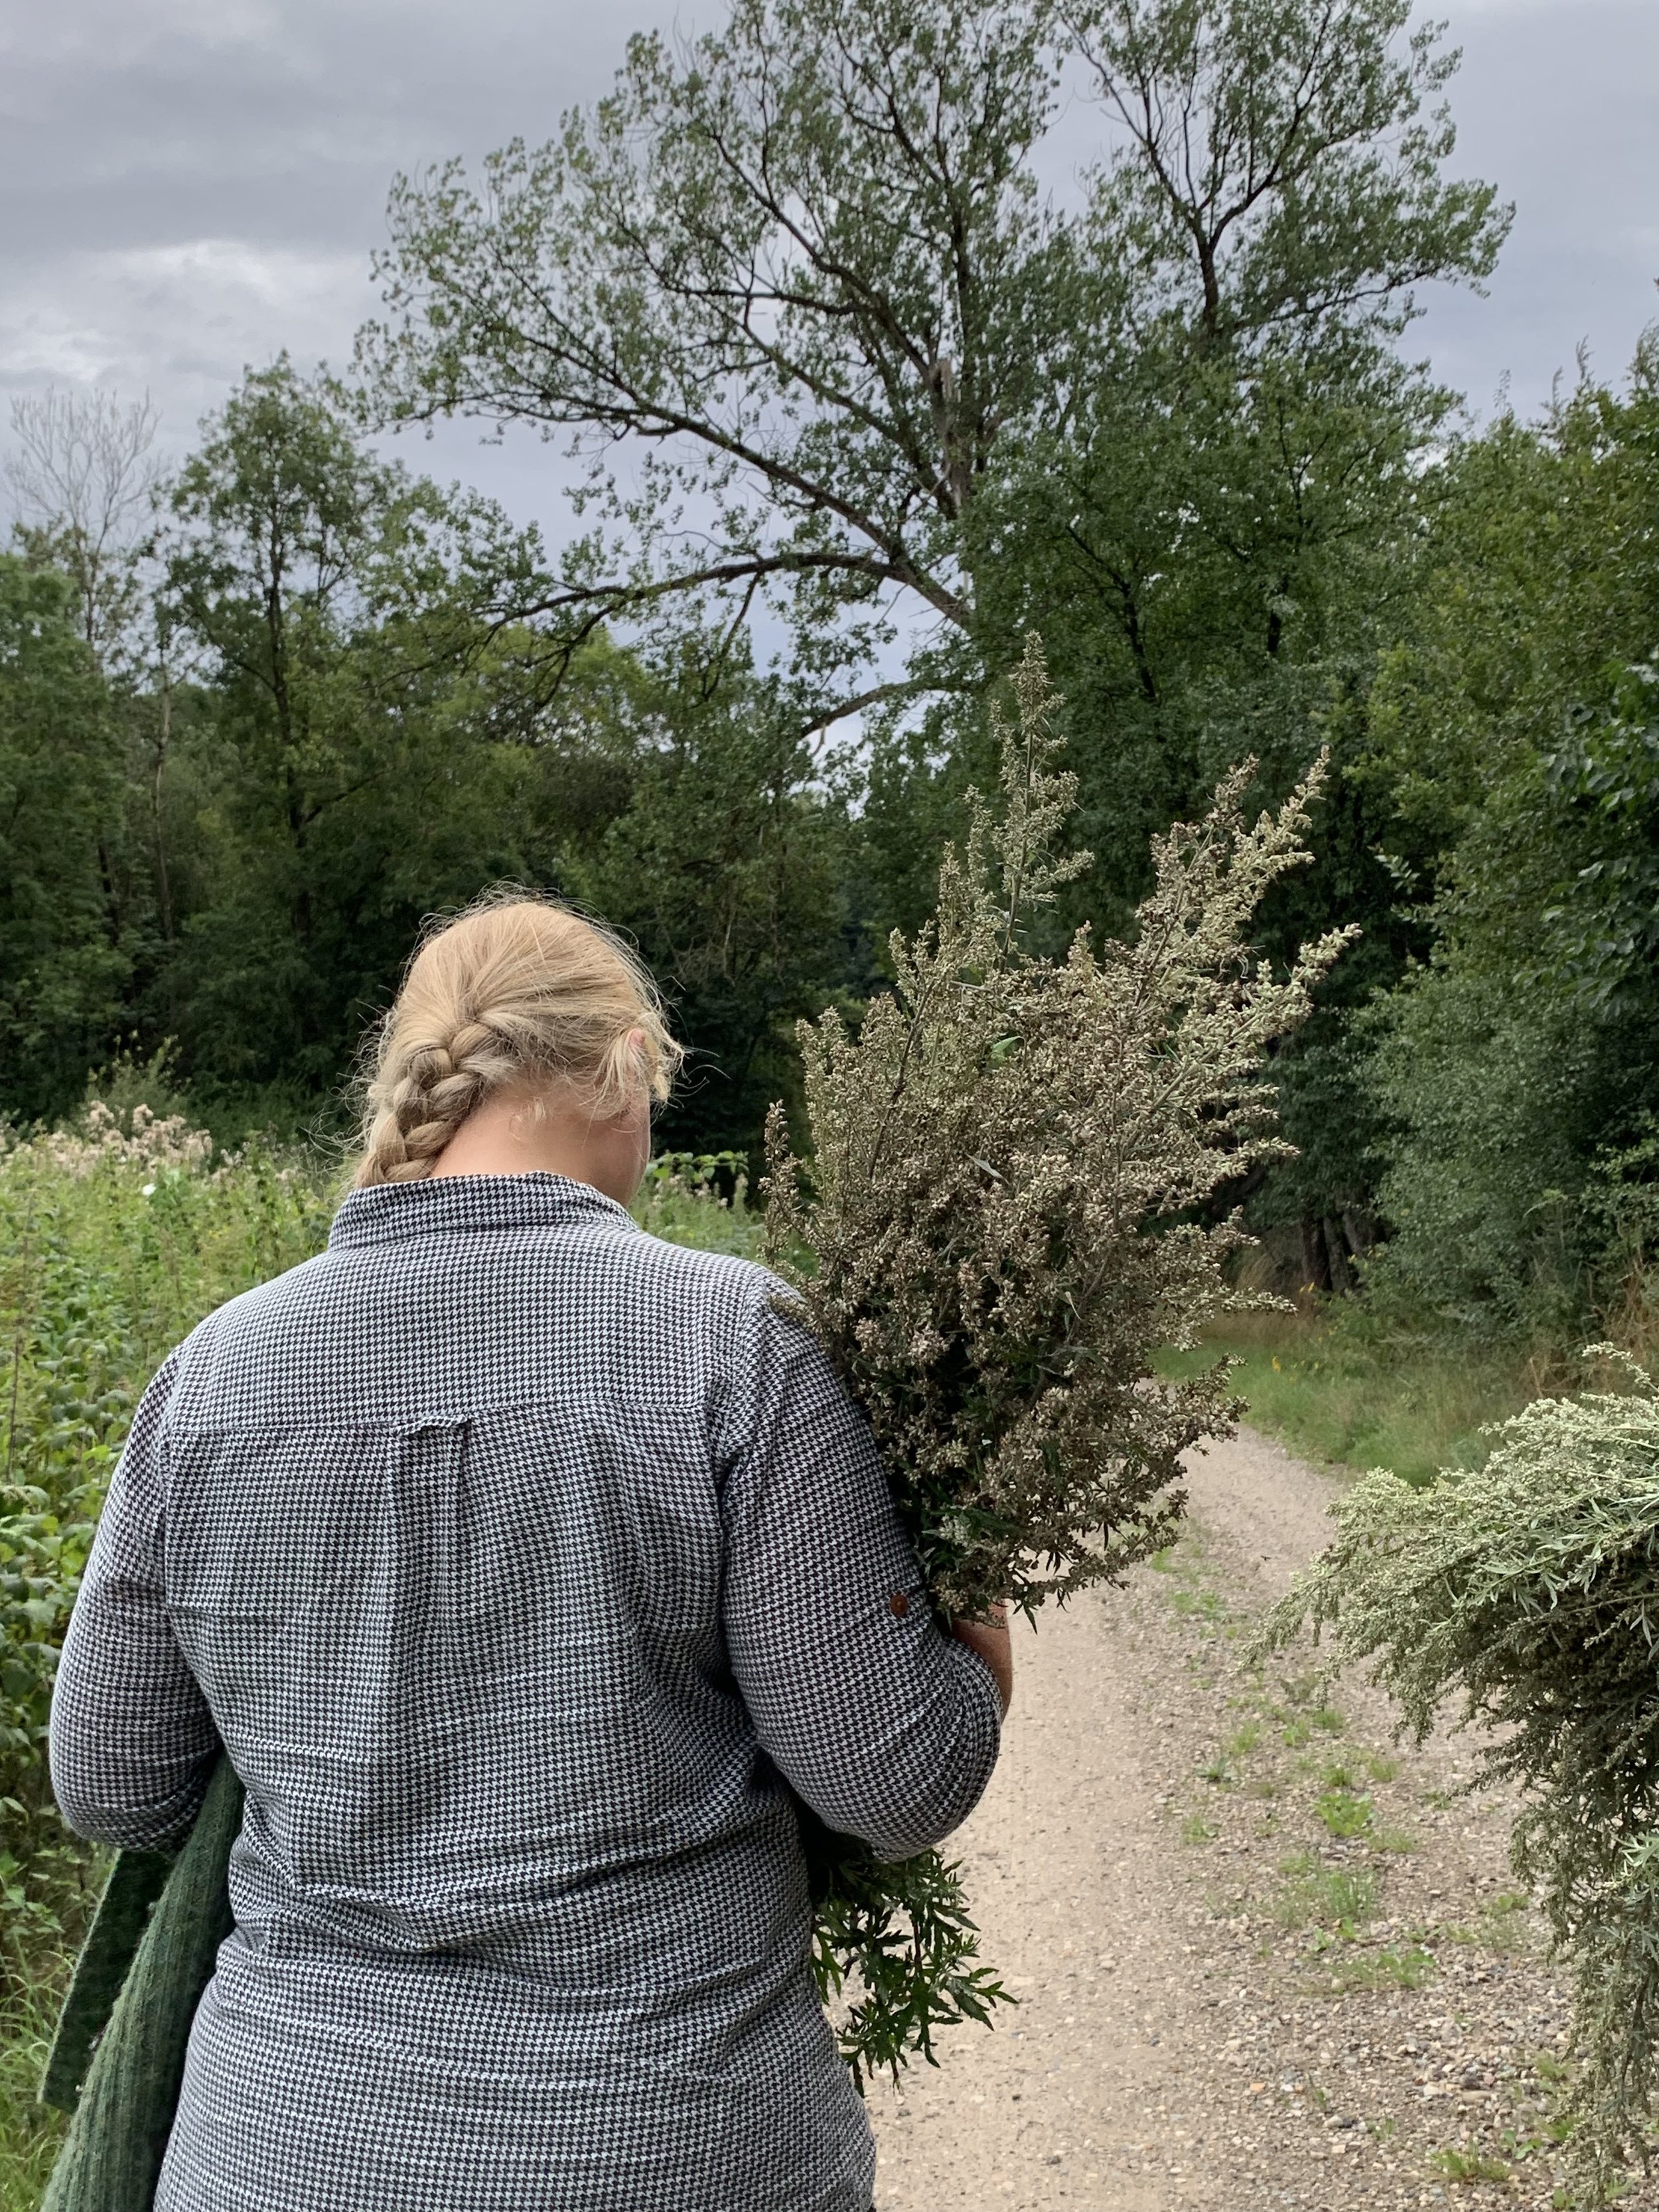
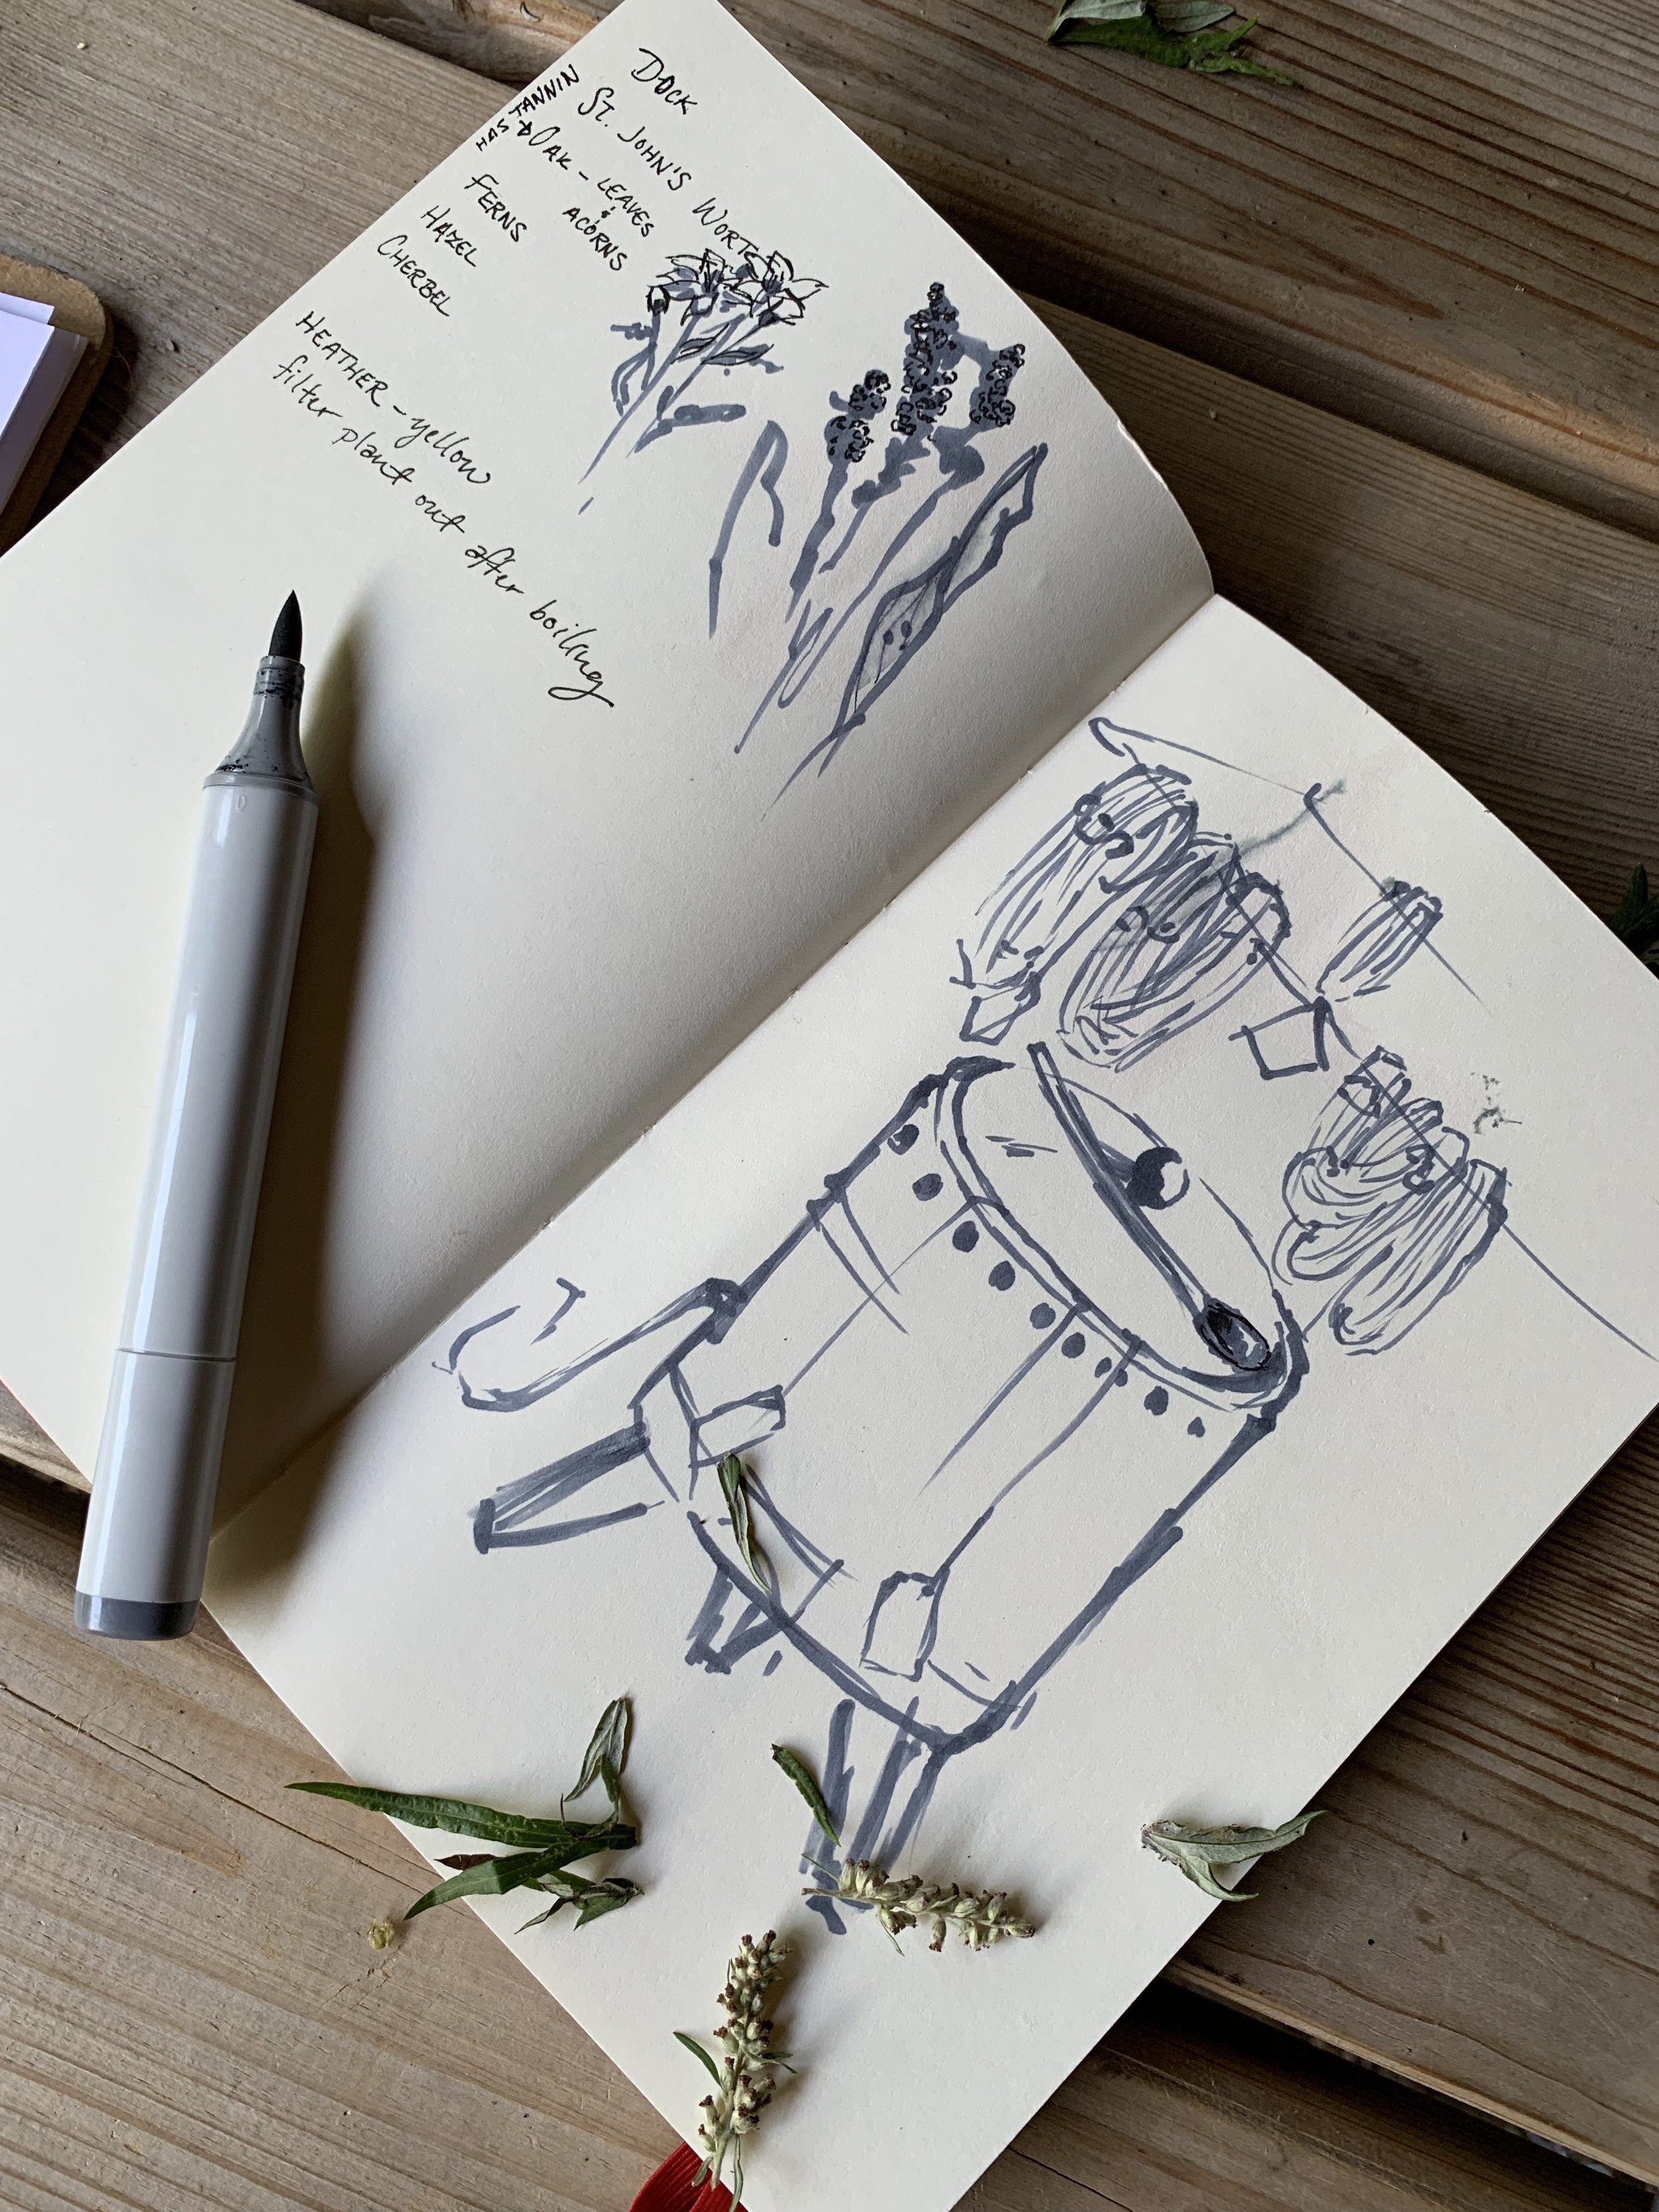
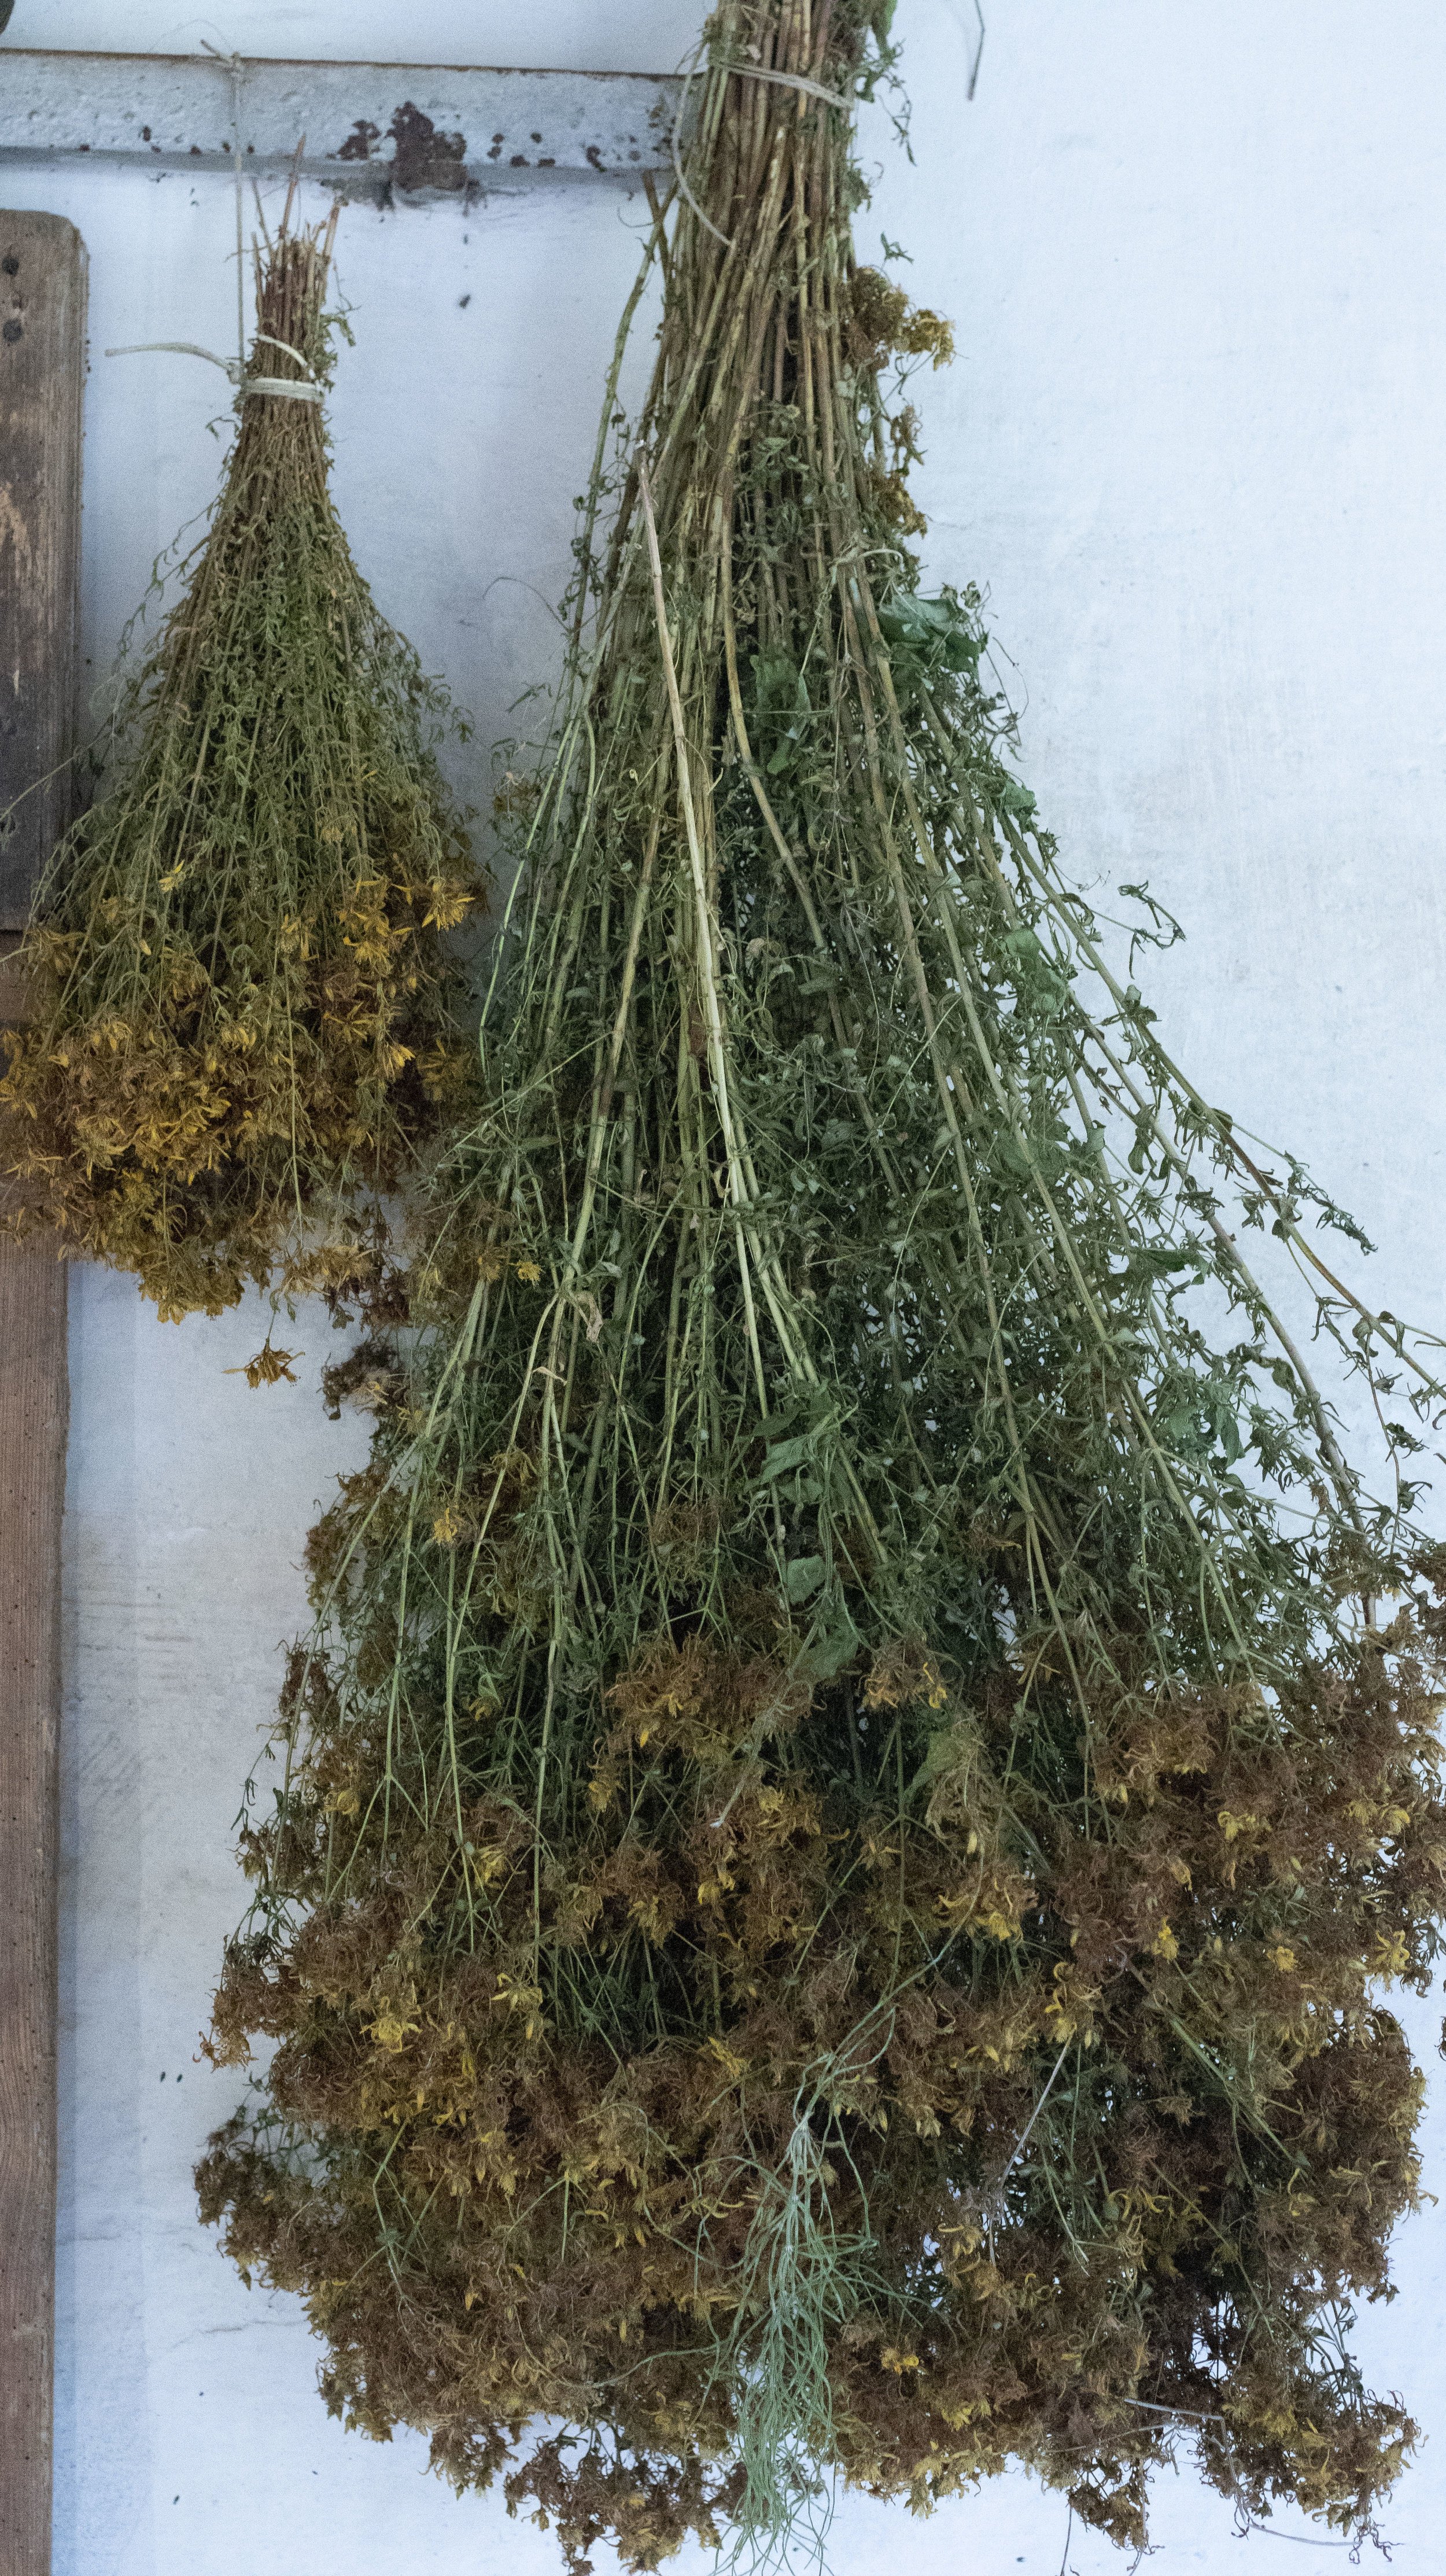
Then we went off for a walk in the surrounding field to forage for some fresh dye stuff. We picked a bunch of St. John’s Wort and Mugwort to create some nice shades of yellow as well as oak leaves and acorns for a nice neutral beige for overdyeing. Oak is another tannin dye which does not require a mordant.

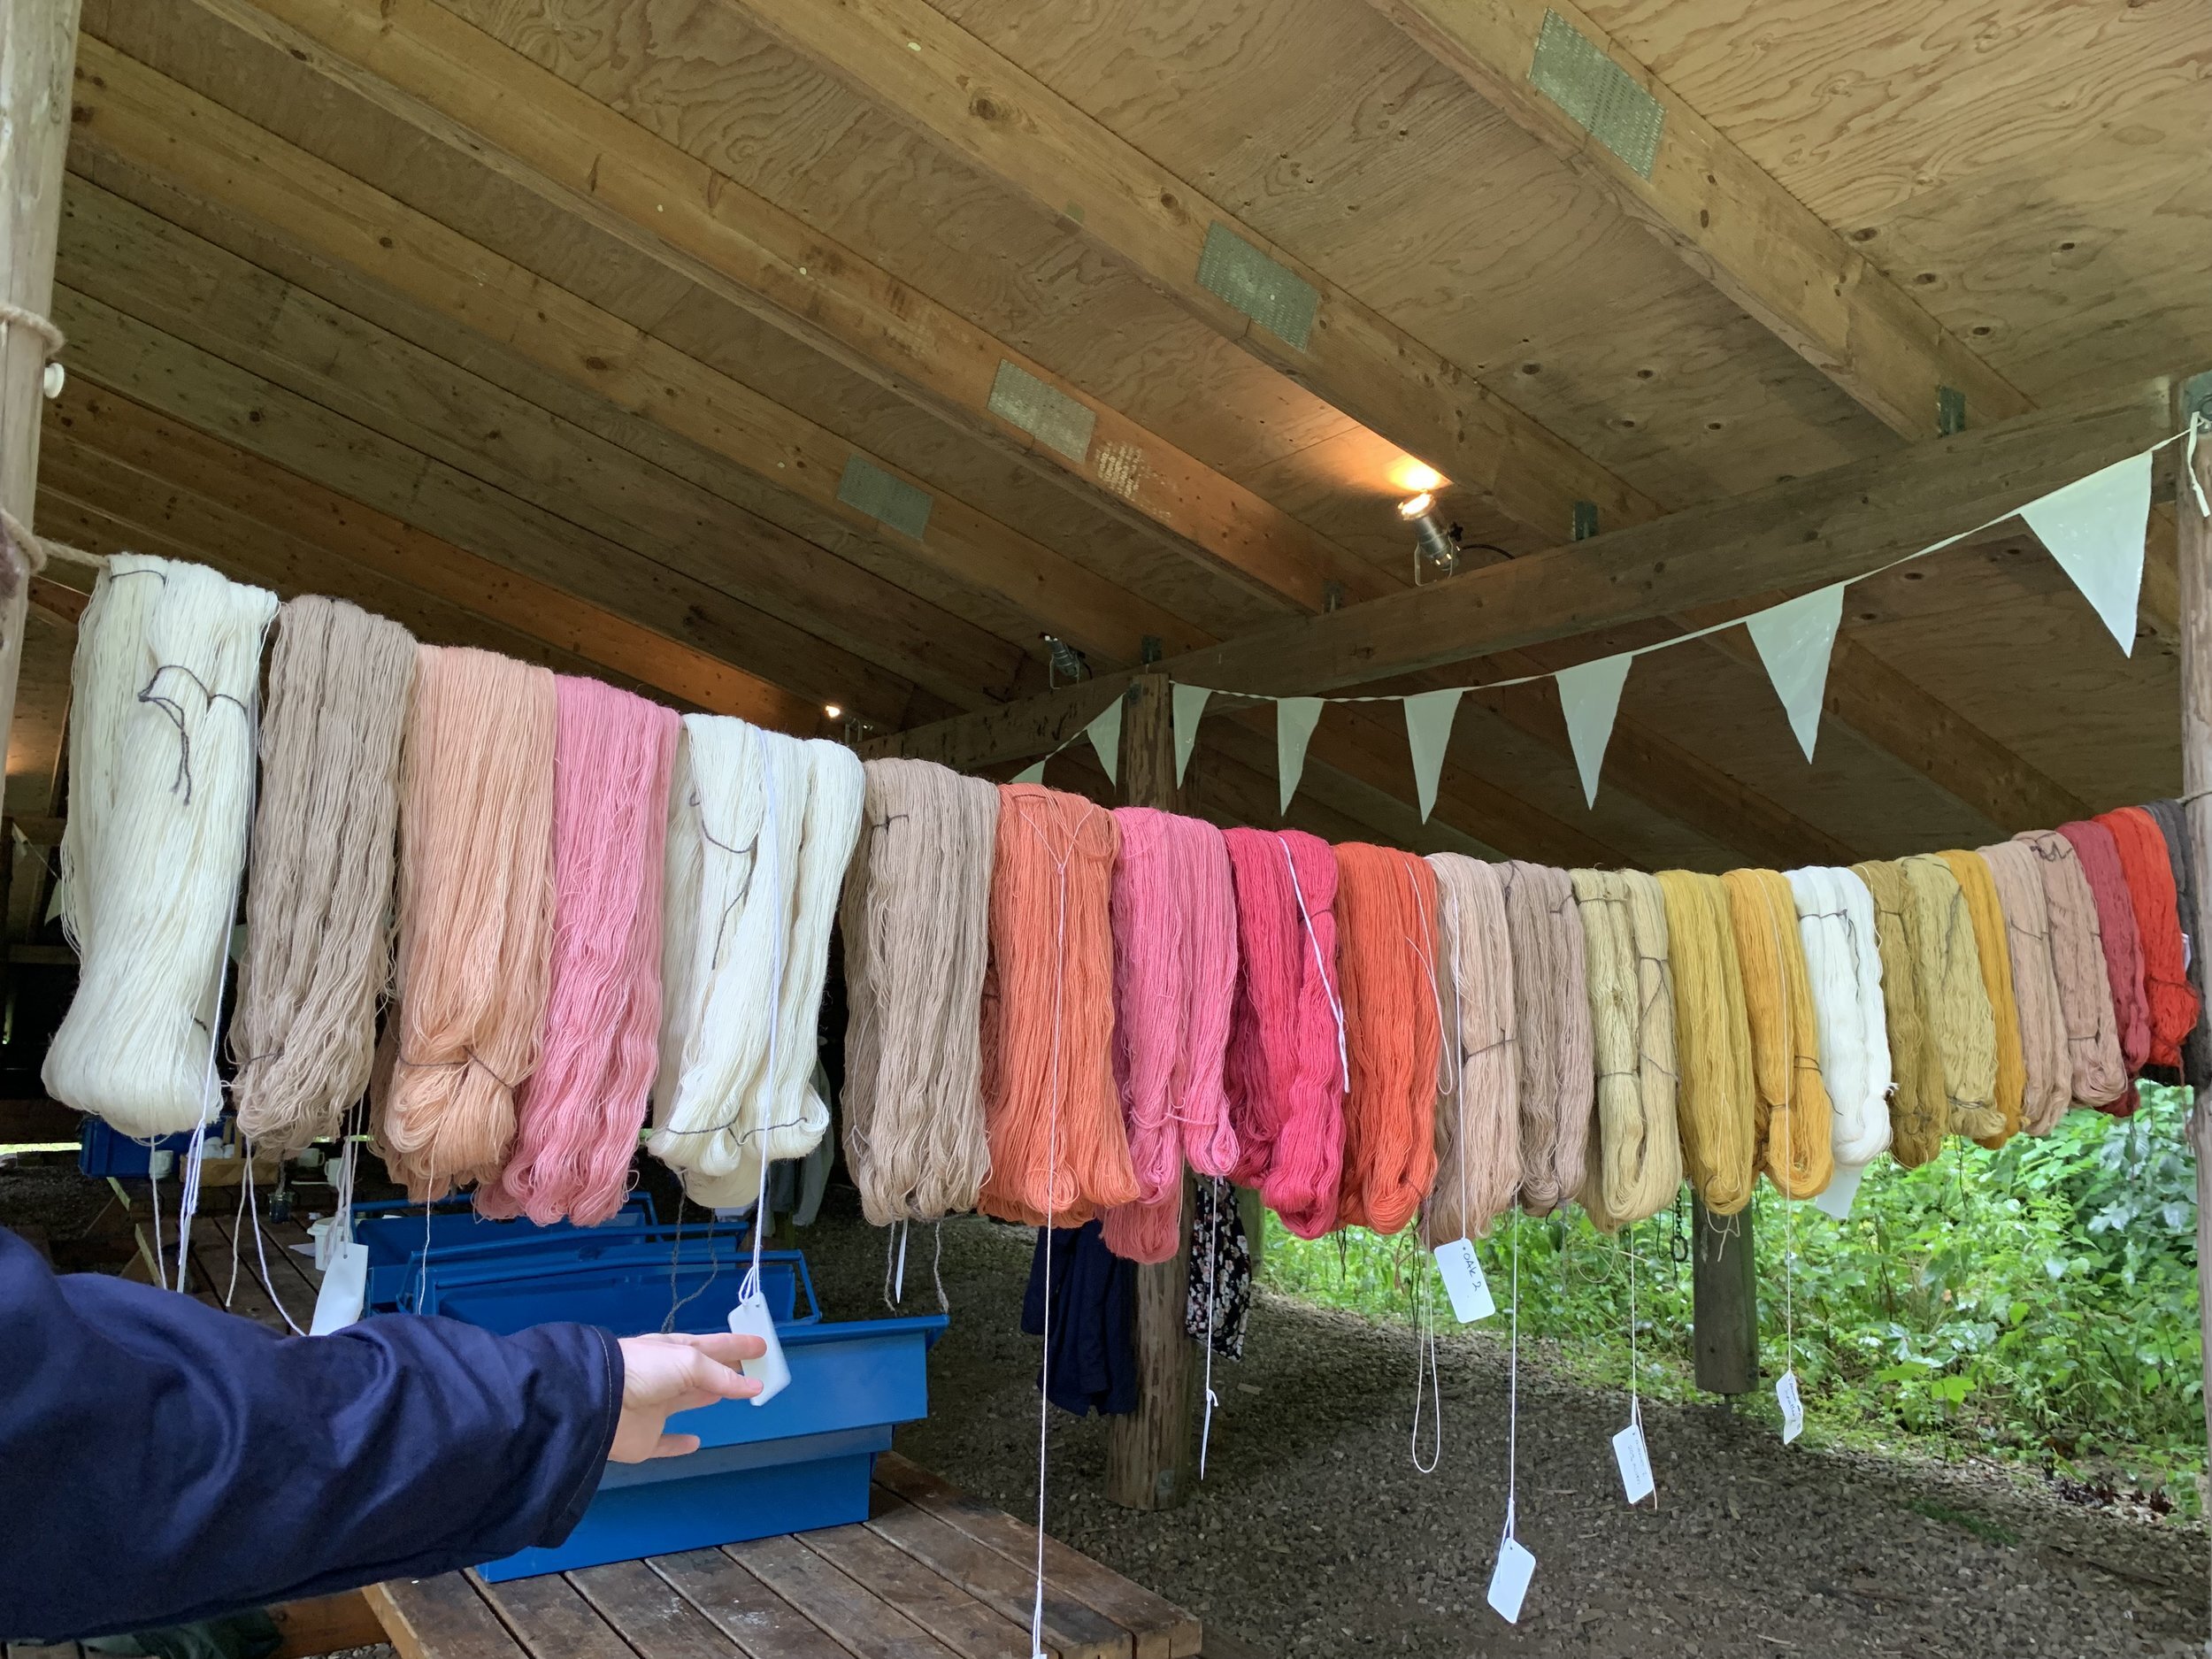
Day 1 skeins hanging to dry. Some skeins were over dyed in other dye pots to create varying shades.
DAY 2
This was our last day of dyeing. We focused on yellows and blues with a lot of overdoing to create shades in-between. First was the yellows including the plants we foraged for the day before: St. John’s Wort, Mugwort and Oak along with supplied dried heather. The freshly foraged plants were boiled in the dye pots. Apart from the oak dye bath, the heather and mugwort plant material was filtered out of the dye pot before putting in the skeins to dye.
I had no idea that heather would produce a yellow as it presents itself as a beautiful purple in nature. I was lucky to be assigned care of the heather dye pot which was a joy because of the surprisingly bright and rich yellow colour it produced.

I was surprised by how many times the dye bath could be used for each of the dyes we used (cochineal, madder, walnut, oak, st.john’s wort, mugwort, and heather). Most could do 3 baths with the exception of heather which was used for 2 dye baths. Each subsequent dye bath ( the yarn was left for 1 hour) produced lighter shades.

Drying racks filling up with the yellow shades.
Next was prepping the indigo for a blue afternoon. A straight forward Indigo vat was prepared in a glass mason jar to be used after lunch. This small vat has the strength to dye 5 kilos of wool and can be stored up to 6 months.

While the indigo vat was left to sit for a bit, we explored the use of modifier such as iron and potash. Potash was used on 4 skeins of wool dyed with cochineal, madder, heather, and St. John’s Wort. The potash, which was added 15% to the weight of the skein in a 1 L of warm water, would shift the colour to a richer tone. The skeins would be left in the potash mixture for 1.5- 2 hours. The most surprising shift in colour was the cochineal which started off a rich burgundy red that shifted to a very rich royal purple.

On the left is the original cochineal colour and on the right is the cochineal post potash bath
The other modifier used was Iron which two dye bath were created, one with iron and water the other was iron added to the oak dye bath. Iron shifts the colour to be darker and matte. The skeins but in an oak dye bath are only left in the bath for 5-10 min and then rinsed immediately.

Anne of g-uld showing the darker shades from the quick iron bath. The pale steel grey peeking out of the right corner is an undyed skein with alum mordant put in the iron bath.
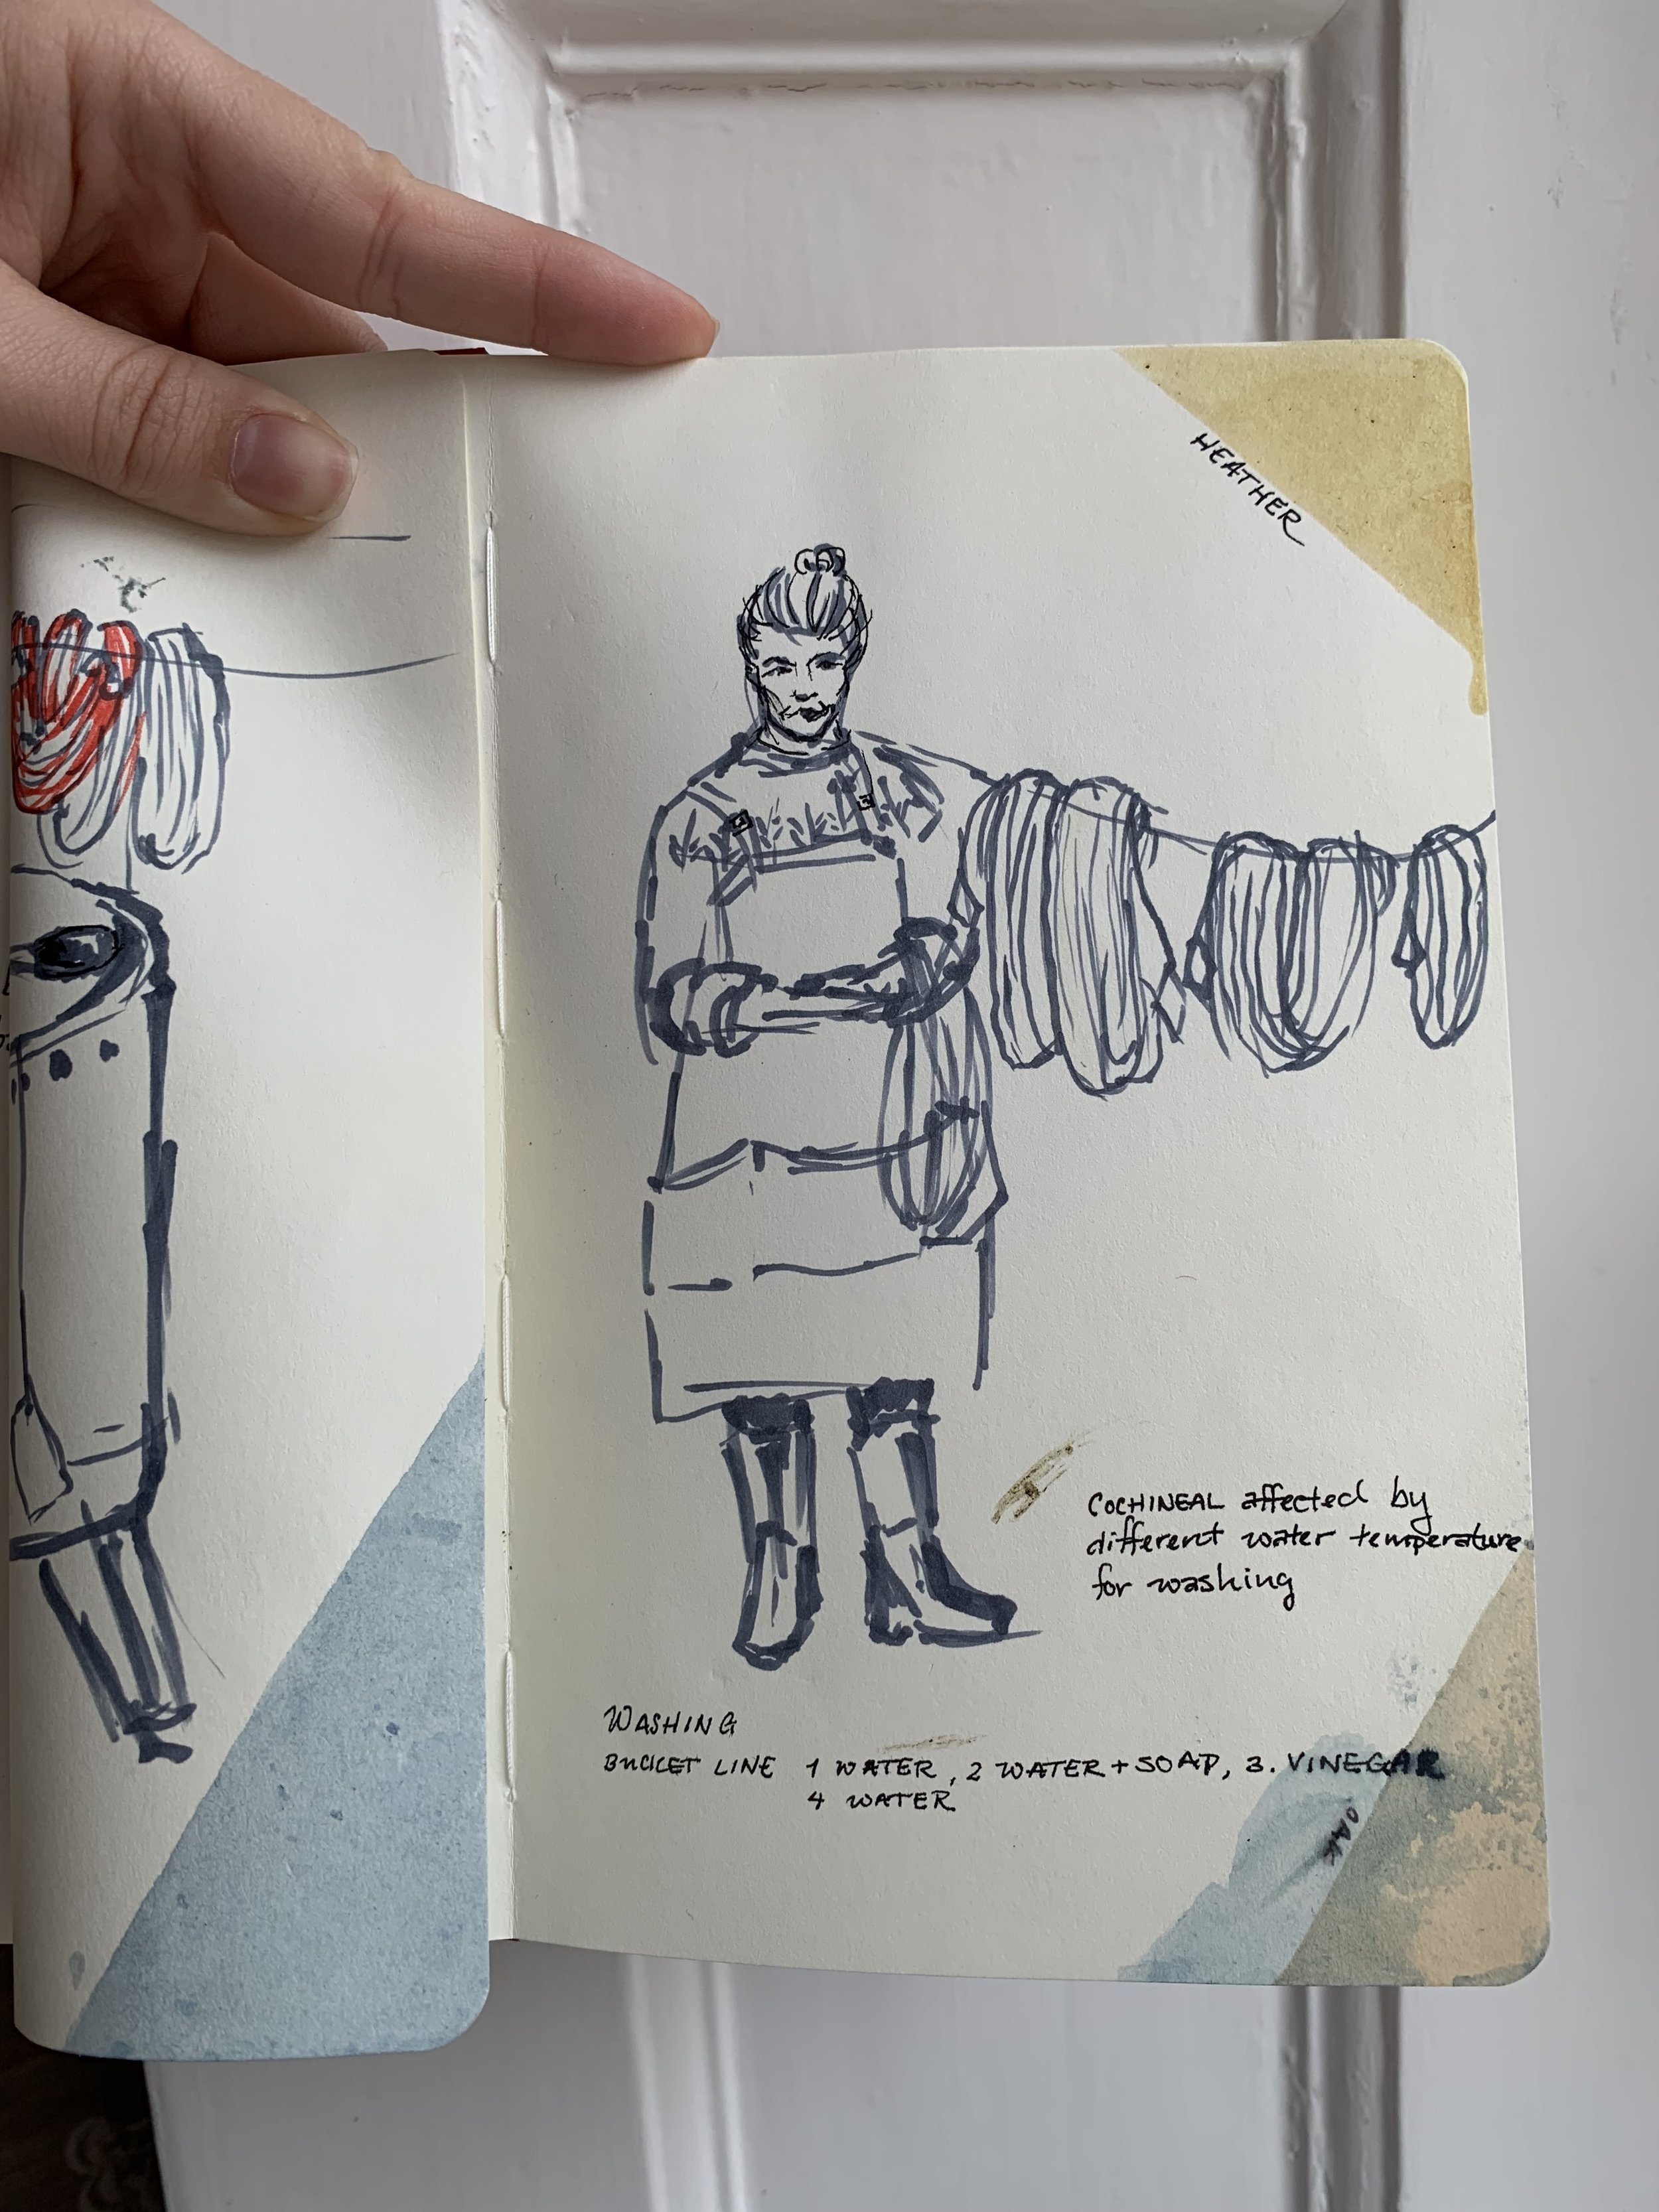
All the skeins dyed are put through a thorough washing. The cochineal skeins were the only skeins that were left to dry fully before washing to allow for the colour to be fully set. Each skein is put through a washing line composed of 4 buckets. It moves as follows: clean water, then soap & water, then clean water, and finally vinegar and water. After each skein is washing and squeezed, then comes the swinging. Each skein is swung around in circles like a lasso to get rid of excess water.
Now on to the magic of Indigo!
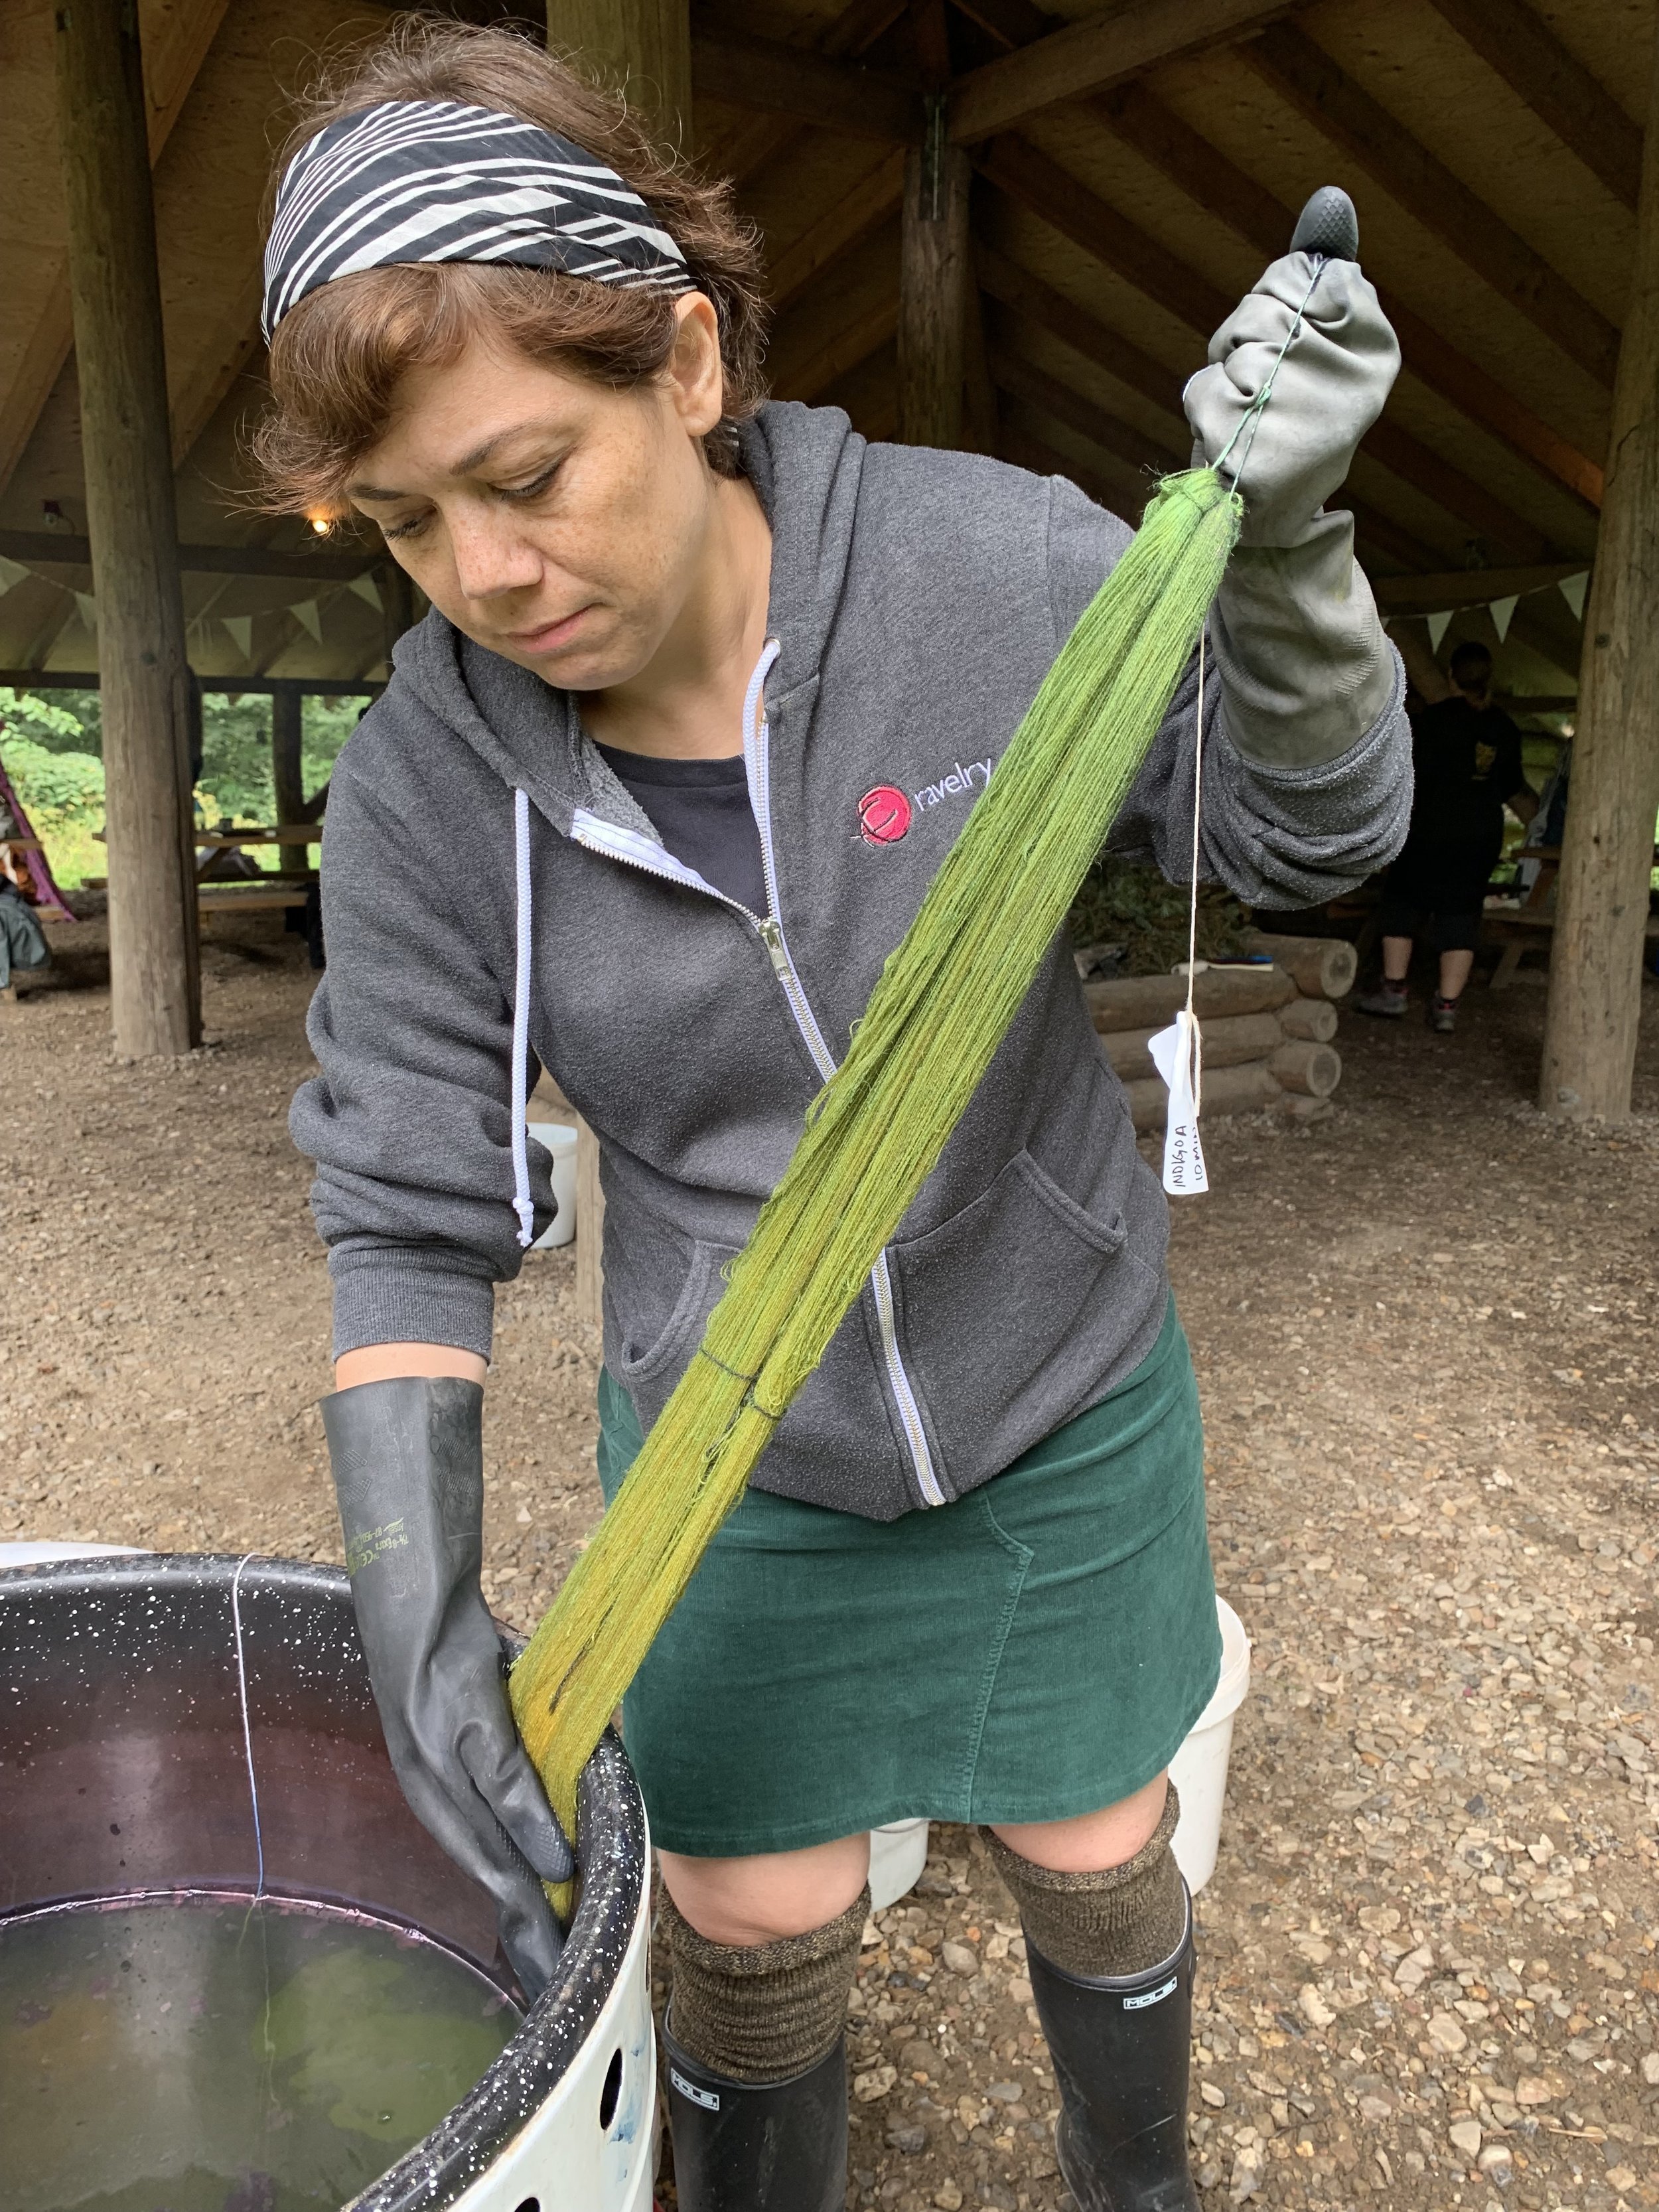
I had dyed with indigo before many years ago. It is a magical dye that has the appearance of a bright green in the dye pot and when a skein is first pulled out from the pot. When the skein comes in contact with oxygen, it oxidizes and transforms from green to a rich blue.
This indigo dyeing really opened my eyes to how indigo can be used for overdyeing to create before shades of greens, rich navy blues and purples.
These skeins from previous dye baths and some undyed skeins will be over dyed with Indigo.
The skeins over dyed with Indigo were left in the dye pot for 2- 10 min for 1-3 dips.
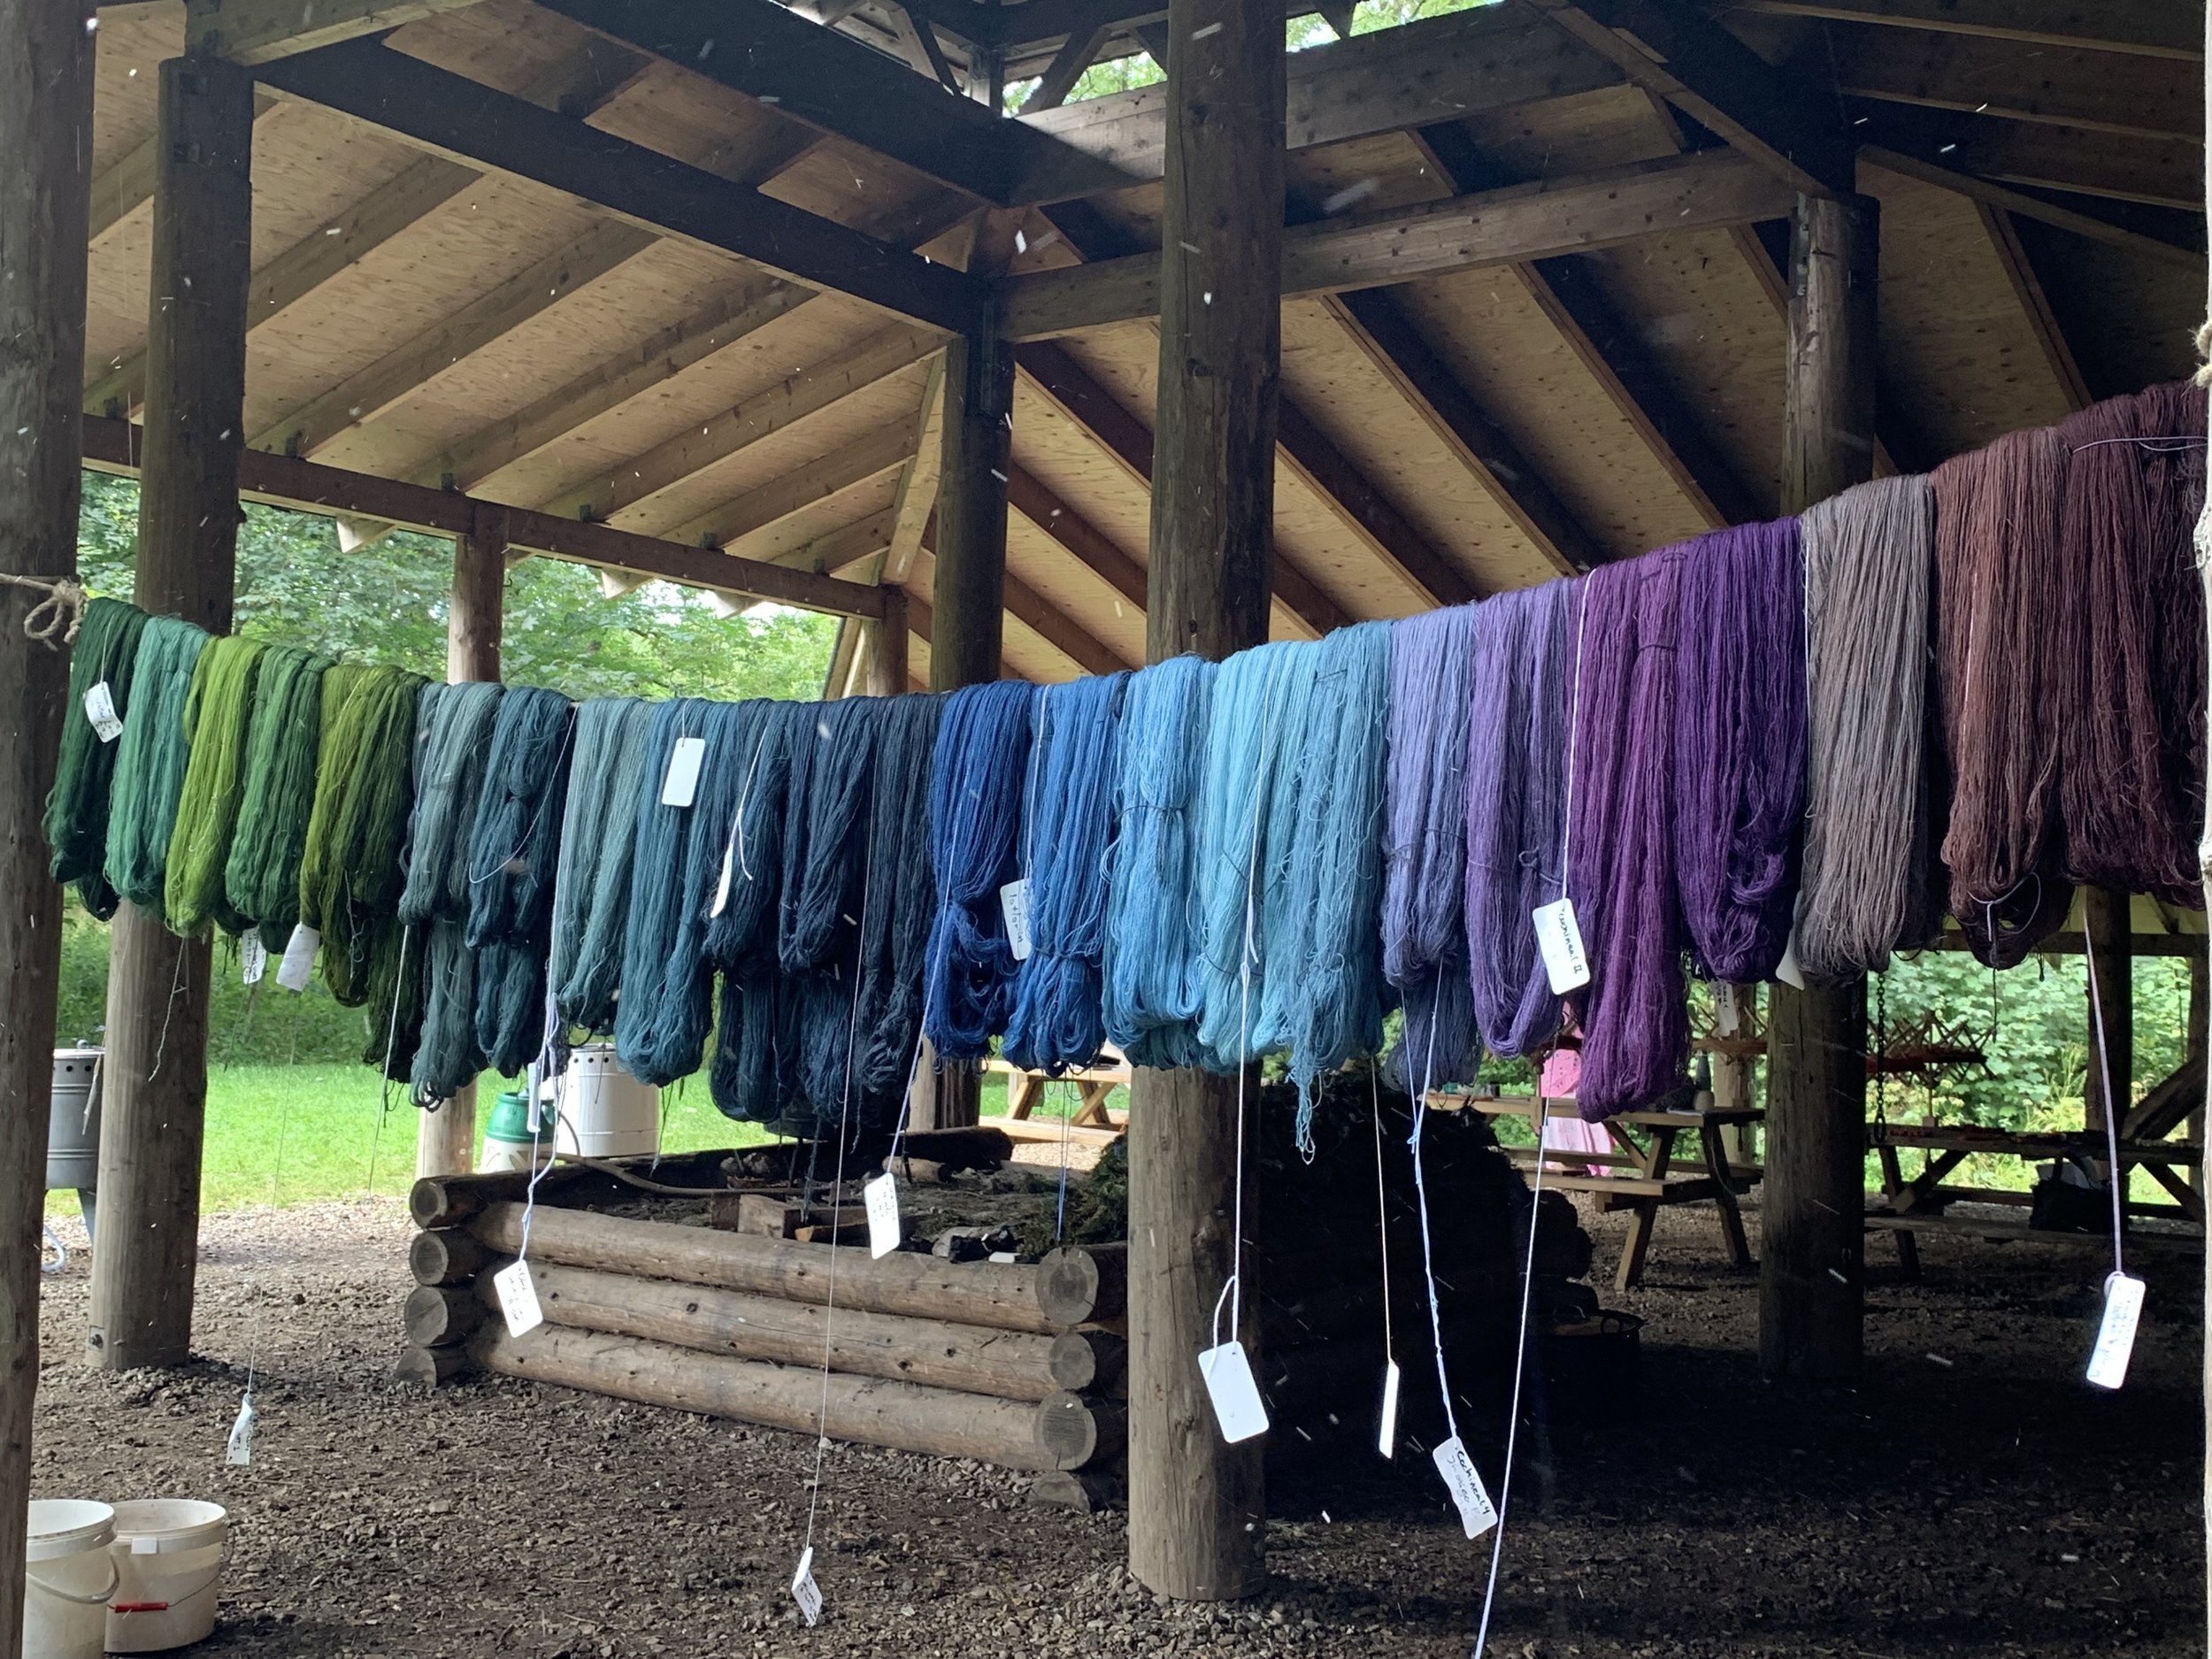
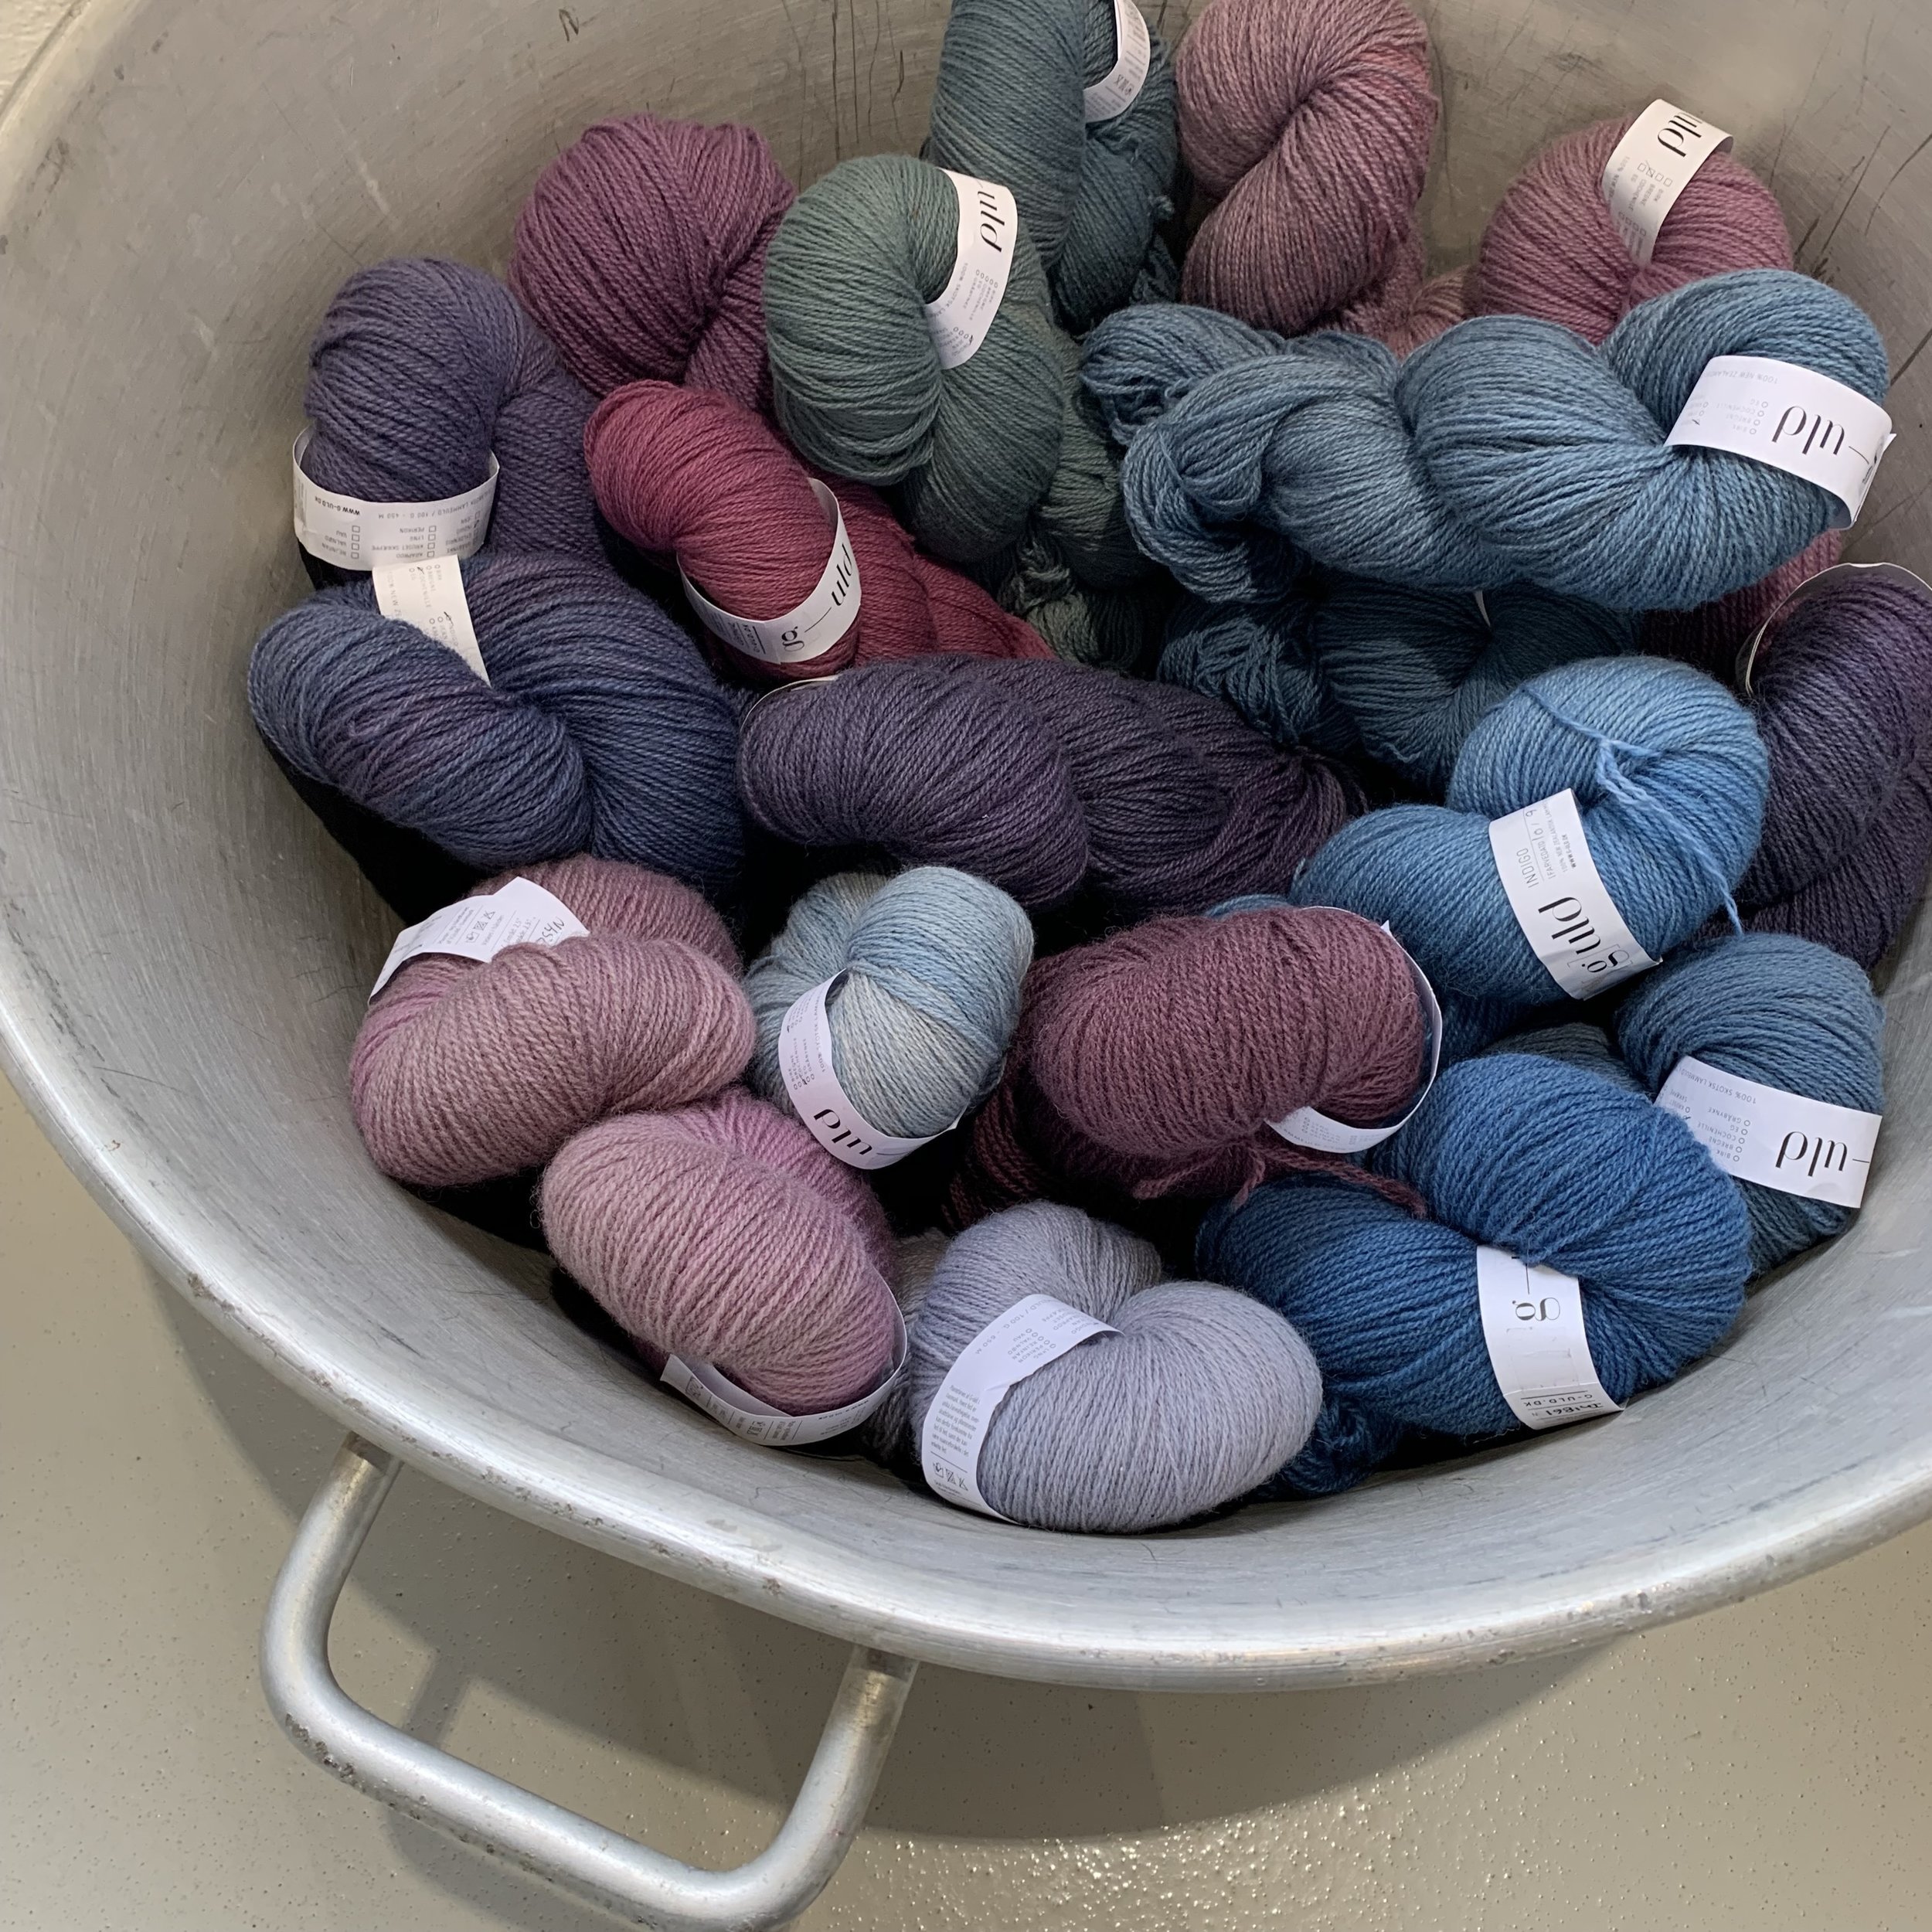
Here are the skeins post indigo dyeing. Quite the range of colours!
It’s important to keep notes! The illustrator in me did some sketching to go along with my dyeing notes. I even dipped the corners of my pages into the dye pots on day 2 ( I unfortunately didn’t think to do this on day 1) which makes for a nice reference of the colours.
DAY 3
Now that all the dyeing is done it’s time to create all the mini skeins for the colour circles. Commence the winding!

Mini skeins finished, now it’s time to assemble the circles!
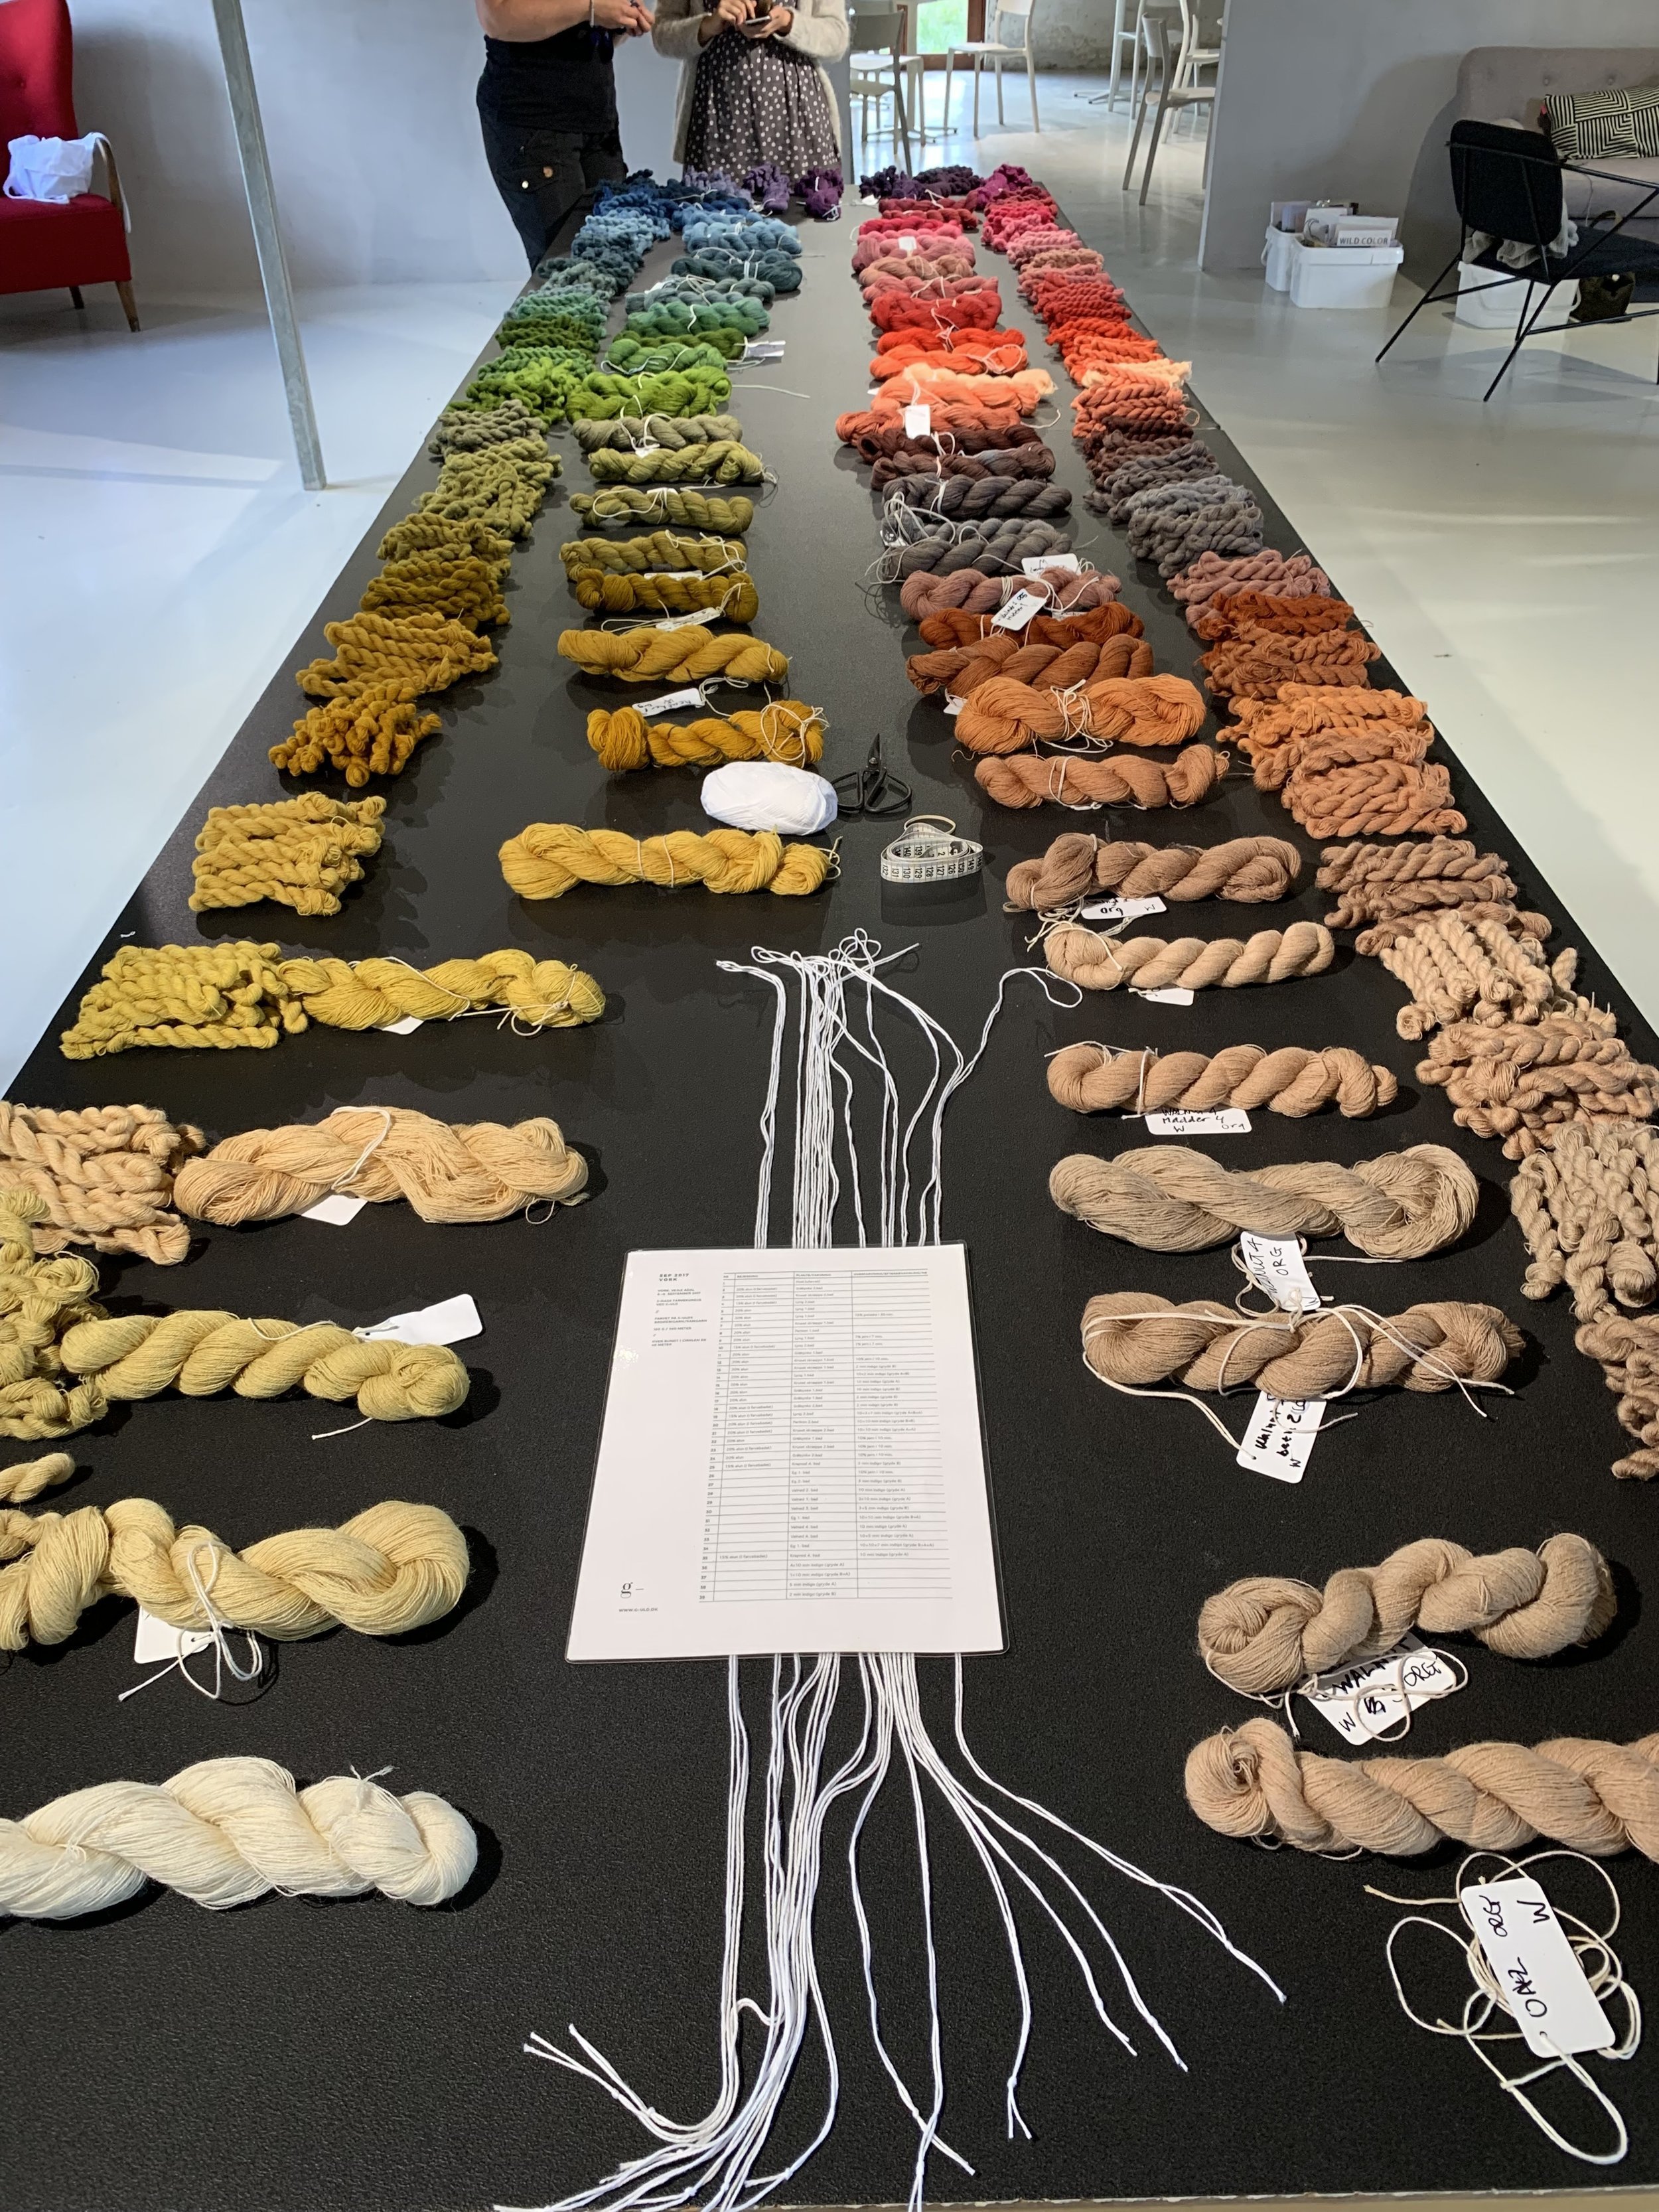
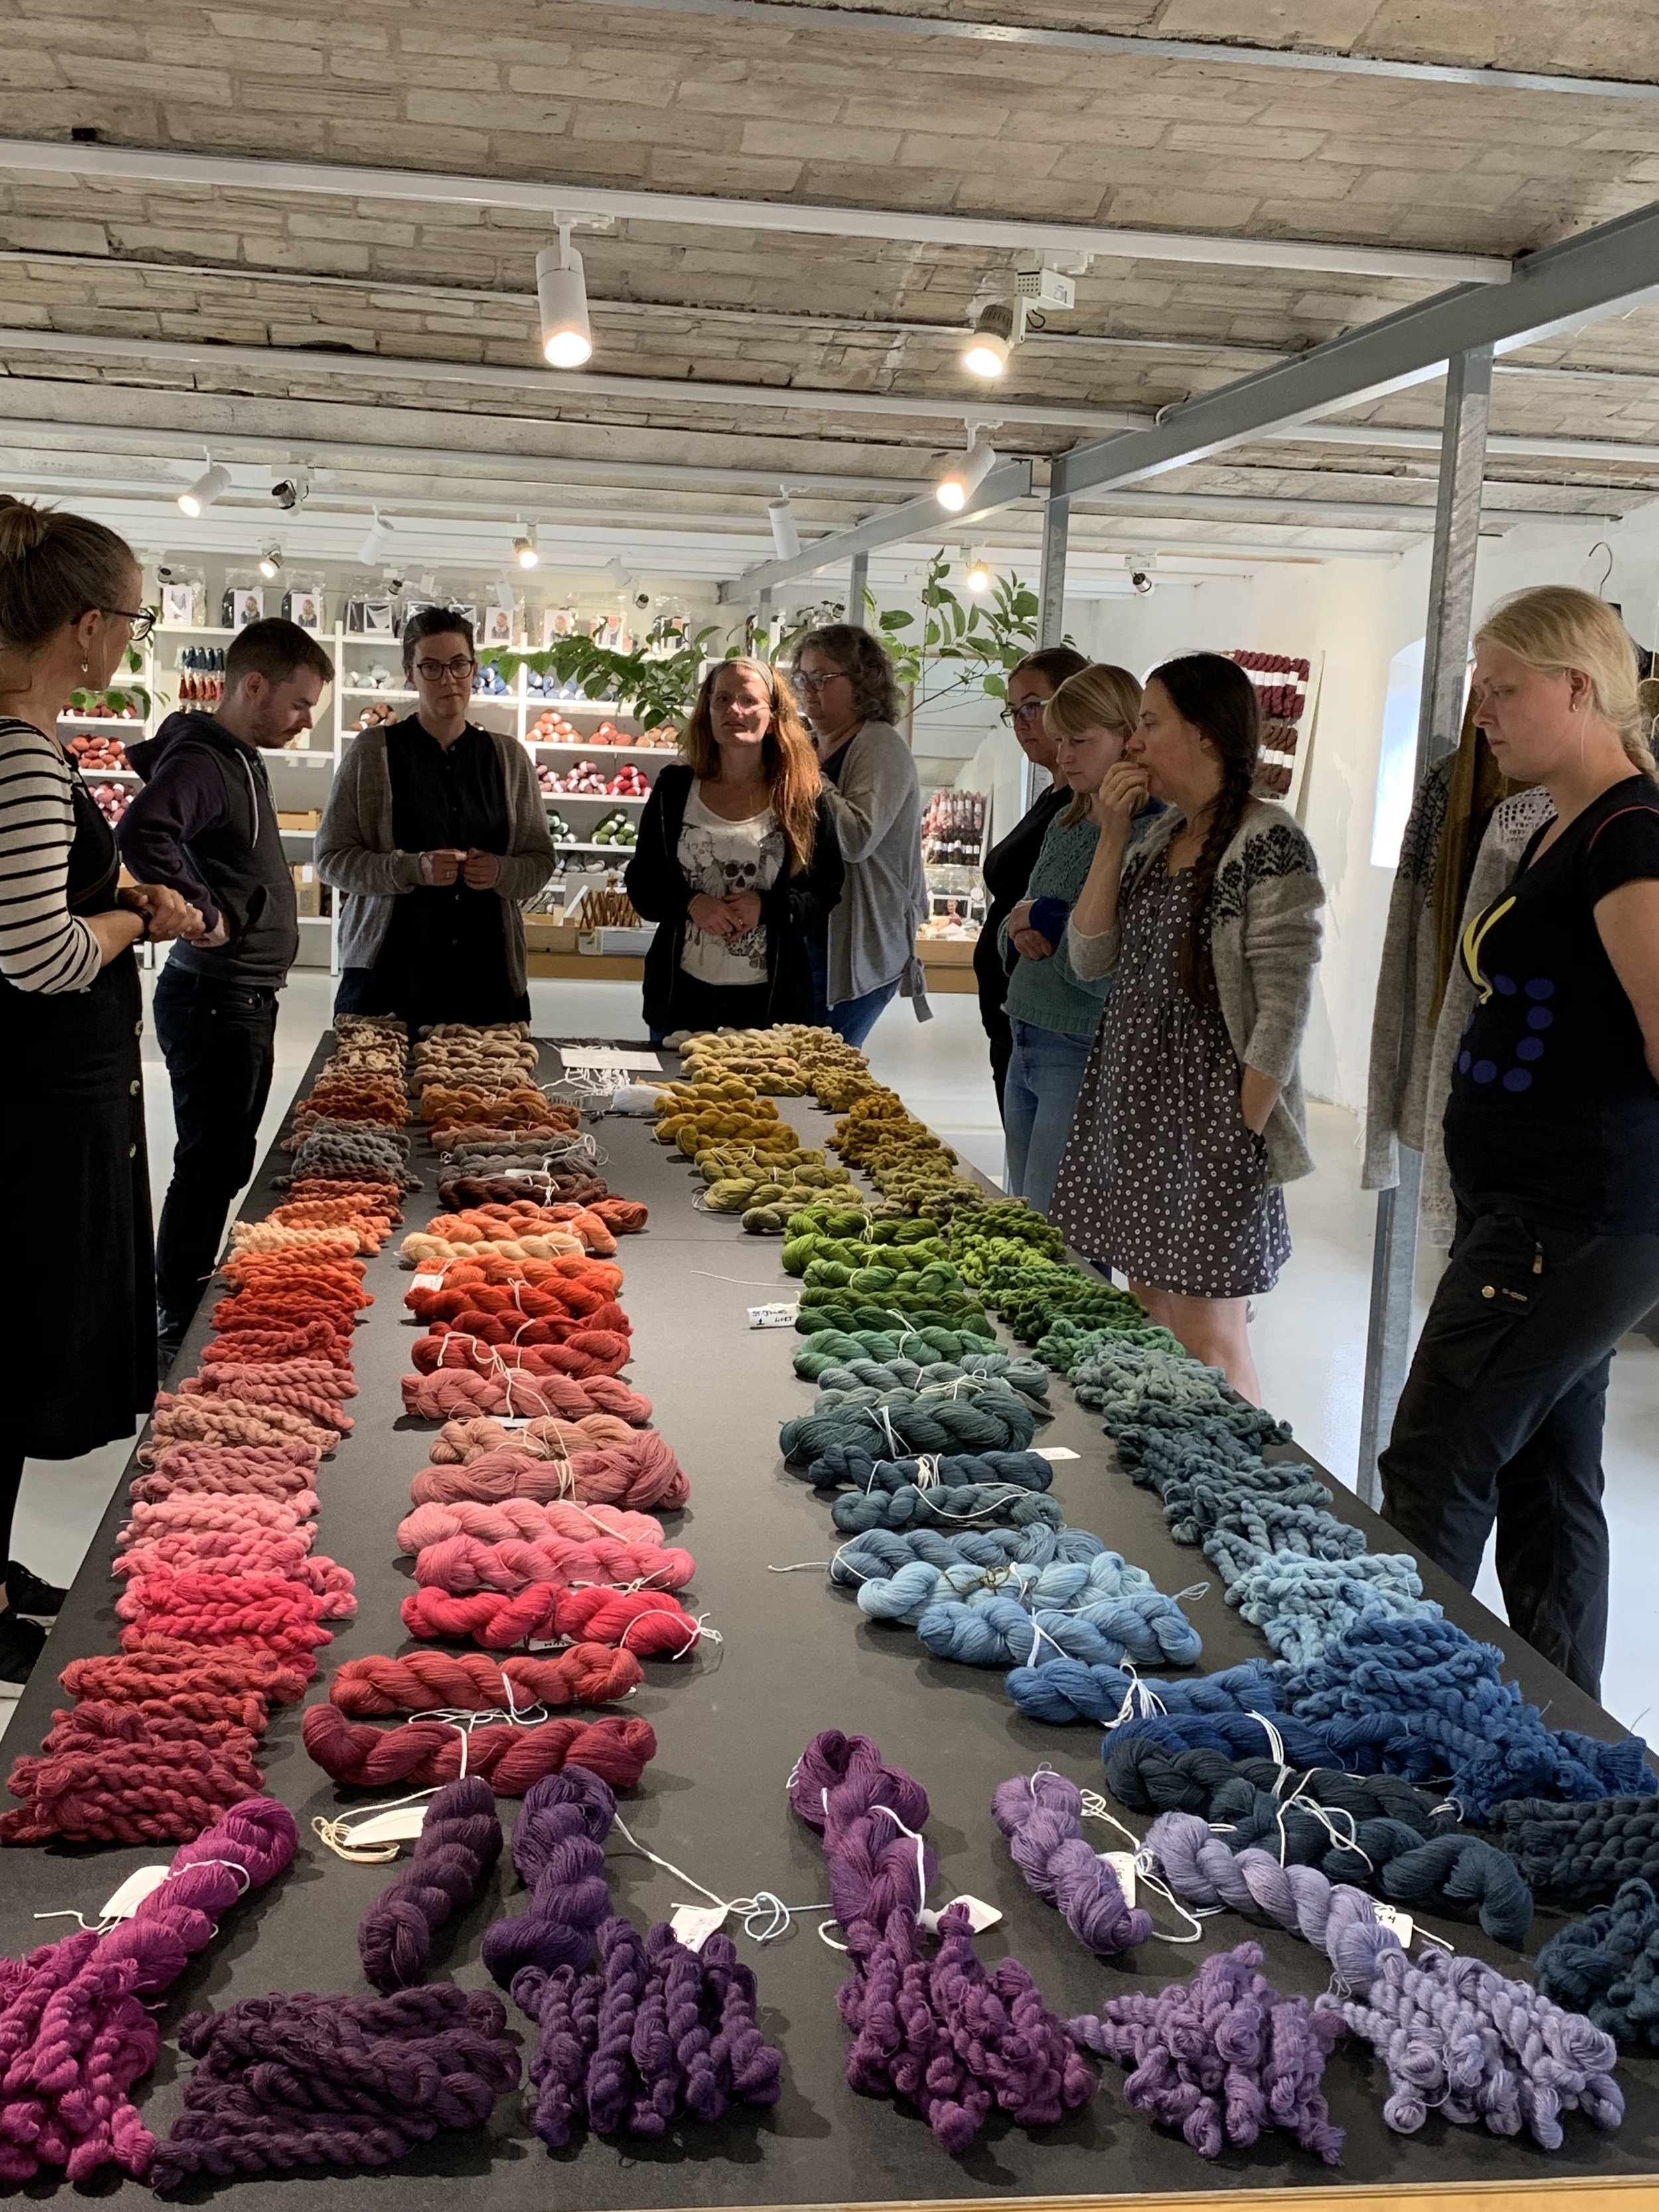
It’s hard to believe how we created 69 colours from 9 dye pots with multiple baths and over dyeing. When you see it all laid out like a rainbow and in a beautiful circle, it’s quite the achievement and so inspiring to continue!

Giddy as can be with my colour circle
Now with a complete circle, it’s time to enjoy the beautiful studio and shop of g-uld. Some shopping may have happened…
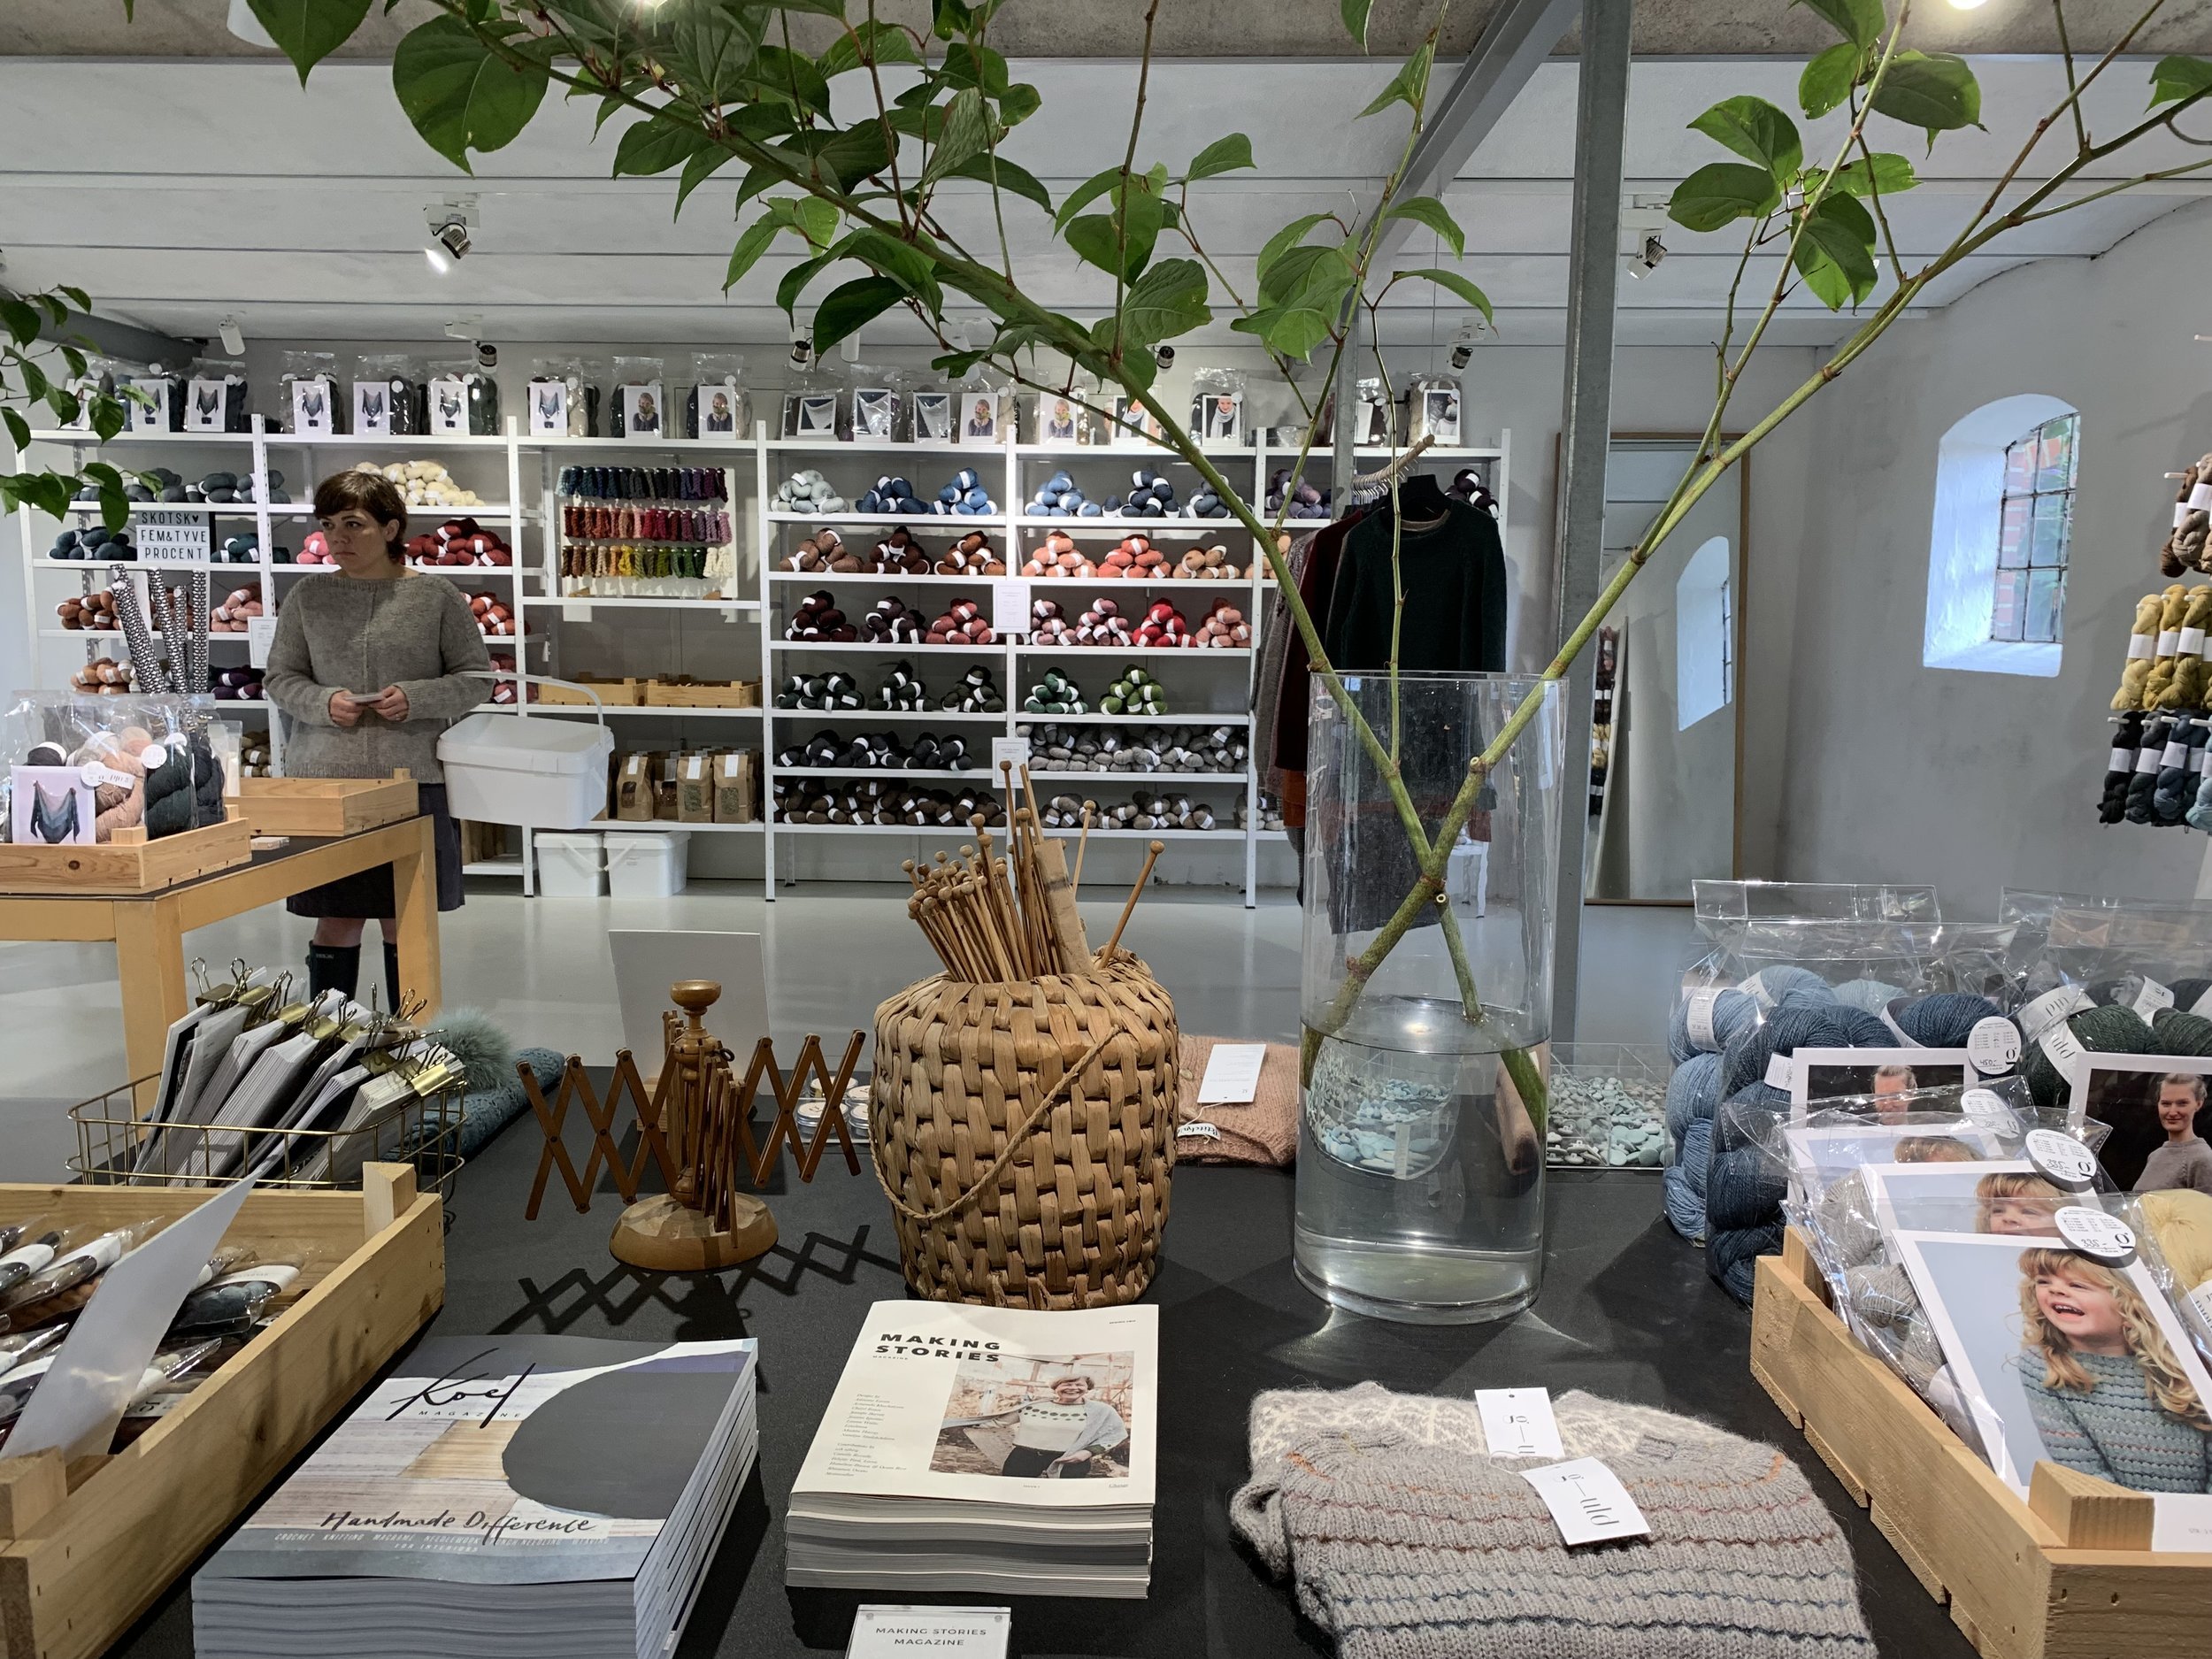
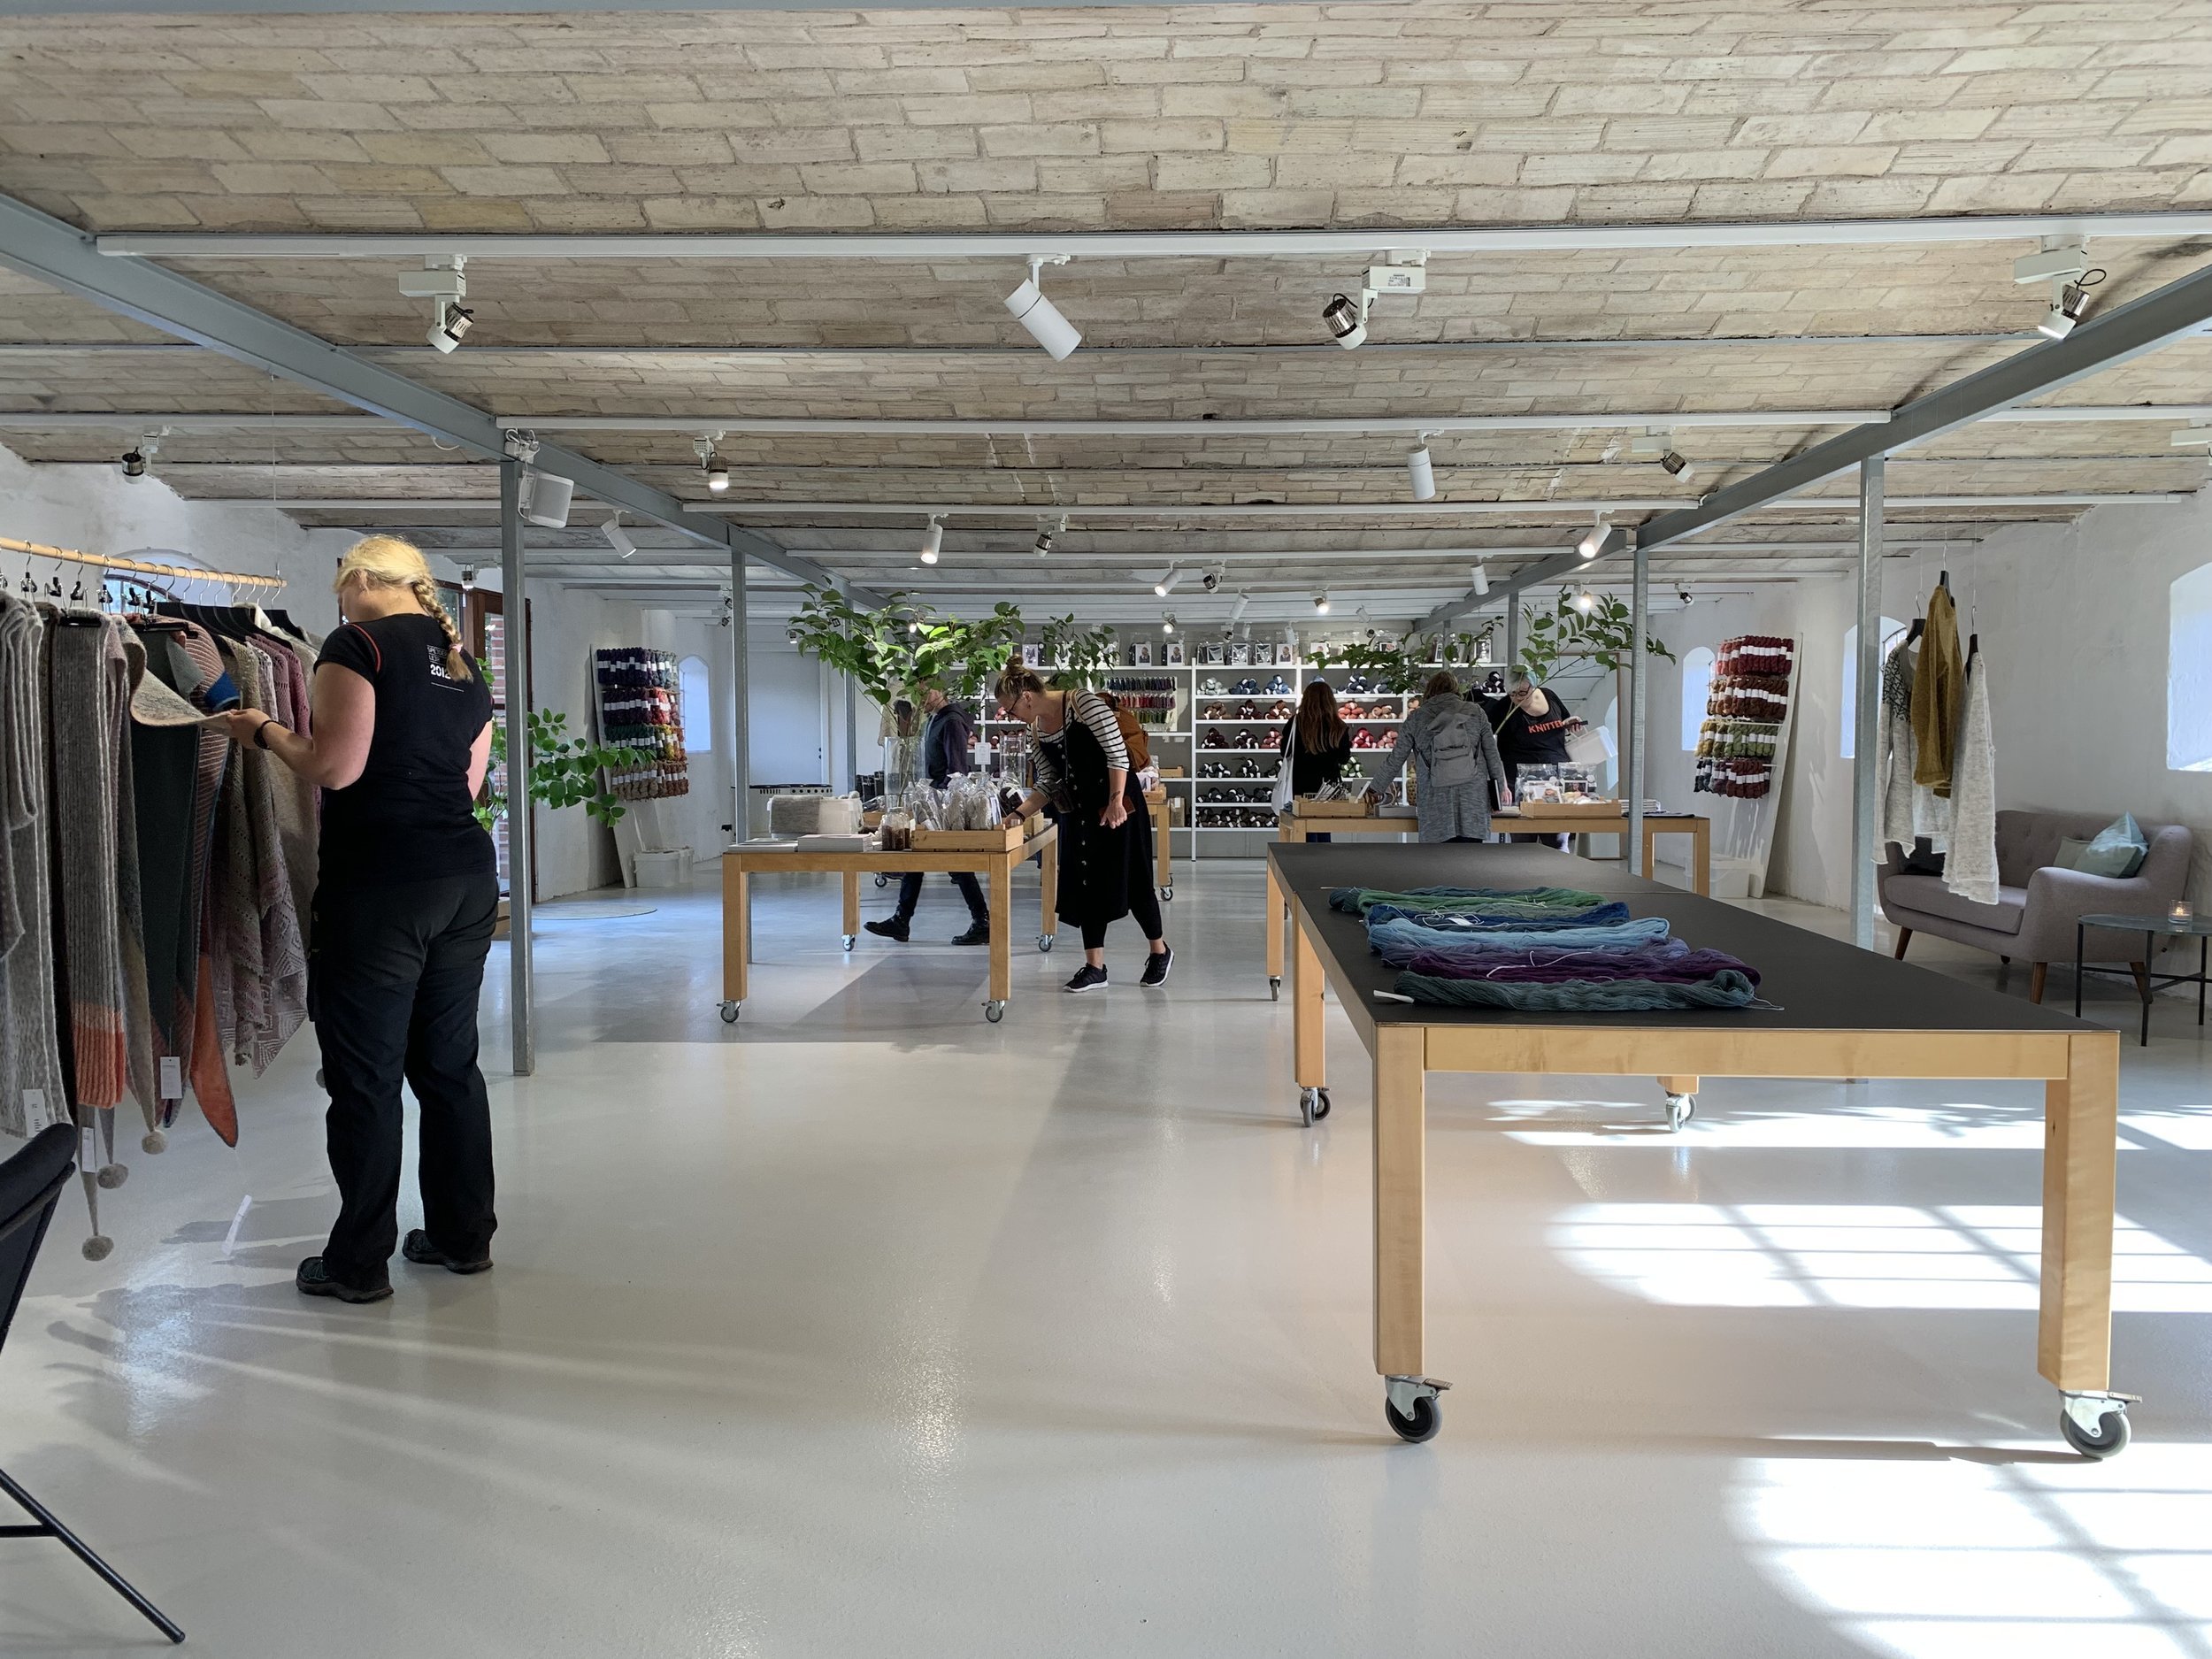
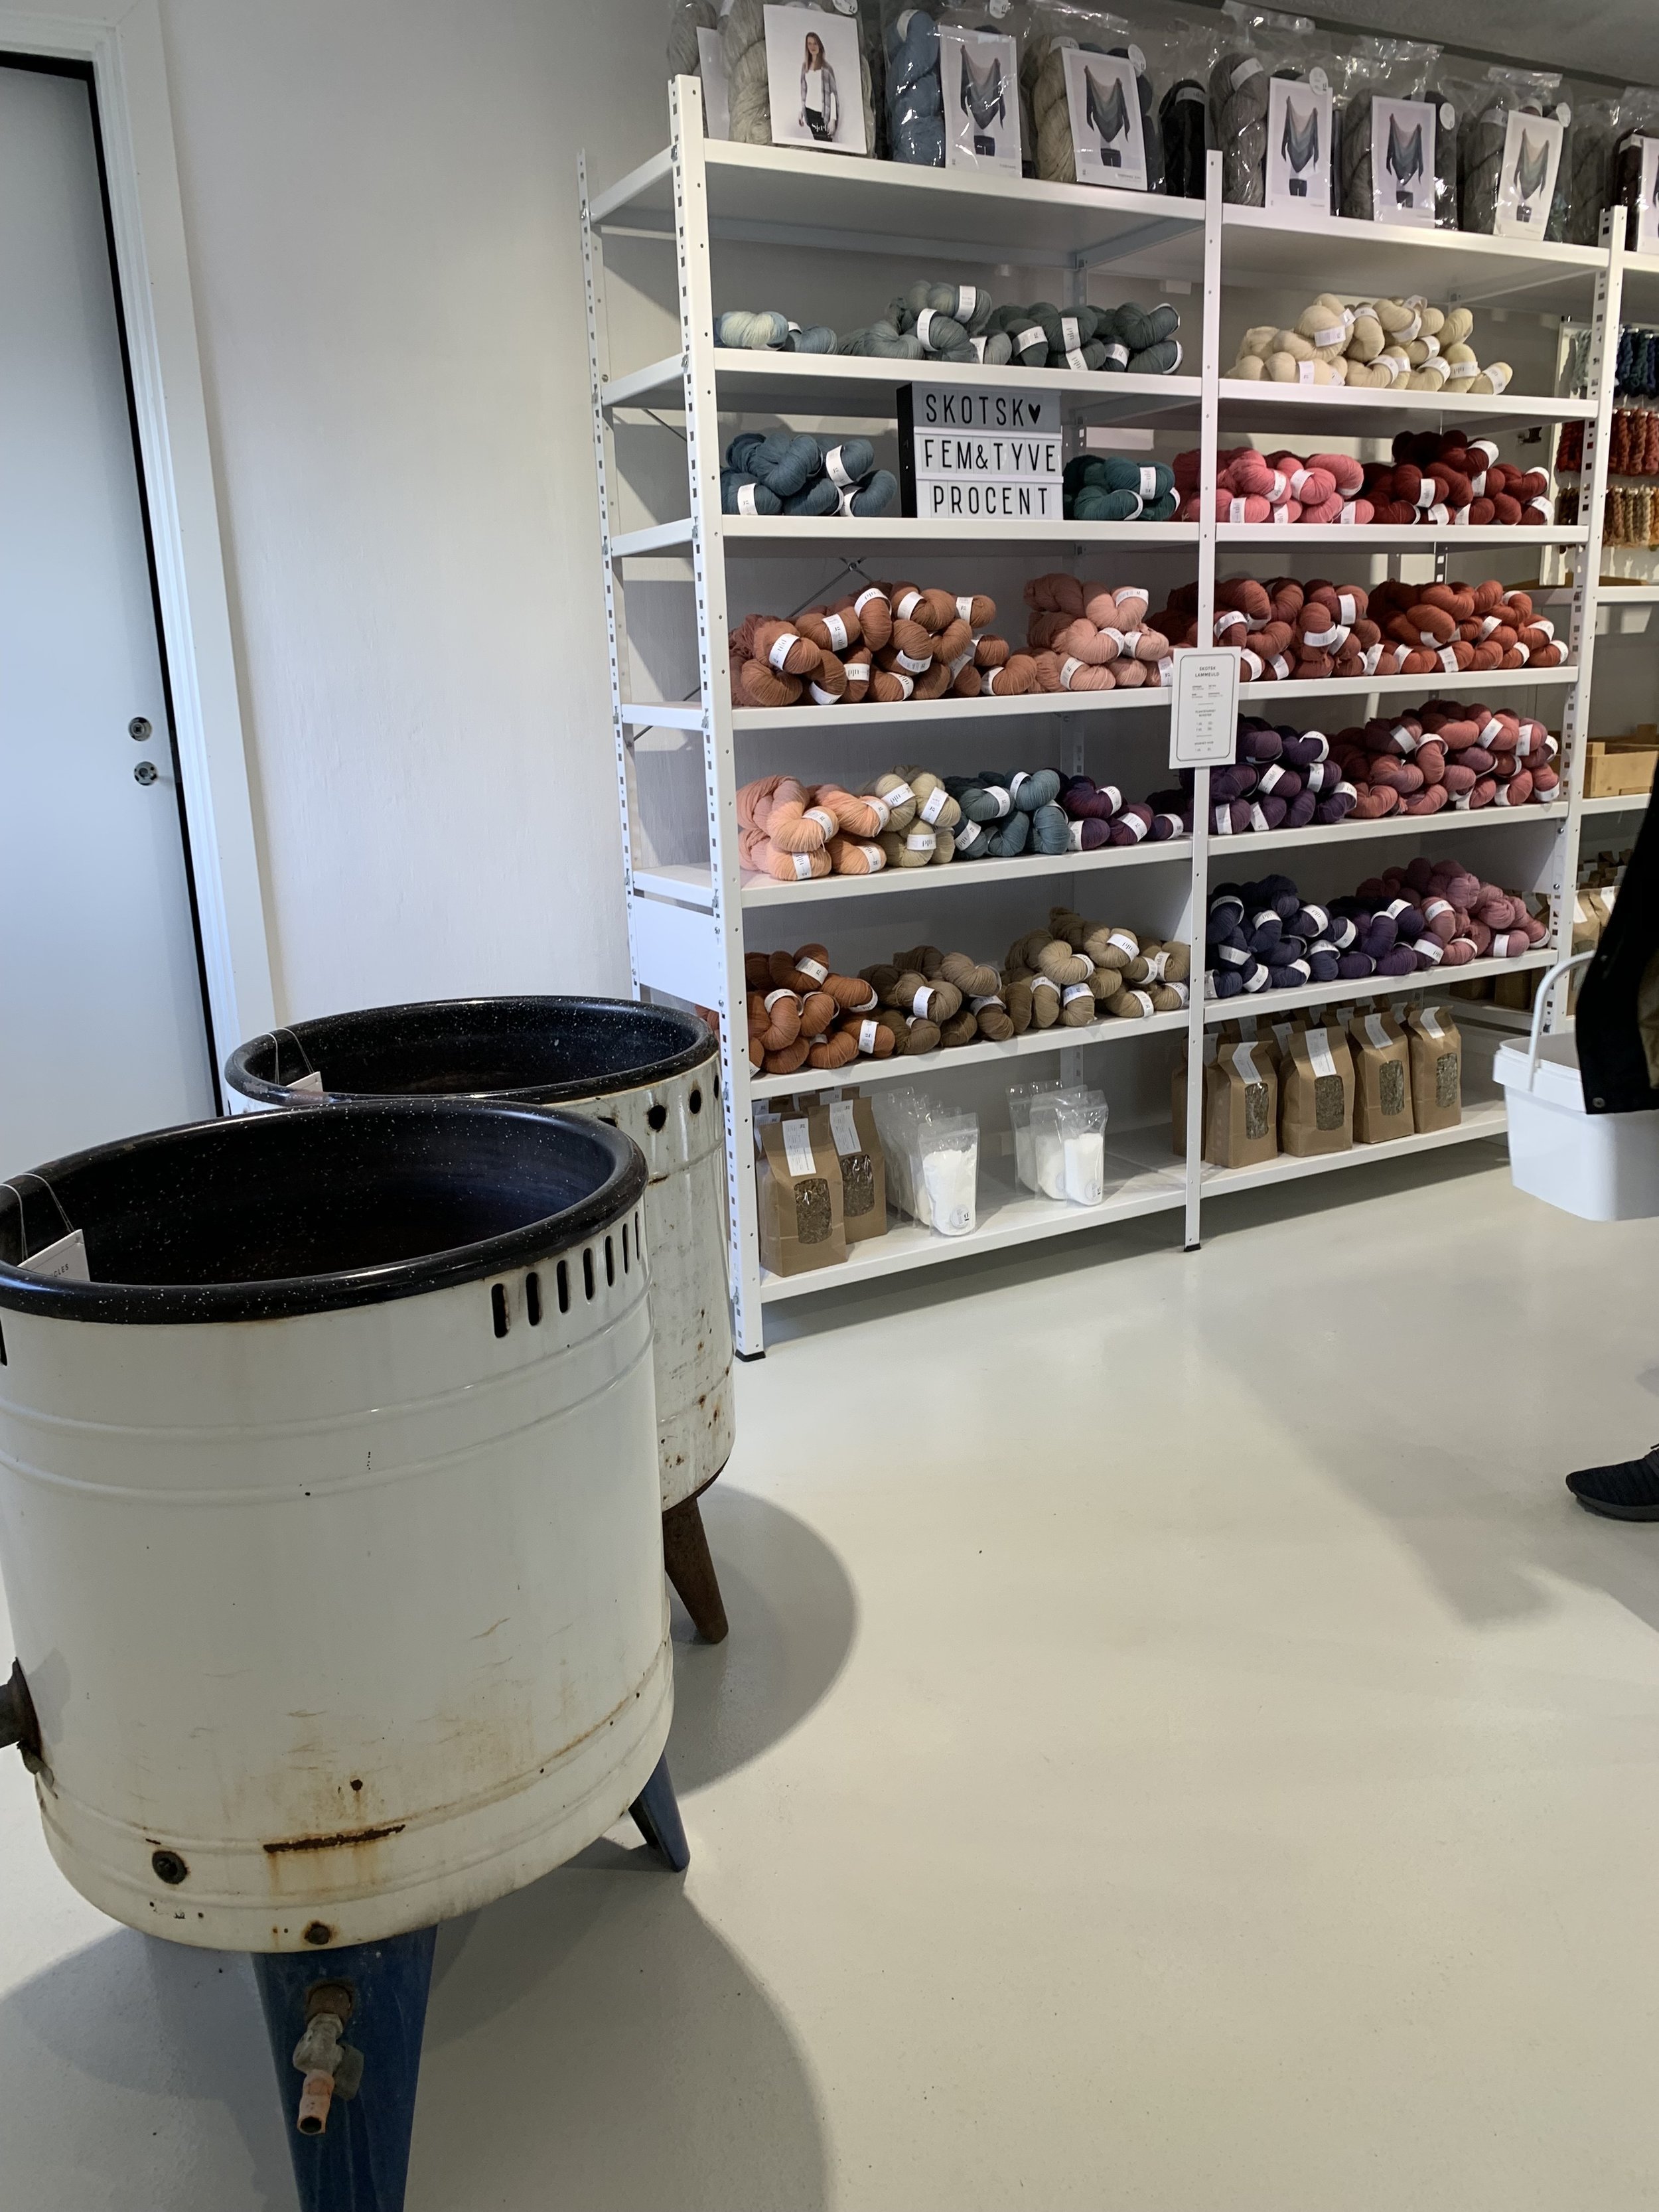
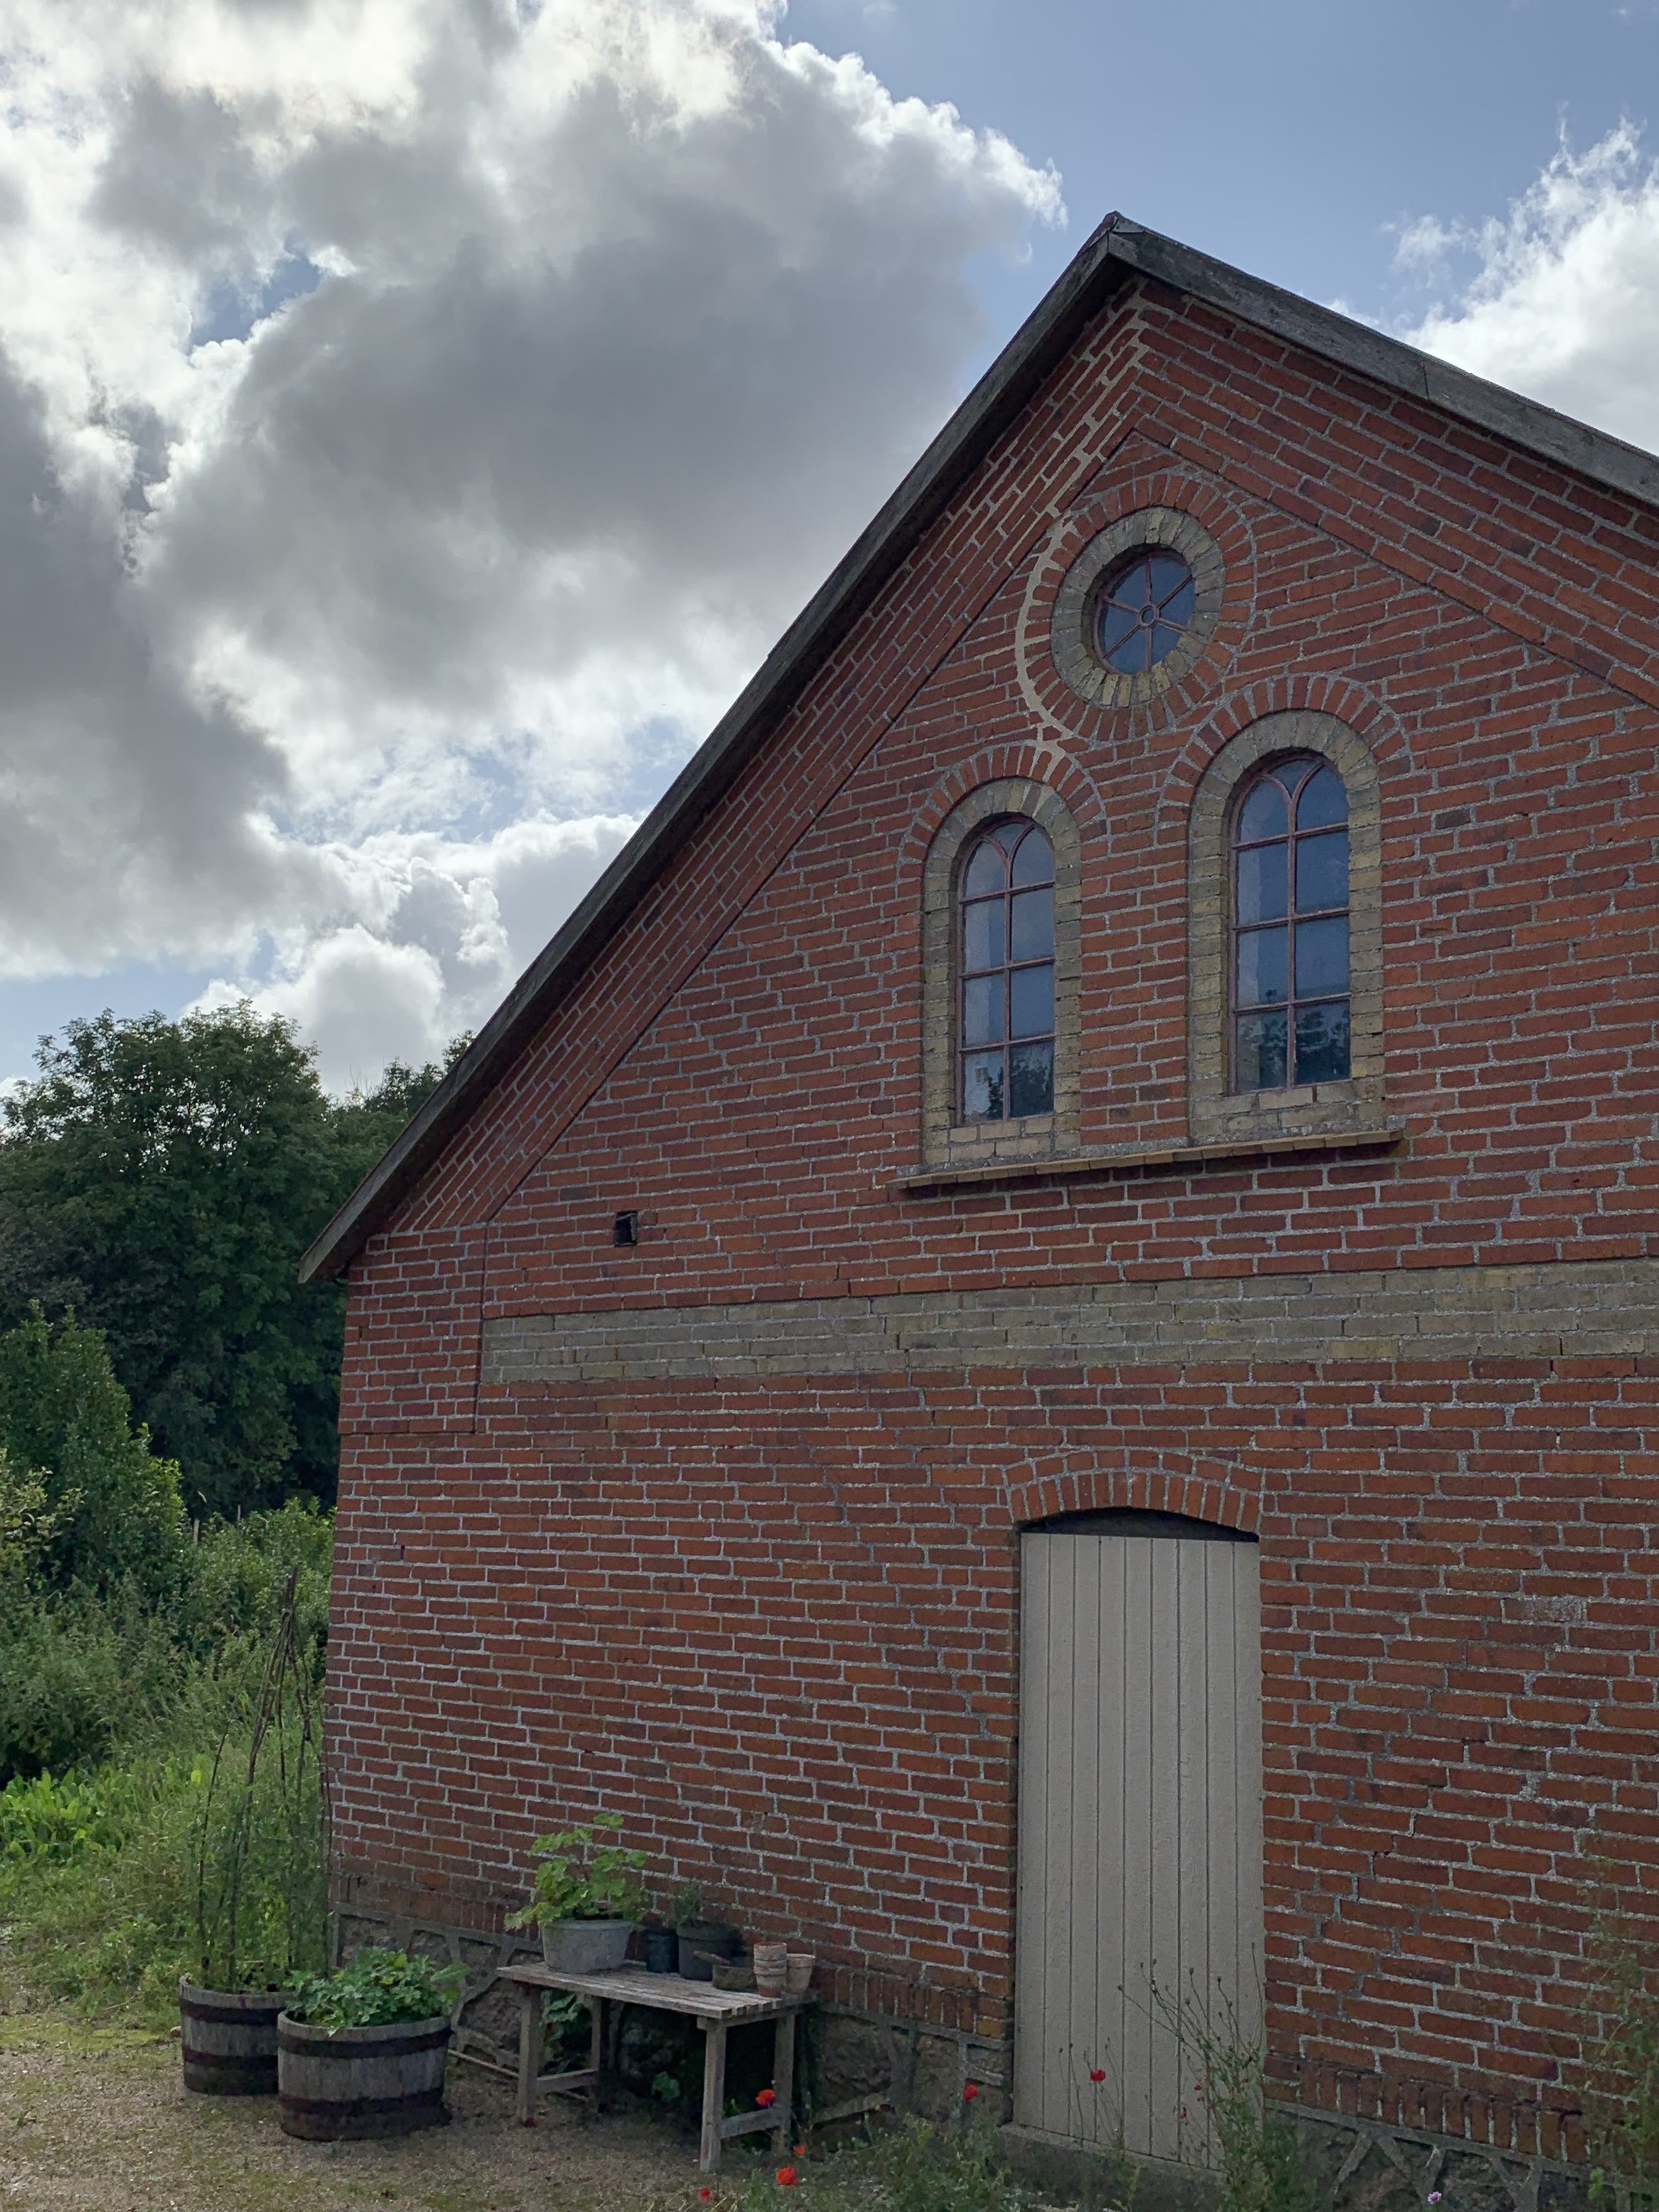
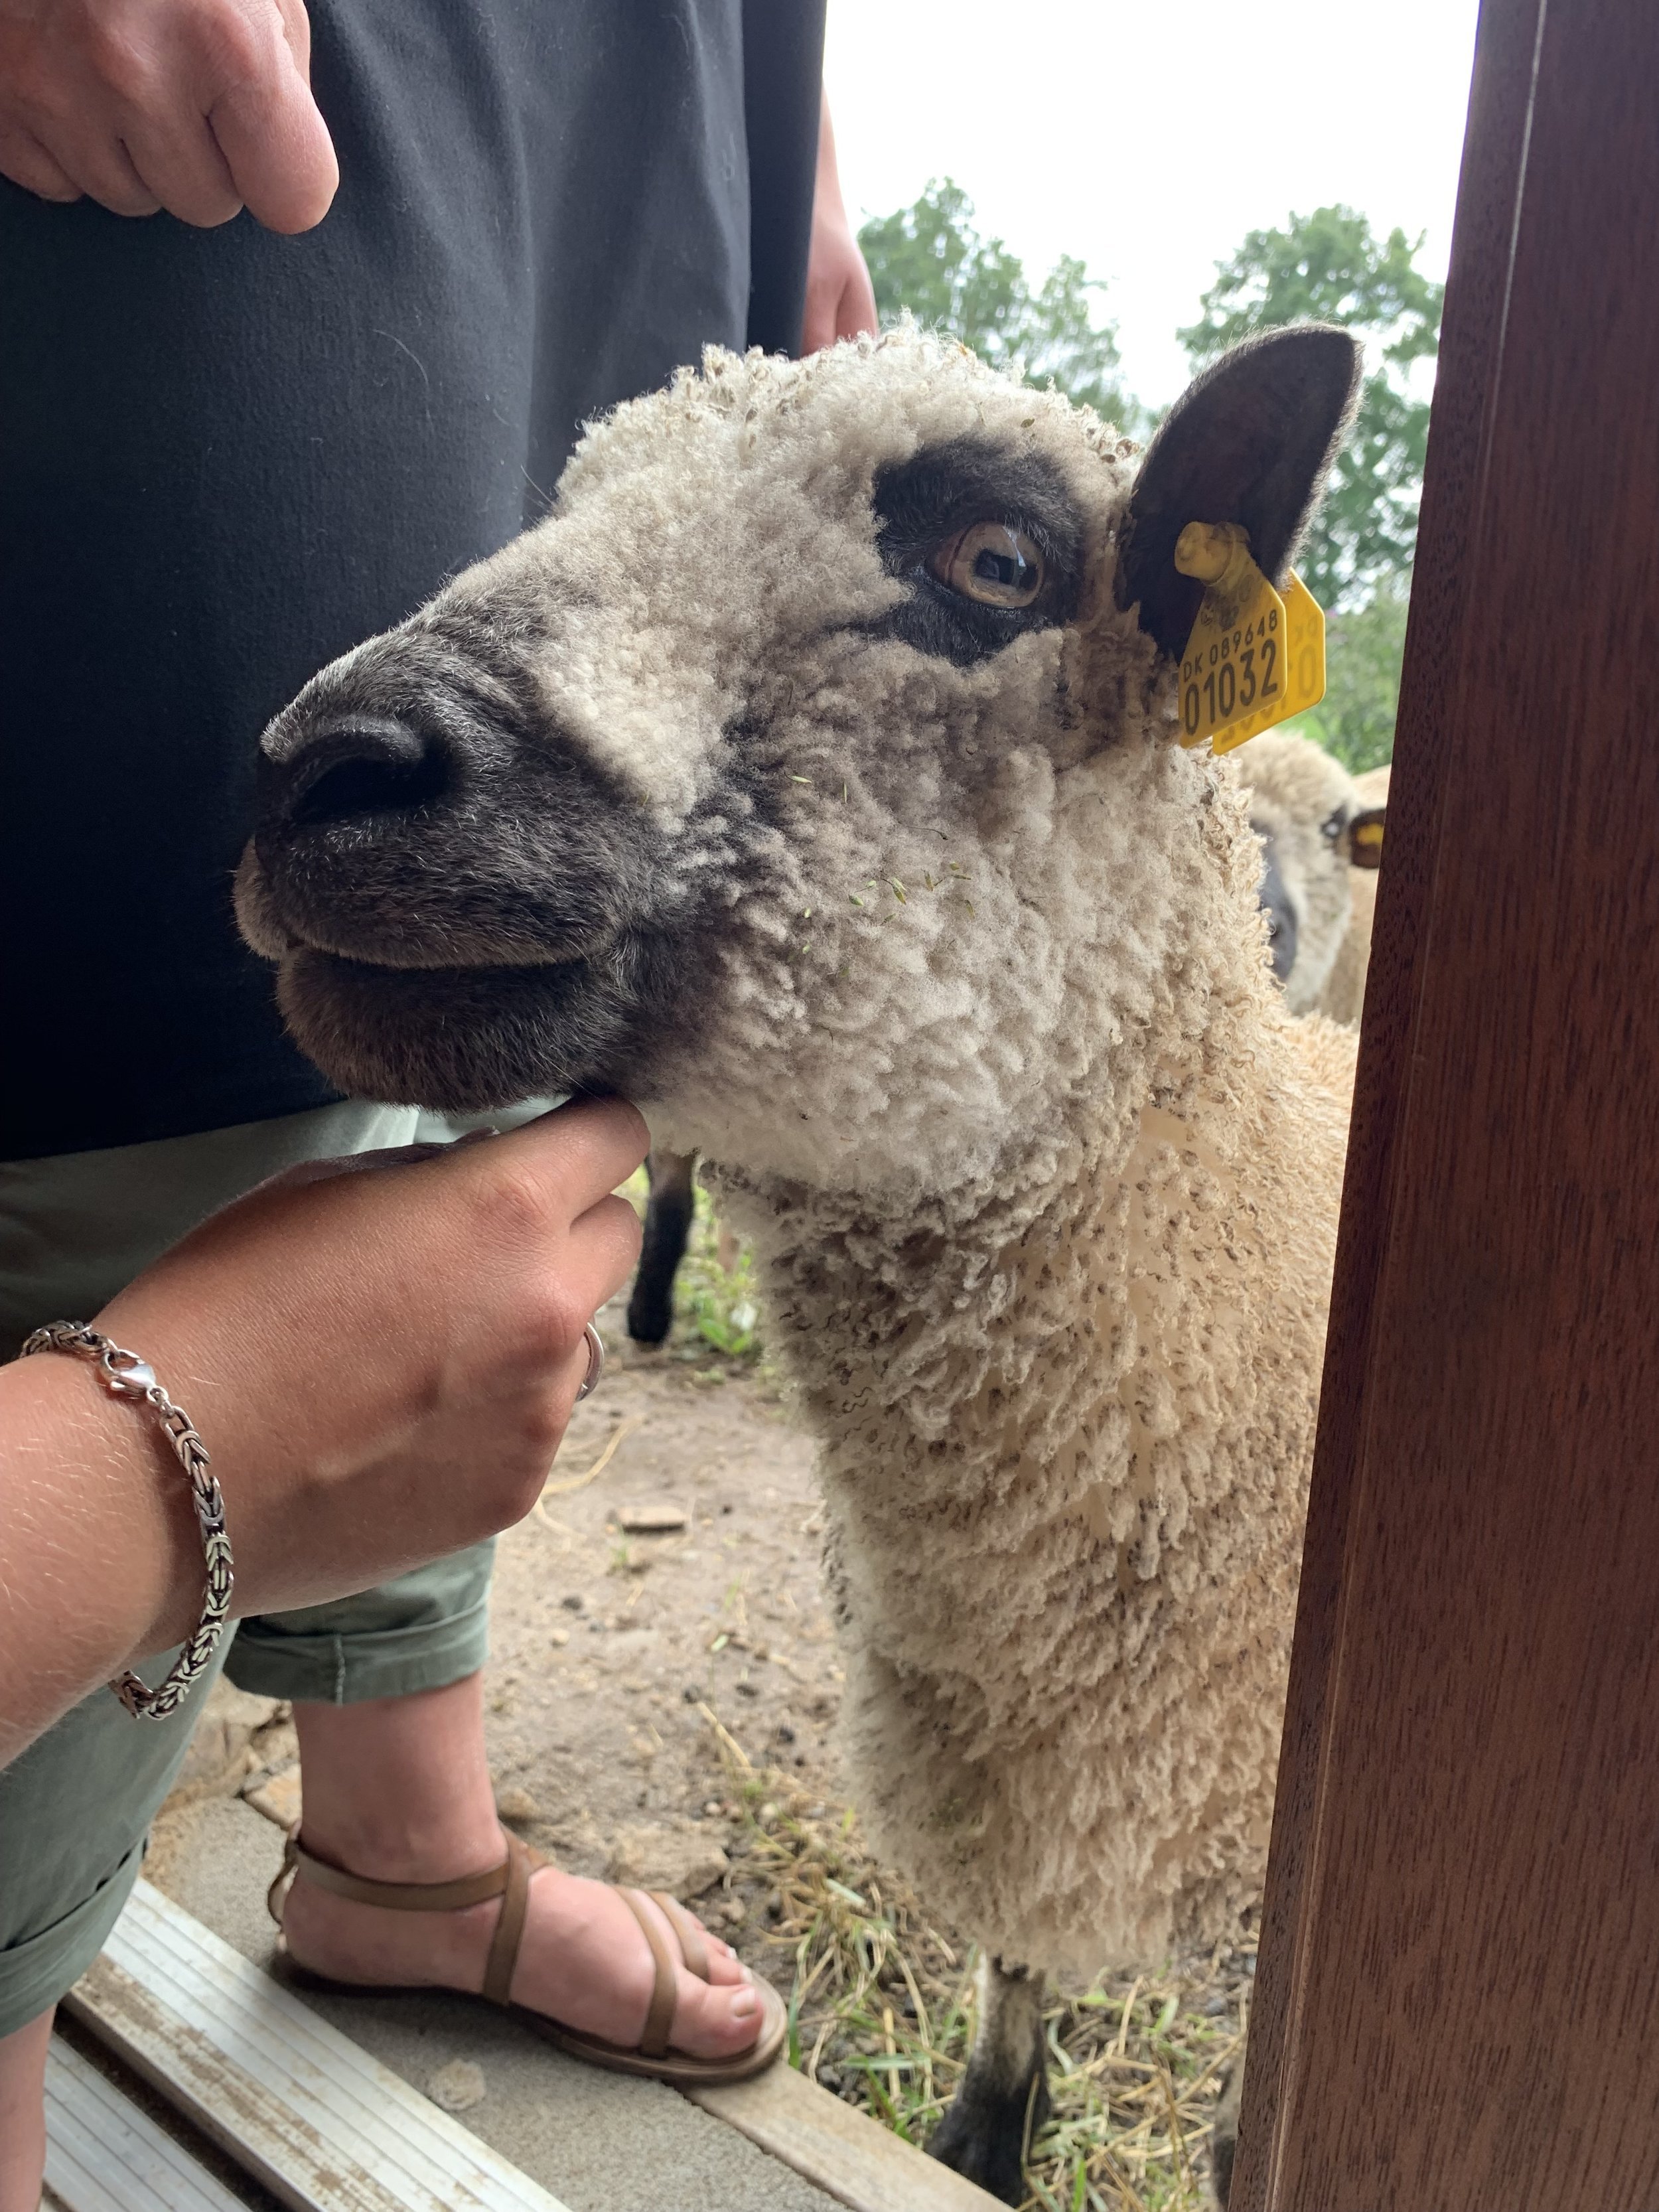
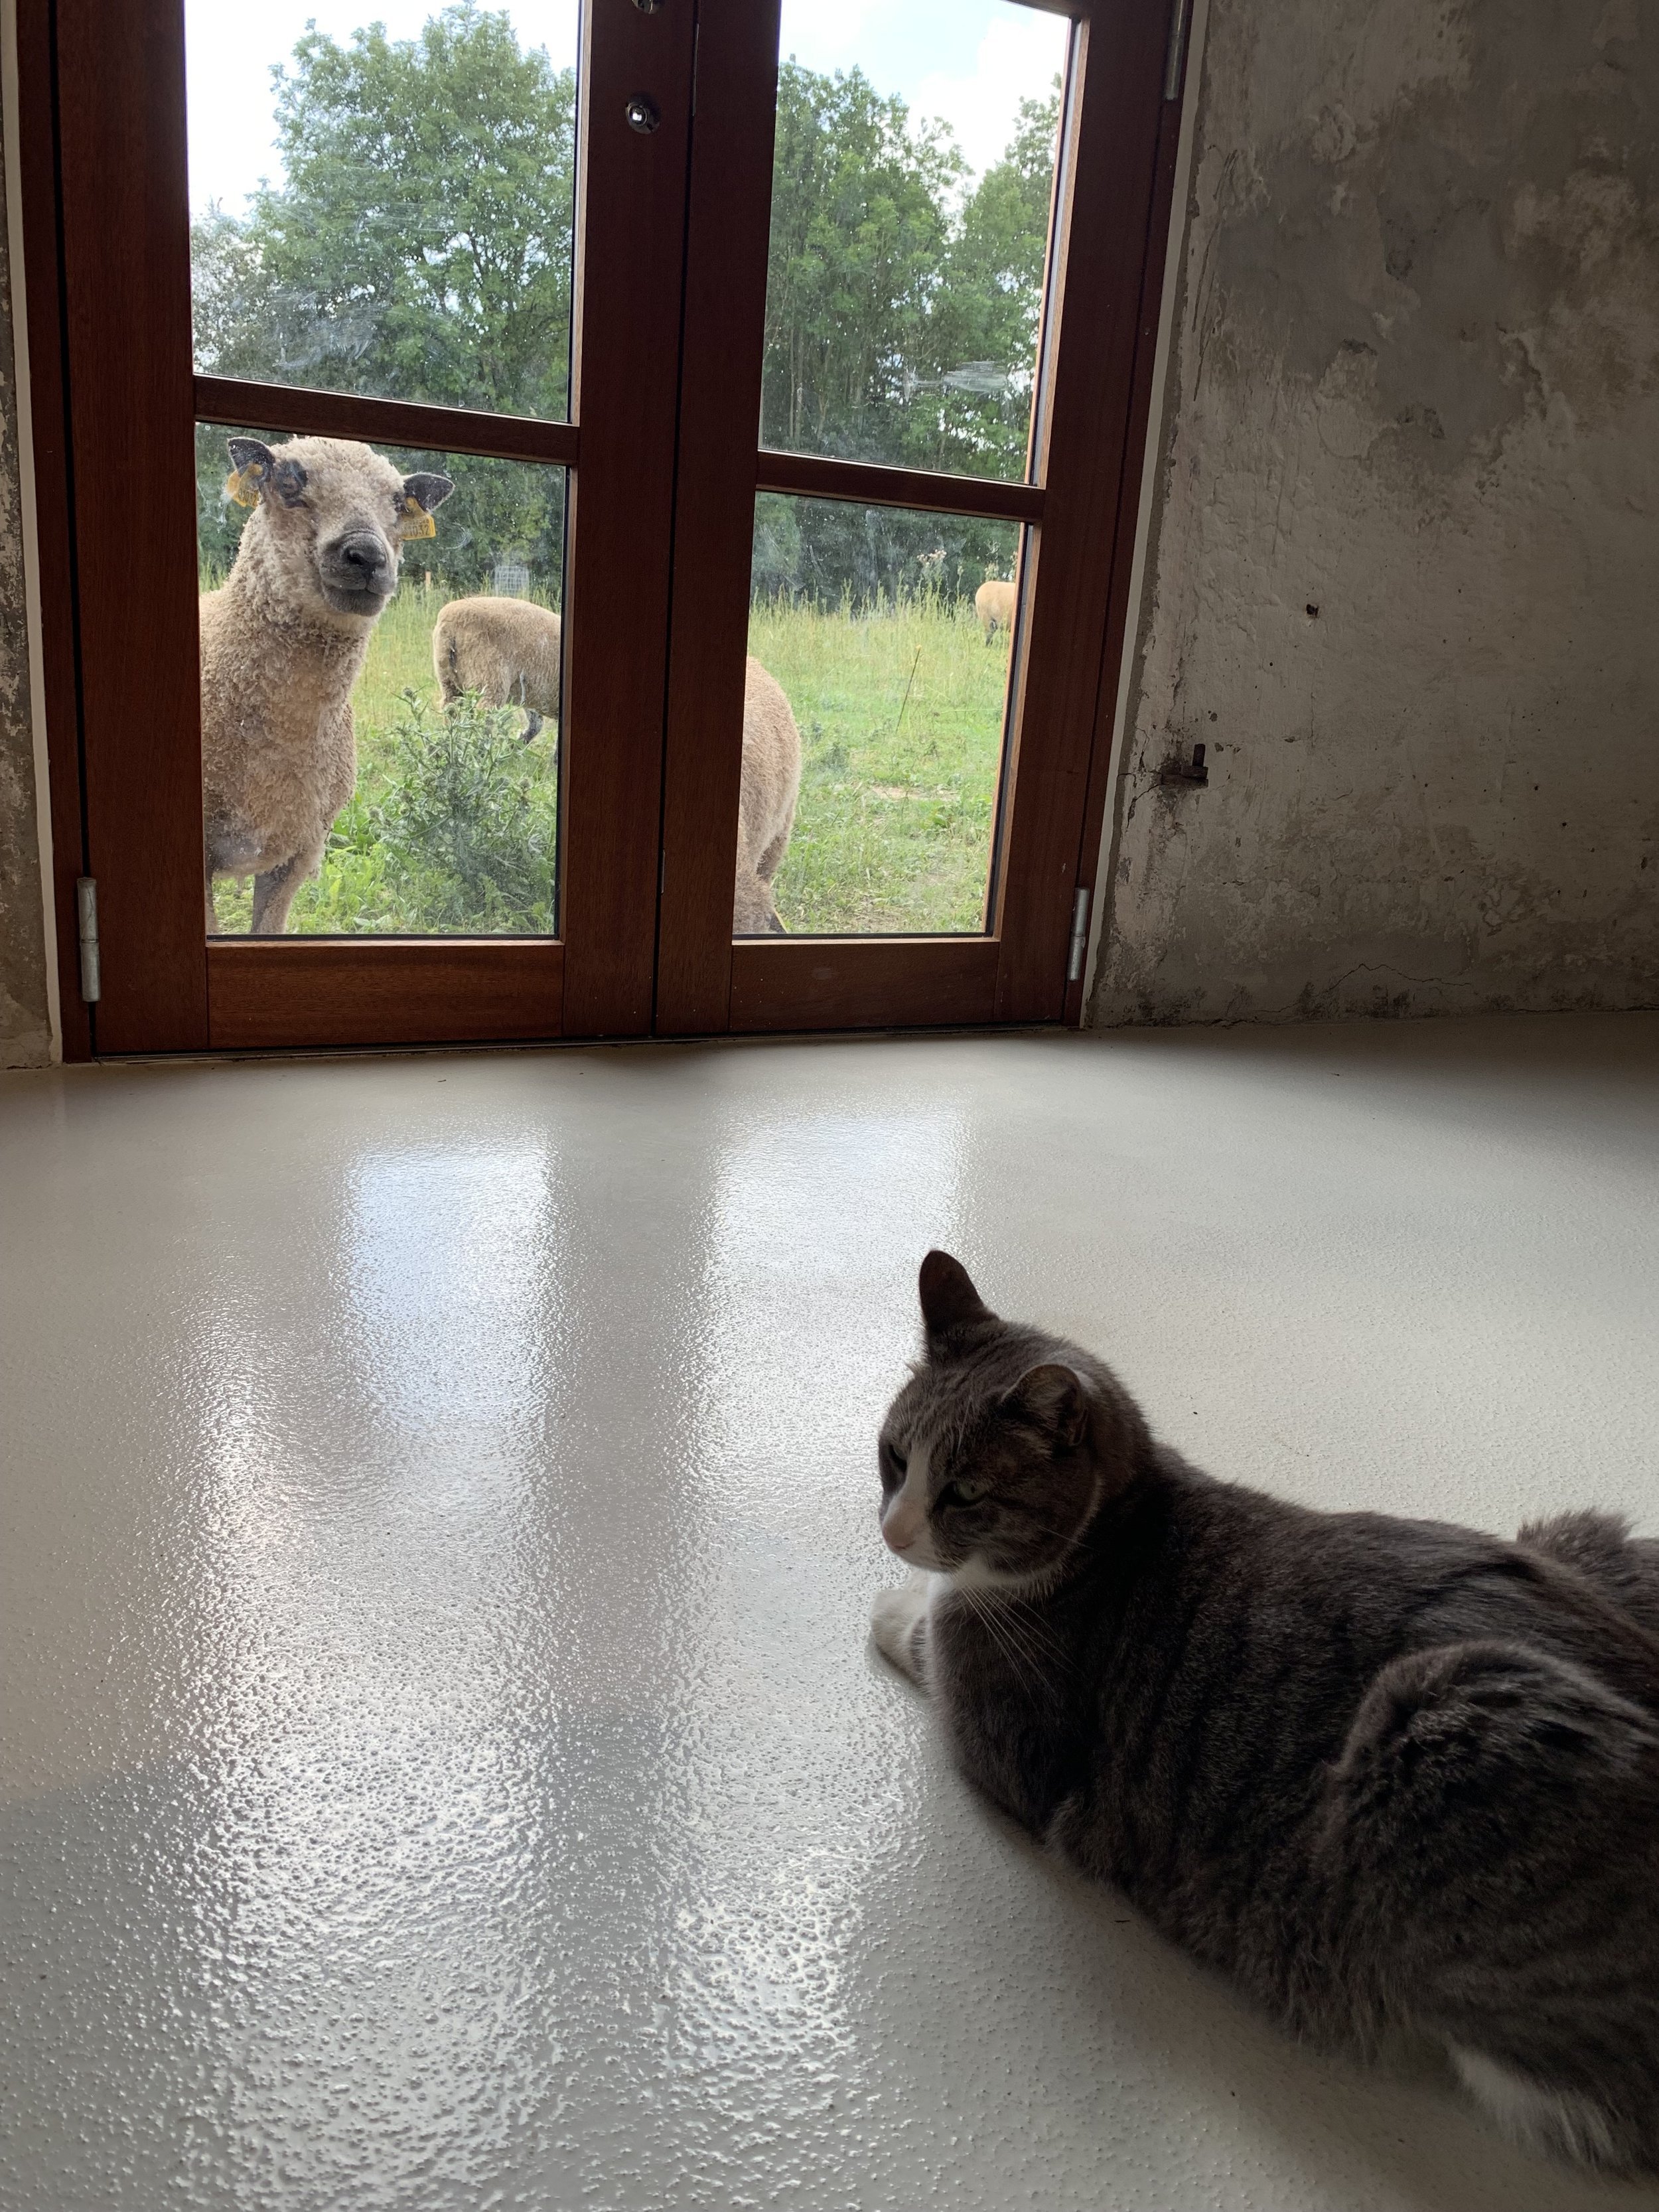
The stunning studio and shop are housed in a beautiful farm stable where the team do their dyeing and day to day running of the business. They also have some furry and woolly friends.
What a wonderful experience! I can highly recommend this 3 day workshop with the amazing G-uld team who made everyone feel so at home and shared such invaluable knowledge!
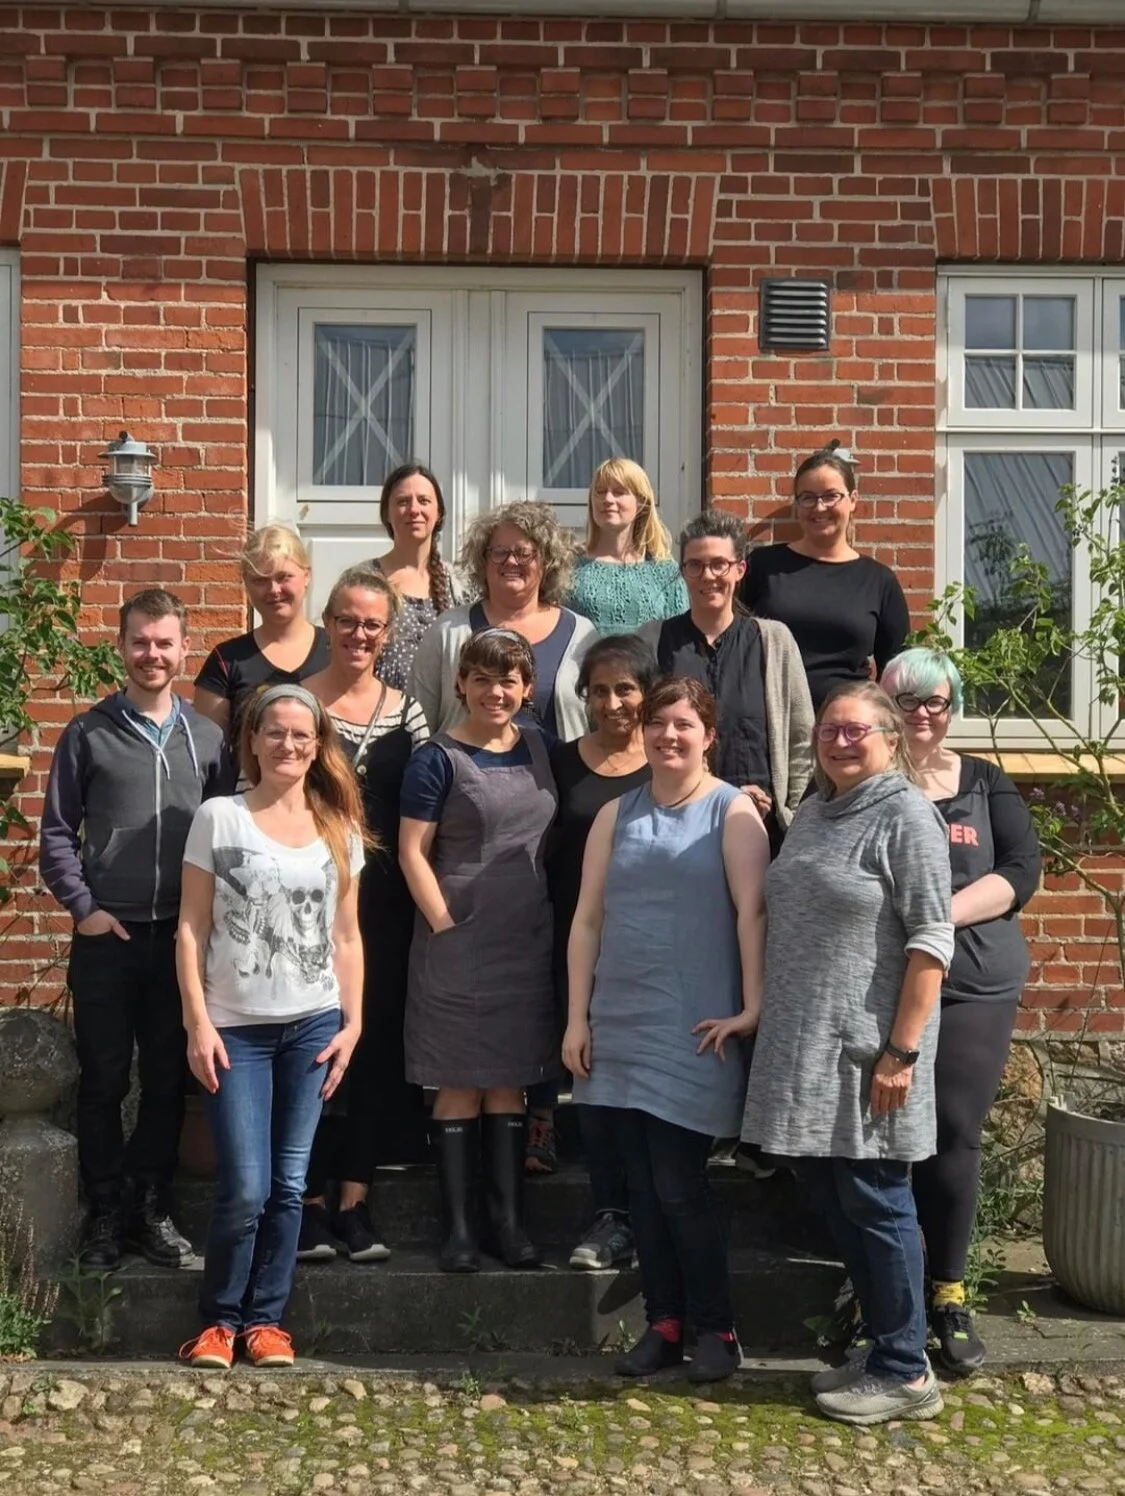
Here is a group photo of our successful dye team. What a wonderful group!